
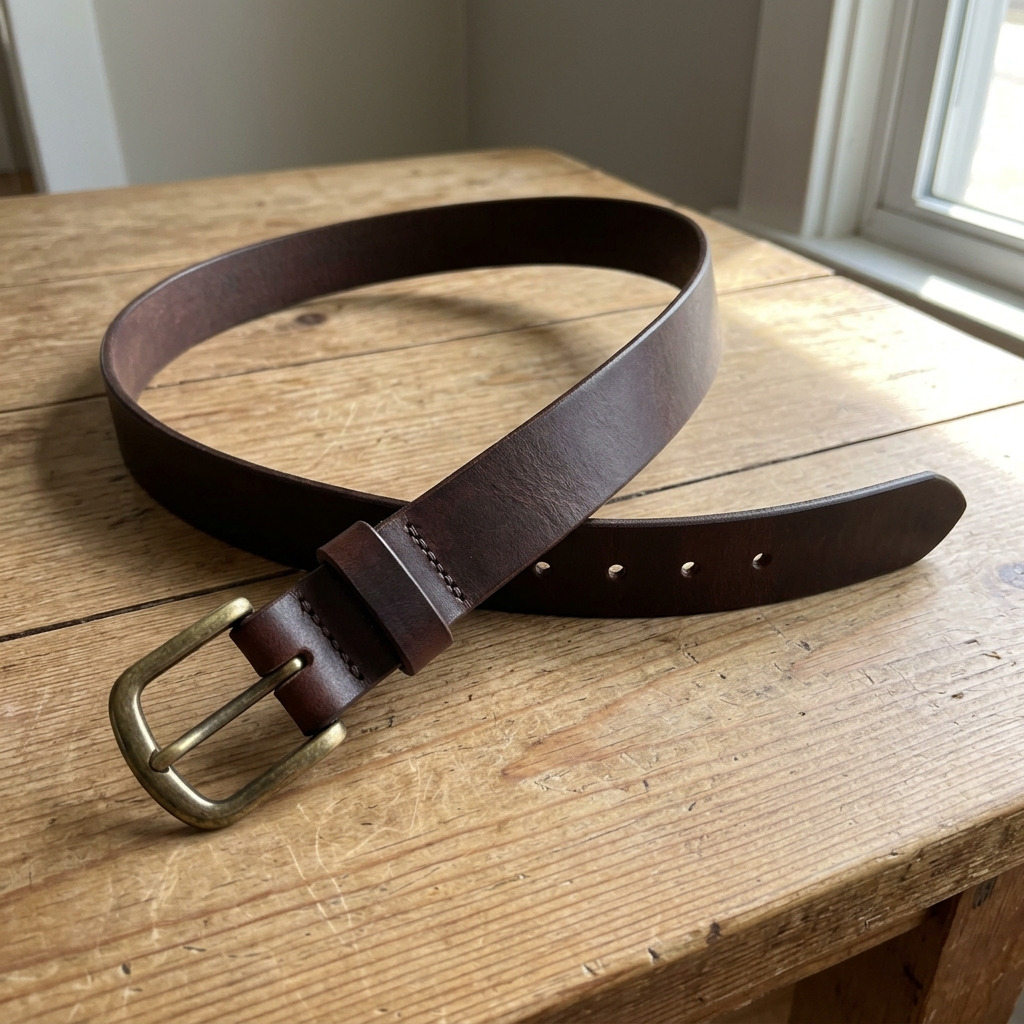
Project Overview
This project will guide you in creating a stylish leather belt using simple tools and a unique vintage buckle sourced from a thrift store. The result will be a functional and fashionable accessory, perfect for adding character to any outfit.
Project at a Glance
- Time required: 2-3 hours of active working time; total time approximately 3-5 hours including drying and curing
- Difficulty level: Beginner, specifically requiring measuring and cutting skills
- Estimated cost: $20 to $50, depending on the choice of leather, dye, and whether tools are already owned
- Finished dimensions: Approximately 1.5 inches wide and adjustable up to 60 inches long
- Yield: 1 custom leather belt
Materials and Tools
Materials
- Leather strip: 1 piece, 1.5 inches wide, and approximately 54-60 inches long (vegetable-tanned leather recommended for durability; choose a natural or brown color)
- Vintage buckle: 1 medium-sized buckle (ensure it fits the 1.5-inch width of the leather strip; can be brass or nickel-plated based on preference)
- Leather dye (optional): 1 small bottle, color of choice (e.g., dark brown or black)
- Leather finish (optional): 1 bottle, non-toxic leather conditioner or acrylic sealer
- Leather hole punch: 1 tool, size 1/8 inch (for making belt holes)
- Lacing or rivets (optional): 1 package, for added decorative fastening
- Heavy-duty thread: 1 spool, color matching the leather
- Thrifted fabric or decorative fabric (optional): 1 small piece, if desired for embellishing the leather
Tools
- Utility knife or rotary cutter: For cutting the leather strip
- Cutting mat or secure cutting surface: To protect your workspace
- Ruler: At least 24 inches long for measuring and marking
- Pencil or leather pencil: For marking measurements on the leather
- Clamps or heavy books: To hold the leather in place while working
- Safety equipment: Cut-resistant gloves and safety glasses (when cutting leather)
Step-by-Step Instructions
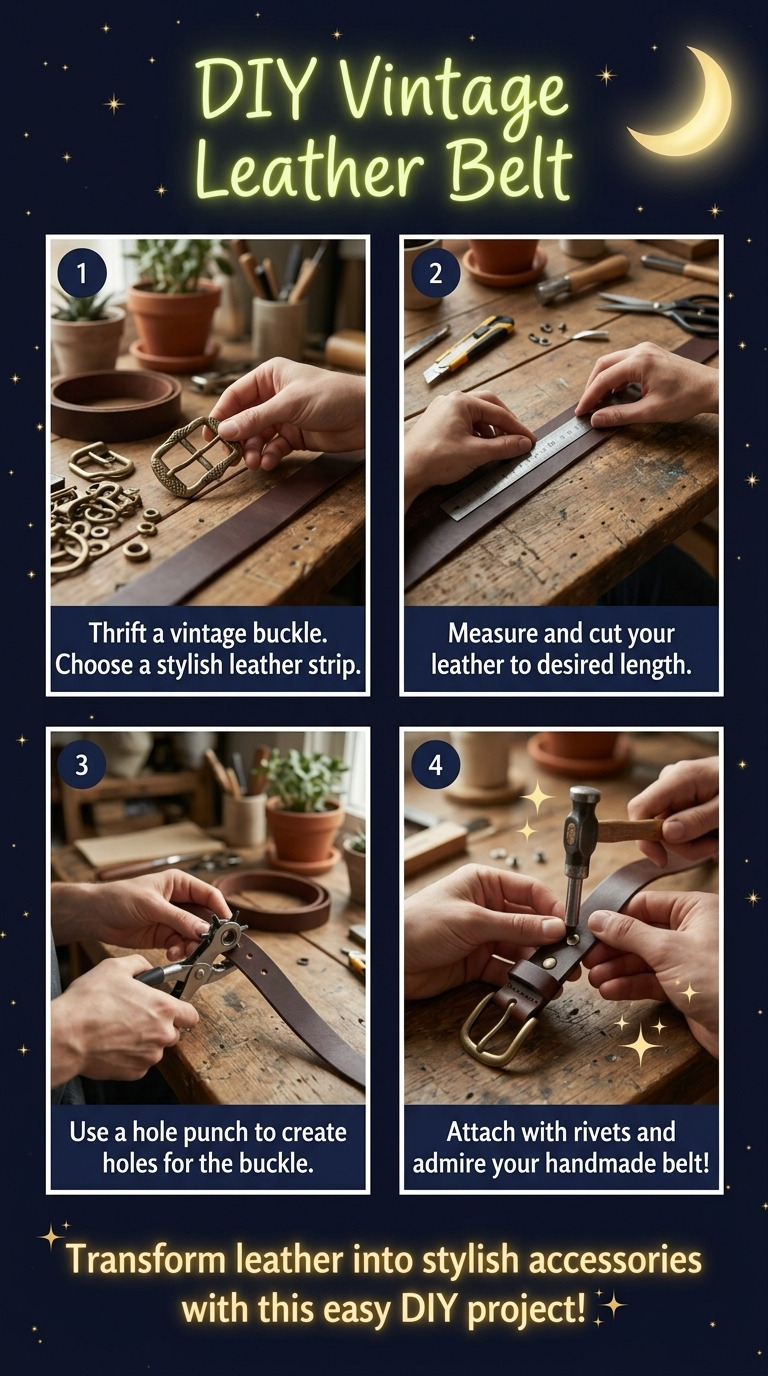
- Prepare Your Workspace: – Set up your workspace on a clean, flat surface. Use a cutting mat to protect your work area from cuts or marks.
- Measure and Cut the Leather Strip: – Use the ruler to measure 54 inches (or your customized waist size) along the edge of the leather. – Mark with a pencil and then cut the leather strip carefully with the utility knife to ensure a straight edge. – Key Look: A clean edge with no frays.
- Dye the Leather (optional): – If desired, apply leather dye uniformly using a sponge or brush. Follow the dye manufacturer’s instructions for application and drying time (typically around 1 hour). – Let the leather dry completely for at least an hour.
- Create Belt Holes: – On one end of the leather strip, measure and mark holes every inch, starting about 2 inches from the end. – Use the leather hole punch to create 5-7 holes evenly spaced. Test the fit with the buckle to ensure proper spacing.
- Prepare the Other End for the Buckle: – Cut a 2-inch portion of the opposite end of the leather strip at an angle (about 45 degrees) to allow easy insertion into the buckle. – If desired, punch a single hole at the tip of the angled end for added security (this can be where a decorative fastener goes).
- Attach the Vintage Buckle: – Slide the angled end of the leather strip through the buckle. Adjust it to ensure a good fit. – Securely fold the leather and clamp it for riveting or stitching (if applying an option for added strength).
- Finishing Touches: – If using leather finish, apply a thin layer over the entire belt after dyeing. Allow to dry as per manufacturer instructions (approximately 30 minutes). – If desired, embellish your belt with decorative stitching or rivets along the edges (using heavy-duty thread and a needle for stitching, or rivets as needed).
Assembly and Finishing
- Ensure the buckle is securely fastened to the leather strip. If rivets are used, place them as needed in the prepared holes.
- For a polished look, trim any excess threads and clean up edges as necessary.
- The finished belt should be smooth, with clean edges and evenly spaced holes, and feature an attractive vintage buckle that can easily be adjusted to fit the wearer.
Measurements and Dimensions
- Final dimensions: Approximately 1.5 inches wide and 54-60 inches long, with up to 7 holes.
- Cut size for leather strip: 54 inches (or customized).
Timing Information
- Estimated active working time: 2-3 hours
- Drying/curing time for dye and finishes: 1-2 hours
- Total time: Approximately 3-5 hours
Troubleshooting and FAQ
Troubleshooting
- The leather is fraying at the edges. Cause: A rough cut or insufficient sealing of the edges. Correction: Use edge finishing tools or sand the edges to smooth.
- The dye is blotchy or uneven. Cause: Uneven dye application or not properly prepping the leather surface. Correction: Apply a thin, even layer of dye using a sponge, and ensure it adheres by wiping the leather down with a damp cloth before application.
- Holes are not evenly spaced. Cause: Inaccurate measurements while marking. Correction: Use a ruler to measure and mark evenly, re-punch holes if necessary.
- The buckle is loose after attachment. Cause: Improper fit or insecure fastening. Correction: Tighten the leather in the buckle or add additional rivets or stitching to secure it.
Frequently Asked Questions
- Can I make the belt shorter if needed? Yes, the length can be adjusted by cutting the leather strip to the desired length before creating holes.
- What type of leather dye is best? Vegetable-tanned leather dye is recommended for durability and a natural look. Choose based on personal preference for color.
- How do I care for the leather belt? Apply a leather conditioner periodically and store the belt in a cool, dry place away from direct sunlight to maintain quality.
- Can I use a different buckle size? Yes, using a different buckle size will require adjusting the leather strip width and may affect hole placement, ensure compatibility.
Save This Guide
Save or pin this guide to Pinterest for reference while you create your custom leather belt, including all measurements and troubleshooting tips. Feel free to provide any corrections, measured results, or substitutions that worked so this guide can remain accurate.
Leave a Reply