
Project Overview
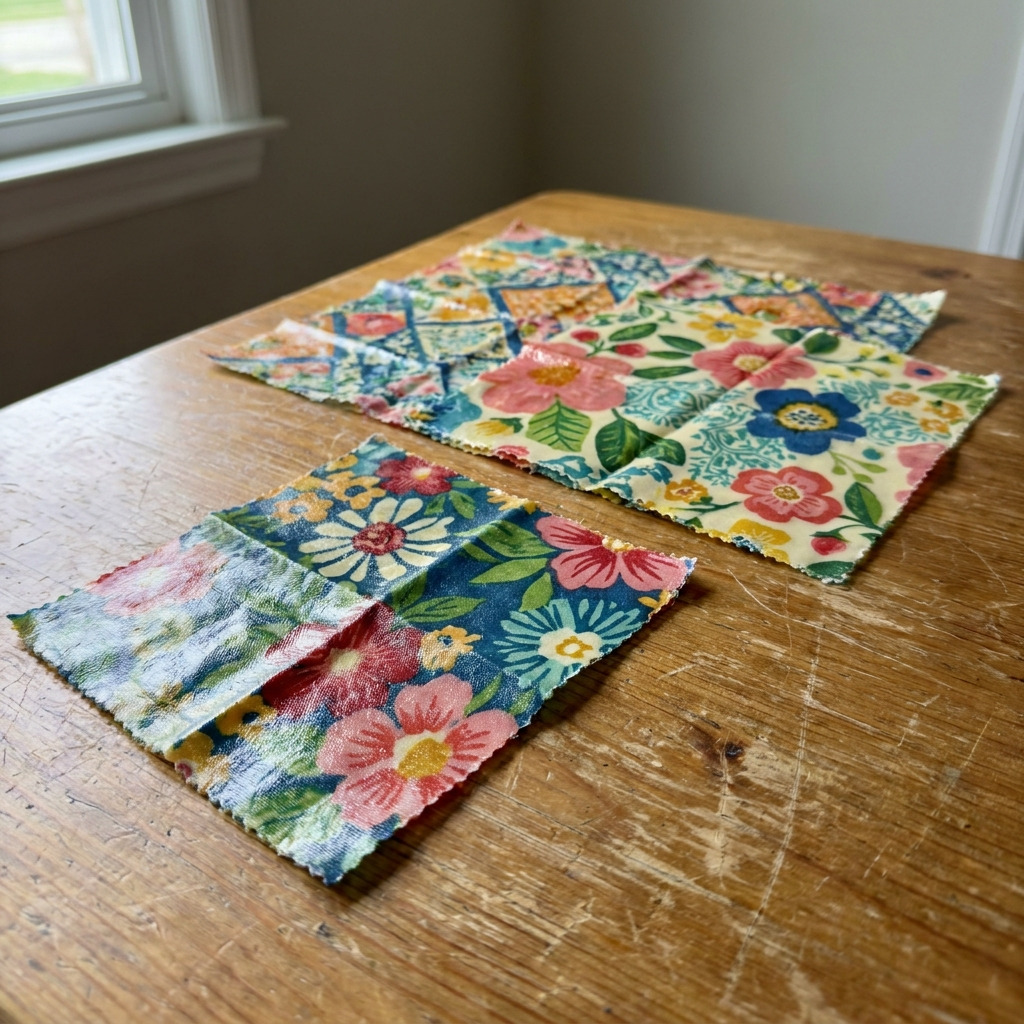
This guide details the process of creating reusable beeswax food wraps using cotton fabric scraps. These wraps serve as an eco-friendly alternative to plastic wrap for covering food items, keeping them fresh while reducing waste.
Project at a Glance
- Time required: Active working time: 30 minutes; Total elapsed time: 40 minutes
- Difficulty level: Easy, requiring basic sewing and crafting skills
- Estimated cost: $10 to $25, depending on the choice of materials and whether tools are already owned
- Finished dimensions: Small wrap: 8"x8", Medium wrap: 10"x10", Large wrap: 12"x12"
- Yield: Three wraps in total
HERO IMAGE PLACEHOLDER
[Descriptive image caption of the finished project]
Materials and Tools
Materials
- Cotton fabric scraps: 1/2 yard total in assorted colors/patterns
- Beeswax pellets: 4 oz., suitable for food use
- Jojoba oil: 1 tablespoon, for improving flexibility (optionally substitute with coconut oil)
- Pine resin: 1 tablespoon (optional for added stickiness; substitutions for tree resins can be used)
- Parchment paper: 3 sheets, 12"x18", for melting and cooling wraps
Tools
- Baking tray: Approximately 16"x12", large enough to fit at least one wrap
- Oven: Set to 200°F (93°C) for melting the wax
- Double boiler or microwave-safe bowl: for melting the beeswax
- Paintbrush: 1" wide for spreading the melted beeswax mixture
- Ruler: for measuring fabric accurately
- Cutting mat: (optional) for ensuring precise cuts when trimming fabric
- Pinked or zigzag scissors: for cutting fabric to prevent fraying
Instructions
Preparing Workspace
- Prepare the workspace: Choose a clean, flat area for crafting. Lay down newspaper or a craft mat to protect the surface from beeswax drips.
Cutting Fabric
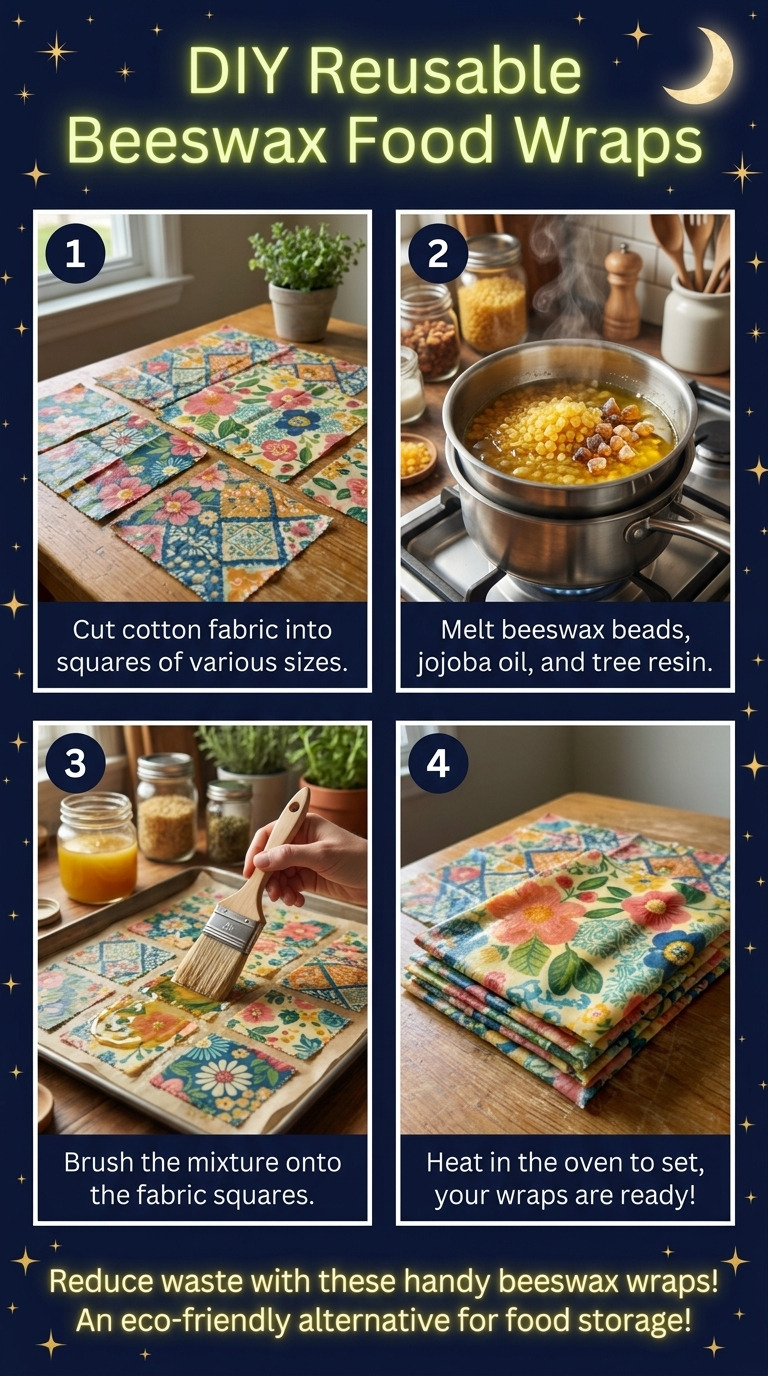
- Cut the fabric pieces: Using the ruler and pinked scissors, cut the cotton fabric into three square pieces: – One piece measuring 8"x8" – One piece measuring 10"x10" – One piece measuring 12"x12"
- Pre-treat fabric: Ensure that the cotton fabric is clean. If necessary, iron the fabric to remove any wrinkles and ensure smooth application of the beeswax.
Preparing Beeswax Mixture
- Melt beeswax: – Combine 4 oz. of beeswax pellets, 1 tablespoon of jojoba oil, and 1 tablespoon of pine resin (if using) in a double boiler or microwave-safe bowl. – If using a microwave, heat in 30-second increments until the mixture is fully melted (taking approximately 1-2 minutes). – If using a double boiler, heat on low until the mixture is fully liquefied (taking approximately 5-10 minutes).
- Mix completely: Stir the mixture thoroughly until all ingredients are well combined and fully melted.
Applying Beeswax
- Preheat the oven: Set the oven temperature to 200°F (93°C) to prepare for melting the beeswax into the fabric wraps.
- Prepare the baking tray: Line the baking tray with a sheet of parchment paper to prevent the beeswax from sticking.
- Apply the beeswax mixture: – Place one of the cotton fabric squares onto the parchment paper. – Using the 1" paintbrush, evenly spread the melted beeswax mixture over the entire surface of the fabric, ensuring thorough coverage to the edges.
- Melt on tray: Insert the baking tray into the oven and allow the fabric to bake for approximately 2-3 minutes, or until the beeswax has visibly melted into the fabric.
- Remove from oven: Carefully take the tray out of the oven and allow the wrap to cool slightly for about 1-2 minutes.
- Set wrap: – Grasp the edges of the fabric and gently wave it in the air to help cool and set the beeswax, or hang it up to cool completely. Allow for about 5-10 minutes of cooling time. – Repeat steps 8-11 for each of the remaining pieces of fabric.
Assembly & Finishing
- After the wraps have fully cooled, they are ready for use. Each wrap provides a sticky surface ideal for wrapping food items naturally. Store wraps flat or rolled up in a cool, dry place, away from heat and moisture.
Measurements & Dimensions
- Finished sizes of the beeswax wraps:
- Small wrap: 8"x8"
- Medium wrap: 10"x10"
- Large wrap: 12"x12"
Timing Information
- Estimated active working time: 30 minutes
- Drying/setting time: 10 minutes
- Total time: Approximately 40 minutes
Variations & Notes
- Tips for best results: Work quickly when applying the beeswax mixture, as it can cool and harden rapidly.
- Common mistakes to avoid: Avoid applying too much beeswax; a thin layer provides good adhesion without making the wrap stiff.
- Variations: Feel free to experiment with different fabric patterns and colors; natural fabrics such as cotton, linen, and hemp yield the best results.
- Care instructions: Clean the wraps with cold water and mild soap; avoid exposure to hot water and microwaves. If wraps lose stickiness, reapply beeswax mixture every few months. Store in a cool, dry place.
Troubleshooting and FAQ
Troubleshooting
- The beeswax mixture does not melt completely. This may be due to inadequate heat. Ensure the heat is set correctly and check the consistency, adjusting the time as necessary.
- The fabric is not fully coated with beeswax. This can occur if too little mixture is applied. Ensure a thin, even layer covers the entire surface of the fabric.
- The wraps feel too stiff. This can happen if too much beeswax is applied. Reduce the amount of beeswax mixture in future applications.
- Colors bleed from the fabric. Ensure that the fabric is pre-washed to remove any finishes. Use only natural cotton or linen fabrics to minimize this risk.
Frequently Asked Questions
- Can I use other oils instead of jojoba oil? Yes, coconut oil is a suitable substitute that will also help maintain flexibility in the final wraps.
- How long do beeswax wraps last? With proper care, beeswax wraps can last about 6 months to a year before needing a reapplication of the beeswax mixture.
- Can I use synthetic fabrics? It is not recommended, as synthetic fabrics may not hold the beeswax well and can release harmful chemicals when heated.
- How should I clean my beeswax wraps? Use cold water and gentle soap, avoiding hot water and dishwashers, which could melt the beeswax.
- What if I want to make larger or smaller wraps? Adjust the size of the fabric pieces accordingly. Ensure all materials are proportionately applied to maintain functionality.
Save This Guide
Save this guide to Pinterest for reference while you make your reusable beeswax food wraps, ensuring you have the complete cut list and measurements on hand. If you have corrections, measured results, or successful substitutions, please share them to help keep this guide accurate.
Leave a Reply