
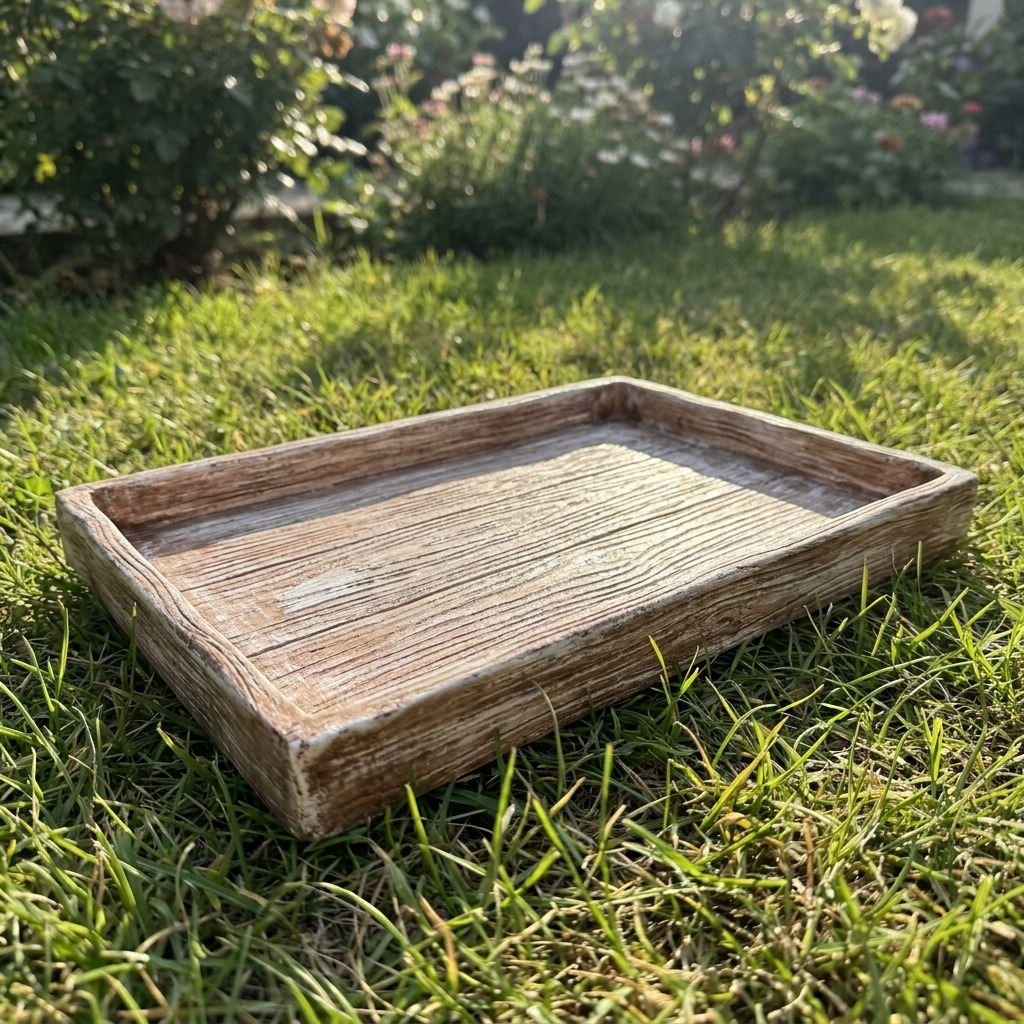
Project Overview
This project guides you through creating a rustic serving tray made from air dry clay. The finished tray features a detailed wood grain texture, ideal for serving refreshments or displaying decorative items.
Project at a Glance
- Time required: 2-3 hours active working time; 24-48 hours total elapsed time (drying time dependent on climate)
- Difficulty level: Easy, suitable for those familiar with basic crafting techniques
- Estimated cost: $10 to $25, depending on material choices and availability
- Finished dimensions: 12 inches long x 8 inches wide x 1 inch deep
- Yield: One serving tray
HERO IMAGE PLACEHOLDER
[Image of the completed air dry clay serving tray with a wood grain texture]
Materials and Tools
Materials
- Air Dry Clay:
- Quantity: 2 pounds
- Color: Natural white or light beige
- Acrylic Paint:
- Quantity: 1 small bottle
- Colors: Brown (for wood grain effect) and white (for highlighting)
- FolkArt Acrylic Finishing Wax:
- Quantity: 1 small jar (optional for sealing)
- Craft Sealer (Mod Podge):
- Quantity: 1 small bottle (optional for additional protection)
- Wood Grain Veining Tool or Old Credit Card:
- Quantity: 1
- Rolling Pin:
- Standard size
- Sharp Craft Knife or Clay Cutter:
- Standard Size
- Parchment Paper:
- Size: Large enough to cover your working surface
- Fine Sandpaper:
- Grit: 220
- Baby Wipes or Damp Cloth:
- Quantity: 1 (for cleaning hands and tools)
Tools
- Work Surface:
- Clean and flat surface (a large cutting board or table)
- Ruler:
- 12 inches long
- Cutting Mat:
- Standard size
- Brayer or Firm Sponge (optional):
- For smoothing clay
- Paint Brushes:
- Sizes: 1 flat brush (for painting) and 1 fine tip brush (for detailing)
- Gloves:
- Optional (for clean handling of the clay)
- Safety Glasses:
- Optional (if cutting clay or working with sharp tools)
Instructions
Preparing the Tray Base
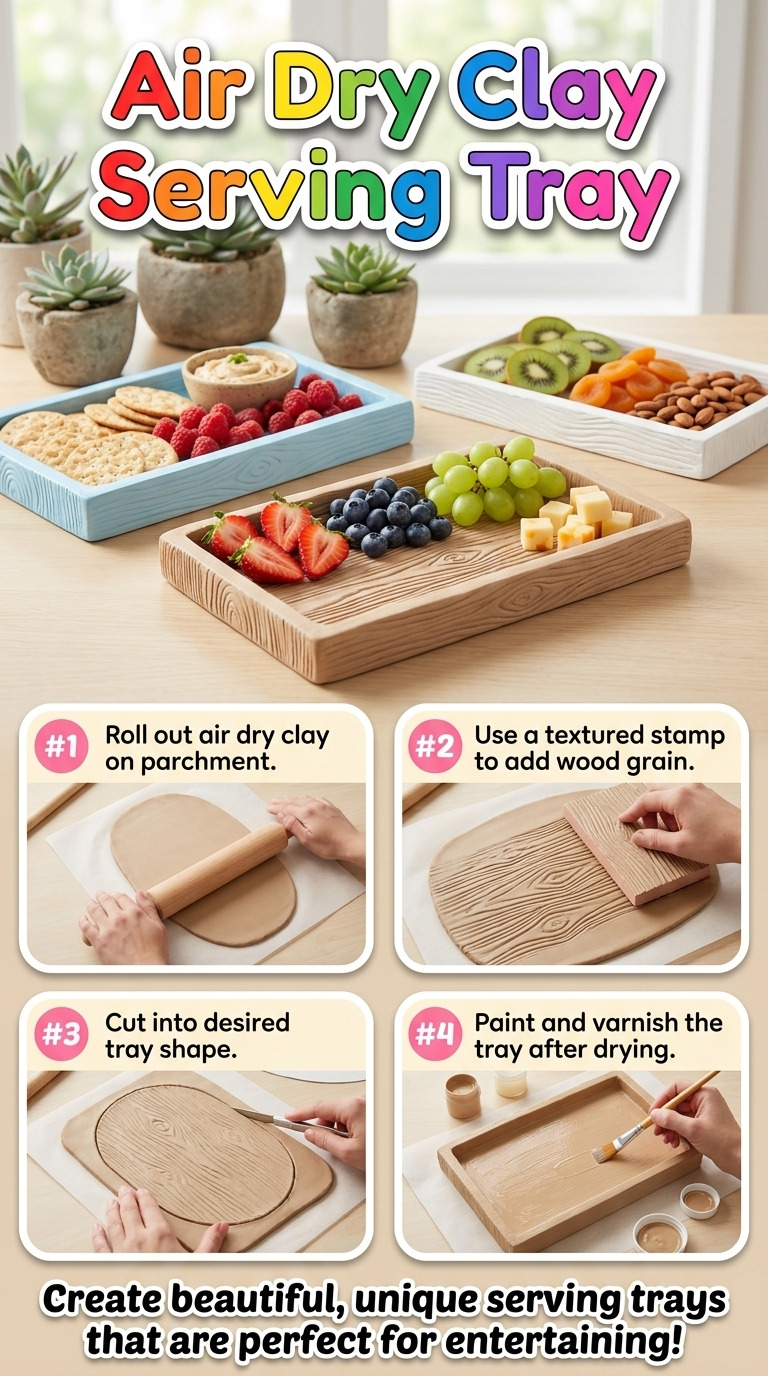
- Roll Out the Clay: – Use the rolling pin to roll out the kneaded air dry clay to a thickness of 1/4 inch. Aim for a rectangle shape measuring approximately 12 inches long and 8 inches wide.
- Cut the Shape: – Using the craft knife, carefully trim the edges to create a smooth rectangular tray base. Ensure the size measures 12 inches long and 8 inches wide.
- Create the Tray Rims: – Roll out additional clay to a thickness of 1/4 inch. Cut four strips for the rim measuring 1 inch wide with the following lengths: two strips of 12 inches (for the long ends) and two strips of 8 inches (for the short ends).
Texturing the Tray
- Add the Wood Grain Texture: – Using the wood grain veining tool or an old credit card, create wood grain textures across the rolled out clay base. Press gently and vary the pressure to achieve different depths in the texture.
Assembling the Tray
- Assemble Rim Pieces: – Attach the rim pieces to the edges of the tray base using a small amount of water to moisten the edges or scoring the edges and pressing them together firmly. Ensure the corners fit together neatly, creating a cohesive tray shape.
- Smooth the Edges: – Use your fingers or a damp cloth to smooth any seams and create a seamless look between the base and the rims.
Drying and Finishing
- Drying Time: – Allow the tray to air dry in a well-ventilated area for 24-48 hours. Ensure the tray is completely dry before proceeding to painting.
- Sanding: – Once the tray is dry, gently sand the surface using 220 grit sandpaper to create a smooth finish, particularly focusing on any rough edges around the wood-textured areas.
- Painting the Tray: – Use the brown acrylic paint to fill in the wood grain texture for a rustic effect. Apply a single layer and allow it to dry completely for approximately 30 to 45 minutes. – Once dry, lightly dry brush white acrylic paint over the top to highlight the texture, allowing this layer to dry for another 30 to 45 minutes.
- Sealing: – (Optional) If desired, use a brush to apply a layer of FolkArt Acrylic Finishing Wax over the entire tray to seal it, or apply Mod Podge for added durability. Let it dry according to the product instructions.
Assembly & Finishing
- Joining Parts:
- The tray is constructed by attaching the rim to the main base using the scoring technique and applying moisture. Ensure a strong bond by pressing along the seams.
- Final Touches:
- Inspect the edges and texture for consistency. Make touch-ups as necessary with sandpaper or paint if you find any uneven areas.
Troubleshooting and FAQ
Troubleshooting
The clay is cracking while drying.
- Cause: The clay may have been too thin or dried in a hot environment.
- Correction: Allow thinner sections to dry gradually in a cooler location or apply less pressure while working with the clay to avoid cracks.
The tray does not hold its shape.
- Cause: Rim pieces may not be securely attached or the clay was too wet.
- Correction: Ensure seams are well connected through scoring and water, and allow proper drying before manipulating the tray.
The paint is not adhering to the clay.
- Cause: The surface may not have been adequately sanded or cleaned.
- Correction: Sand the clay surface more thoroughly and wipe it down with a damp cloth before painting.
There are visible seams in the tray.
- Cause: The rims may not have been smoothed adequately.
- Correction: Use a damp cloth to smooth all seams thoroughly before the clay dries.
Frequently Asked Questions
Can I use different types of paint?
- Yes, you can use other water-based paints. However, ensure they are compatible with air dry clay for proper adhesion and finish.
What if I want a larger tray?
- To scale up the tray, simply adjust the dimensions of the rolled clay and rim pieces while maintaining the thickness of 1/4 inch.
How can I store the tray safely?
- Store the tray in a cool, dry place and avoid stacking heavy items on top to preserve its shape.
Will the tray be food-safe?
- Since the tray is made from air-dry clay, it is advisable to use it for decorative purposes only and not for direct food serving unless sealed with food-safe materials.
Save This Guide
Save or pin this guide to Pinterest so you have easy access to the complete materials list, exact measurements, and drying times while you build. Share any corrections, measured results, or substitutions that worked, so this guide can stay accurate.
Leave a Reply