
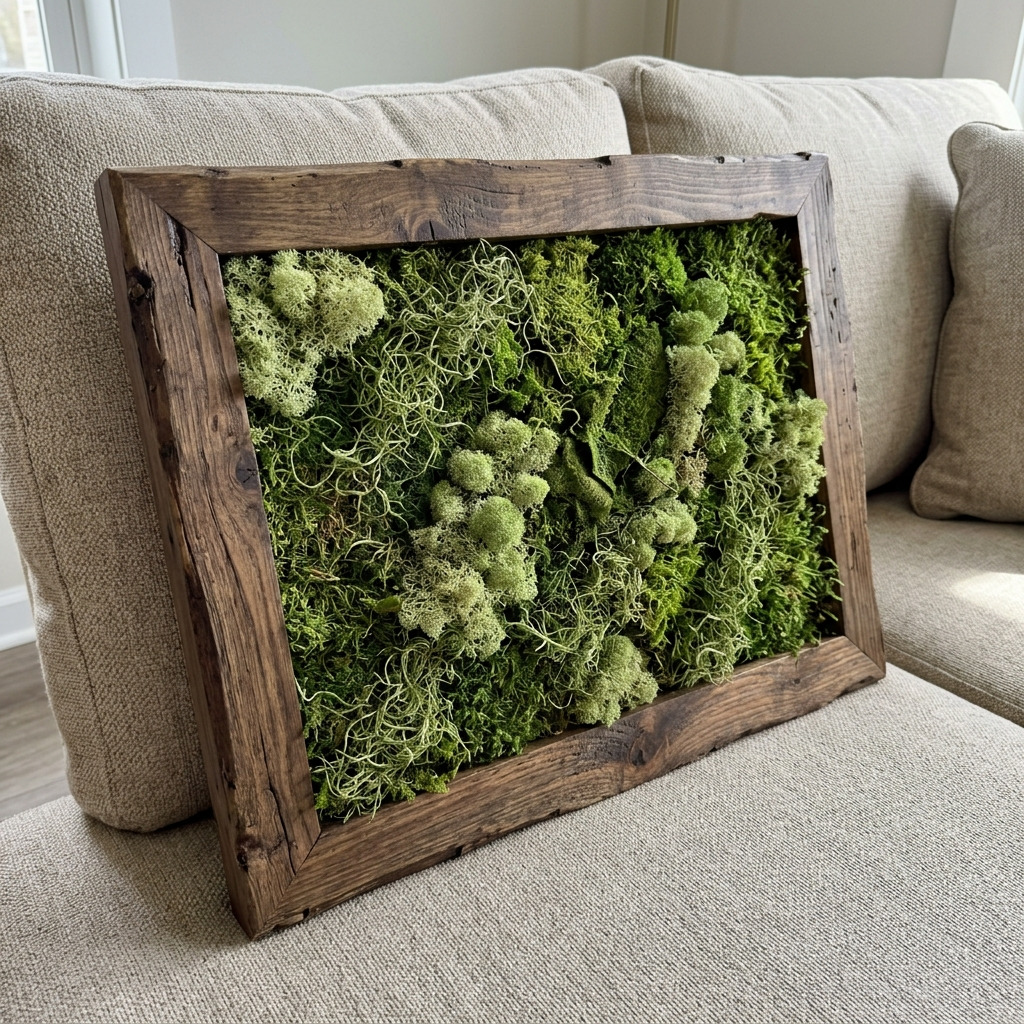
Project Overview
This project will create a beautiful wall art piece featuring preserved moss arranged attractively within a rustic reclaimed wood frame. The finished item will be an eye-catching home decor piece, perfect for adding a touch of nature indoors.
Project at a Glance
- Time required: Active working time: 3 hours; Total elapsed time: approximately 4-5 hours
- Difficulty level: Intermediate (requires precise cutting and assembly of a frame)
- Estimated cost: $40 to $100 (cost varies based on wood choice and availability of tools)
- Finished dimensions: 24 inches x 18 inches x 2 inches
- Yield: One wall art frame
HERO IMAGE PLACEHOLDER
[Descriptive image caption of the finished project]
Materials and Tools
Materials
- Reclaimed Wood (for frame):
- Quantity: Enough to create a frame (at least 1-inch thick planks recommended)
- Specifications: 2 pieces of 24 inches (for top and bottom) and 2 pieces of 18 inches (for sides), preferably with rough edges for a rustic look.
- Preserved Moss:
- Quantity: Approximately 1.5 square feet, or about 4-5 ounces of assorted types (e.g., reindeer moss, sheet moss, and Spanish moss)
- Colors: Various shades of green (natural color)
- Wood Glue:
- Quantity: 4 ounces of strong wood glue (e.g., Titebond III)
- Wood Stain (optional):
- Quantity: 1 quart
- Color: Dark walnut or a shade that complements your moss
- Backing Board:
- Quantity: 1 piece, 24 inches x 18 inches, ¼ inch thick
- Material: Plywood or MDF (medium-density fiberboard)
- Picture Hangers:
- Quantity: 2
- Wire (for hanging):
- Quantity: 1 spool, 20-gauge
- Foam Board (optional):
- Quantity: 1 sheet, 24 inches x 18 inches (for additional structure behind moss)
Tools
- Miter Saw (for cutting wood at 45-degree angles)
- Drill with drill bits (for making holes for picture hangers)
- Clamps (to secure pieces while gluing)
- Paintbrush (for applying wood stain, 1-inch wide)
- Screwdriver (for attaching picture hangers)
- Utility Knife (for trimming moss if necessary)
- Cutting Mat (to protect surfaces while cutting)
- Safety Glasses (to protect your eyes while cutting)
- Dust mask (if using wood stain)
Instructions
Step 1: Cut Wood to Size
Using the miter saw, cut the reclaimed wood into four pieces:
- 2 pieces at 24 inches (top and bottom)
- 2 pieces at 18 inches (sides)
The edges of each piece should be straight and smooth, with no splinters.
Step 2: Assemble the Frame
Lay the pieces out in a rectangle. Apply wood glue to the ends of the 24-inch pieces and join with the 18-inch pieces. Use clamps to hold the corners together, ensuring a square frame. Allow to dry for at least 1 hour.
Step 3: Prepare Backing Board
While the frame is drying, cut the plywood or MDF sheet to 24 inches x 18 inches. Ensure it is smooth and dust-free by wiping it down with a clean cloth.
Step 4: Attach Backing Board
Once the frame is secured, place the backing board on the rear side of the frame. Using a drill with appropriate screws (e.g., 1-inch screws), attach the backing board securely at all four corners and one in the center for added support.
Step 5: Arranging the Moss
Start by laying out the preserved moss on the backing board without gluing it to see how it looks. Mix and match different types and colors to create a visually appealing design. Use about 3 ounces of assorted moss.
Step 6: Glue the Moss
Begin gluing down the moss sections using wood glue. Apply glue generously to the backing board, then press moss down firmly, holding in place for a few seconds. Continue until all moss is securely glued, ensuring depth and texture by overlapping different pieces as needed.
Step 7: Allow to Dry
Let the glue dry for at least 30 minutes, or until firm. Ensure the moss is not shifting before moving on to the next step.
Step 8: Attach Picture Hangers
Flip the frame over and attach the picture hangers, placing them about 3 inches from the top of the frame on both sides to ensure stability when hung.
Step 9: Wire Installation
Cut a length of wire (about 30 inches) and attach it to the picture hangers, looping it securely around each hanger to create a stable mechanism for hanging.
Assembly & Finishing
- Join the pieces securely using wood glue, ensuring the angles are right. Clean any excess glue before it dries.
- If stained, ensure it is fully cured and dry. Wipe down any dust with a clean cloth before displaying.
- Consider adding a final touch such as a light spray coat of a clear sealer for added protection against fading or dust.
Measurements & Dimensions
- Finished dimensions of the frame: 24 inches (width) x 18 inches (height) x 2 inches (depth)
- Moss arrangement dimensions will vary based on selected types but fits the interior of the frame perfectly.
Timing Information
- Estimated active working time: 3 hours
- Drying time for glue and stain: 1-2 hours
- Total project time: Approximately 4-5 hours
Troubleshooting and FAQ
Troubleshooting
The frame joints do not align correctly. This may be due to inaccurate cuts or uneven surfaces. Use the miter saw to trim edges to ensure each joint fits snugly and is square.
Moss is not sitting flat. This issue can come from insufficient glue or not applying enough pressure during placement. Reapply glue where necessary and hold down until it sets.
Picture hangers are not secure. If hangers are pulling away from the frame, ensure they were installed at a proper angle and use additional screws for reinforcement.
Moss colors are not contrasting enough. Consider rearranging pieces and introducing different shades to balance the visual appeal of the display.
Frequently Asked Questions
Can I substitute the wood with something else? Yes, alternative woods like pine or cedar can be used, but ensure they are appropriate thickness and have a rustic finish.
What types of moss can I use? You can use various types of moss, including preserved reindeer moss, sheet moss, and Spanish moss, as long as they are treated to remain stable.
How do I clean the moss art? Gently dust the surface with a dry cloth. Avoid using water or liquid cleaners to prevent damage to the preserved moss.
How long will preserved moss last? Preserved moss can last for several years if kept in appropriate conditions — away from direct sunlight and excess moisture.
Save This Guide
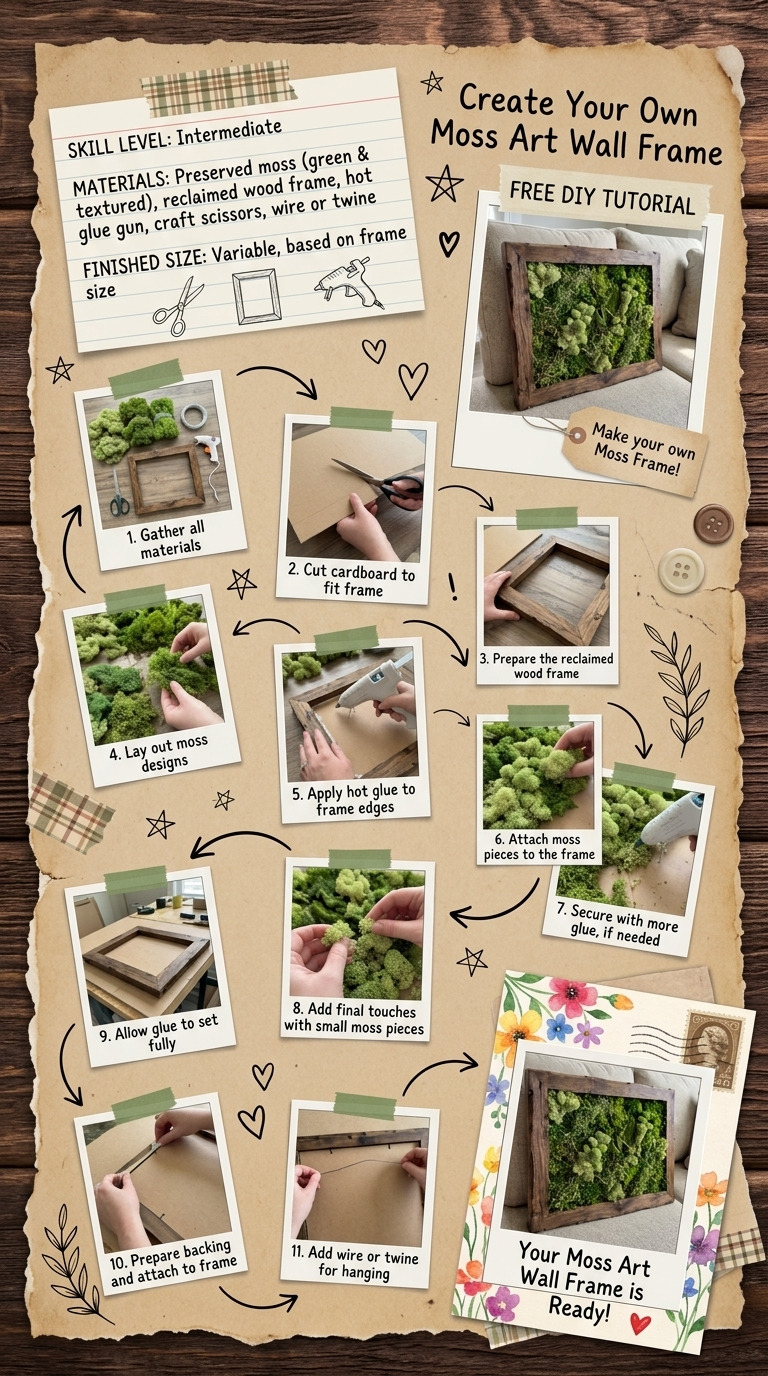
Save this guide to Pinterest for easy access while you build your moss art. It includes the cut list, exact measurements, and curing times you’ll need throughout the project.
Feel free to share any corrections or measured results of your own project to keep this guide accurate for future makers.
Leave a Reply