
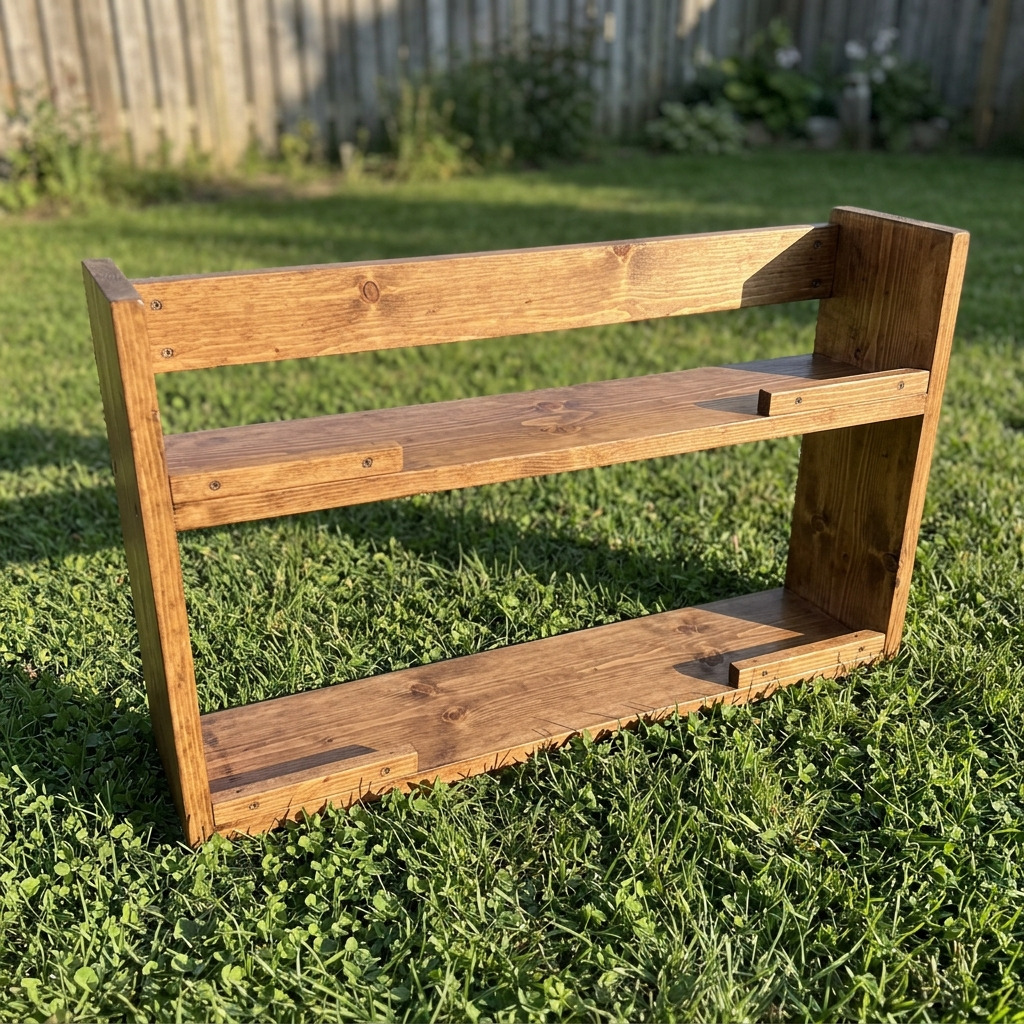
Project Overview
This project involves creating a rustic, vintage-style coffee station shelf that can hold coffee essentials like mugs, a coffee maker, and various supplies. The vintage café look is achieved through the use of distressed wood and classic hardware accents.
Project at a Glance
- Time required: Active working time: 3 hours; Total elapsed time: approximately 2 days (includes drying time)
- Difficulty level: Intermediate — requires basic woodworking skills
- Estimated cost: $70 to $120, depending on material choices and tool availability
- Finished dimensions: 36 inches wide x 12 inches deep x 24 inches high
- Yield: One coffee station shelf
HERO IMAGE PLACEHOLDER
[Descriptive image caption of the finished project]
Materials and Tools
Materials
- Wood:
- 1 piece of 1×12 inch pine board, 36 inches long (shelf surface)
- 2 pieces of 1×6 inch pine boards, 24 inches long (side supports)
- 1 piece of 1×4 inch pine board, 36 inches long (back support)
- 4 pieces of 1×2 inch pine boards, 12 inches long (ledge supports)
- Stain:
- 1 can of Minwax “Provincial” stain (approximately 1 quart for full coverage)
- Sealer:
- 1 can of polyurethane (water-based, approximately 1 quart)
- Hardware:
- 2 metal brackets (for wall mounting, 3 inches tall)
- 4 screws (1.25 inches for attaching back support)
- 8 screws (1 inch for attaching side supports)
- Optional Decor:
- Vintage café signage (small wooden sign or chalkboard)
- Decorative coffee-themed items (e.g., small plants, coffee canisters)
Tools
- Hand Tools:
- Circular saw or hand saw (preferably with a fine-tooth blade)
- Drill with drill bits (3/16 inch for pilot holes, 1/8 inch for pre-drilling)
- Screwdriver (either manual or electric)
- Finishing Tools:
- Paintbrush (1.5 inches wide for applying stain and sealer)
- Sandpaper (120 grit and 220 grit)
- Ruler or measuring tape (at least 36 inches long)
- Clamps (2 clamps, at least 12 inches long recommended)
Instructions
- Step 1: Prepare Your Workspace – Select a clean, open workspace free from clutter. – Lay down a drop cloth or cardboard to protect the work surface from stains or damage.
- Step 2: Mark and Cut the Wood Pieces – Using a measuring tape, mark your cuts on the wood based on the cutting list: – Shelf Surface: 1×12 inches x 36 inches – Side Supports: 1×6 inches x 24 inches (2 pieces) – Back Support: 1×4 inches x 36 inches – Ledge Supports: 1×2 inches x 12 inches (4 pieces) – Make all cuts precisely to the measurements using a circular or hand saw. Ensure not to exceed or fall short of the specified lengths.
- Step 3: Sand the Wood Pieces – Sand all cut edges and surfaces of the wood using 120 grit sandpaper, followed by 220 grit for a smoother finish. – Focus on edges and corners to remove any splinters and create a polished surface.
- Step 4: Assemble the Frame – Position the two 24-inch side supports vertically. – Attach the 36-inch back support horizontally at a height of 0.5 inches from the bottom of the side supports, using clamps to hold them in place. – Pre-drill holes in the side supports and back support using a 1/8 inch drill bit to avoid splitting the wood. – Secure the parts together with 1.25-inch screws, inserting 2 screws per connection for stability. The frame should be sturdy and square.
- Step 5: Attach the Shelf – Place the 1×12 inch shelf surface on top of the assembled frame, ensuring it is centered evenly. – Pre-drill through the shelf into the frame at all four edges for better stability. – Use 1-inch screws to secure the shelf to the frame at the edges as well as 2 additional screws through the middle of the shelf.
- Step 6: Install Ledge Supports – Take the 12-inch ledge supports and attach them to the front edge of the shelf at a height of 2 inches from the bottom of the shelf to serve as a small lip. – Ensure they are precisely aligned and attach with the 1-inch screws at both ends. Verify they are flush with the shelf surface.
- Step 7: Stain the Wood – Apply the Minwax “Provincial” stain generously with a wide brush to achieve a rich, even color. Start with the frame, then ledge supports, and finally the shelf surface. – Let the stain dry according to the manufacturer's instructions, which typically takes about 2 hours.
- Step 8: Seal the Shelf – Once the stain is completely dry, apply a coat of polyurethane using a clean brush over all surfaces to protect the wood. – Allow the sealer to cure for at least 24 hours in a well-ventilated area before proceeding.
- Step 9: Mount the Shelf – Use a stud finder to accurately locate the wall studs where you intend to mount the shelf, ensuring they are at a comfortable height for usage. – Attach the metal brackets to the back of the shelf using 1-inch screws and then secure the brackets to the wall studs.
- Step 10: Add Finishing Touches – Decorate the shelf with vintage café signage (like a small chalkboard or wooden sign) and other coffee-related decor such as plants, canisters, or love letters.
Troubleshooting and FAQ
Troubleshooting
- The joint will not close flush. This may be caused by misalignment during assembly. Adjust the pieces gently, tightening screws evenly across the joint to ensure a secure fit without gaps.
- The shelf feels wobbly. Check that all screws are properly tightened and that the frame is square. Reinforce with additional screws if necessary, particularly at the corners.
- Stain appears uneven after drying. Uneven application can cause this. Ensure even and consistent application of stain in future projects, and consider sanding the surface lightly before reapplying.
- Screws are stripping out of the wood. This may occur if the holes are too large or improperly drilled. Ensure pilot holes are the correct size and use the specified screw length for connections.
Frequently Asked Questions
- What alternatives can I use for wood? Reclaimed wood adds character and a rustic look but may be more expensive and require additional cleaning and preparation. New pine is cost-effective and easier to work with.
- Can the shelf hold heavy items? Yes, but avoid overloading with heavy items (greater than 25 pounds) without proper wall studs. Heavy items may necessitate additional wall support or using anchors.
- What kind of sealer can I use instead of polyurethane? While polyurethane offers durability, other options include varnish or shellac for a different finish. Note that each choice has its own drying times and application techniques.
- How should I maintain the shelf after finishing? Clean using a damp cloth and avoid abrasive cleaners or chemicals that could damage the finish. Regularly check screws for tightness and condition of the wood.
Save This Guide
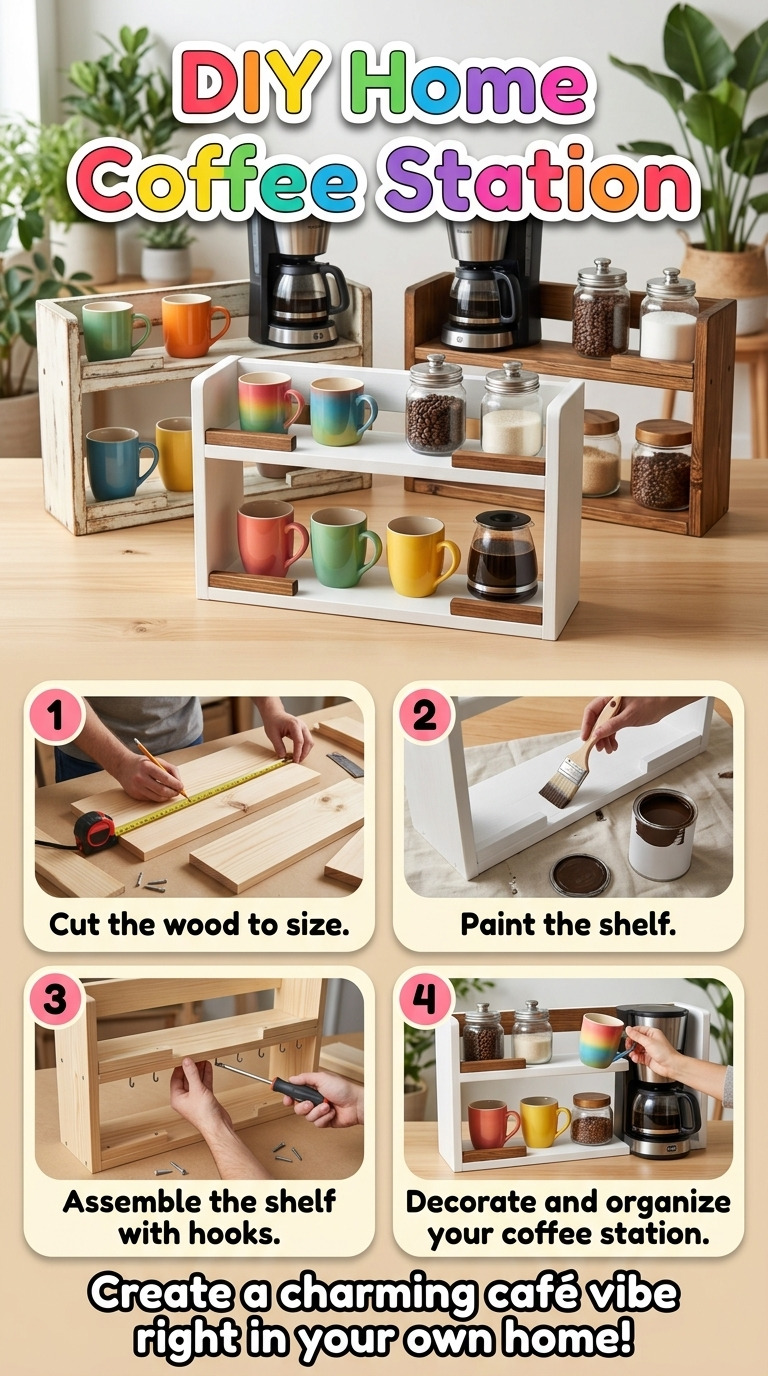
Save or pin this guide to Pinterest so you have easy access to the cut list, exact measurements, drying times, and troubleshooting entries while you build your coffee station shelf. If you have corrections, measured results, or successful substitutions, contribute to keeping this guide accurate and helpful.
Leave a Reply