
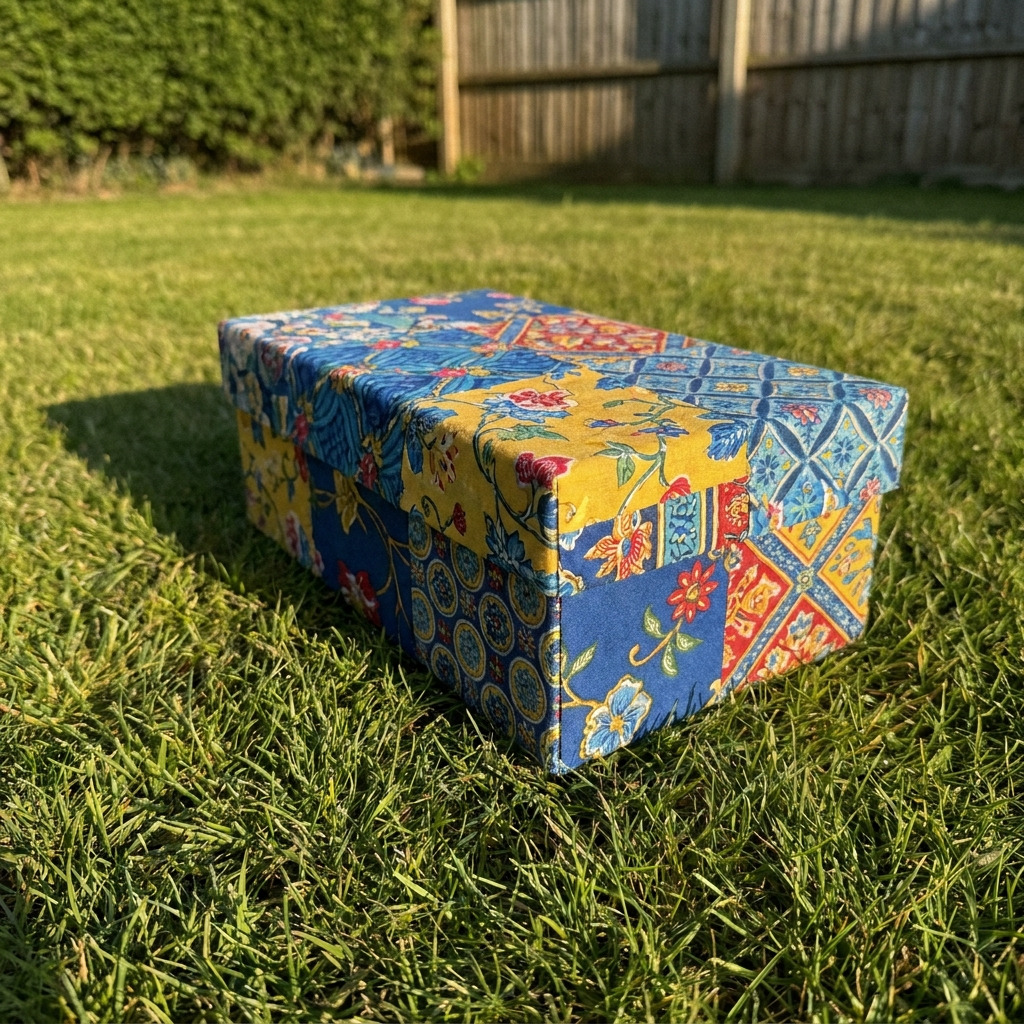
Project Overview
This project transforms a standard shoe box into a fabric-lined memory box, ideal for storing keepsakes and precious memories. The finished item is both functional and visually appealing.
Project at a Glance
- Time required: Active working time: 1 hour; Total elapsed time: 1 hour and 40 minutes
- Difficulty level: Beginner, primarily involving cutting and gluing fabric
- Estimated cost: $10 to $25; cost varies based on fabric choice and whether tools are already owned
- Finished dimensions: Approximately 12 inches (L) x 6 inches (W) x 4 inches (H)
- Yield: 1 fabric-lined memory box
HERO IMAGE PLACEHOLDER
[Descriptive image caption of the finished project]
Materials and Tools
Materials
- Shoe box: 1 standard size, clean and empty
- Fabric: 1 yard of cotton fabric (a colorful pattern of your choice)
- Fabric glue: 1 bottle (approximately 4 oz)
- Spray adhesive: 1 can (optional)
- Cardstock or cardboard: 1 piece, 12 inches x 6 inches (for the bottom lining)
- Scissors: 1 pair of sharp scissors
- Ruler: 1, at least 12 inches in length
- Pencil or fabric chalk: 1, for marking fabric
- Button or decorative embellishment: 1 (optional, for added decoration)
- Sewing machine or needle and thread: (optional, if you choose to sew fabric edges)
Tools
- Cutting mat: 1 (optional, for cutting fabric)
- Hot glue gun and glue sticks: 1 set (optional; use instead of fabric glue if desired)
- Eye protection: Recommended when using scissors and cutting tools
- Work surface: A clean, flat area for crafting
Instructions
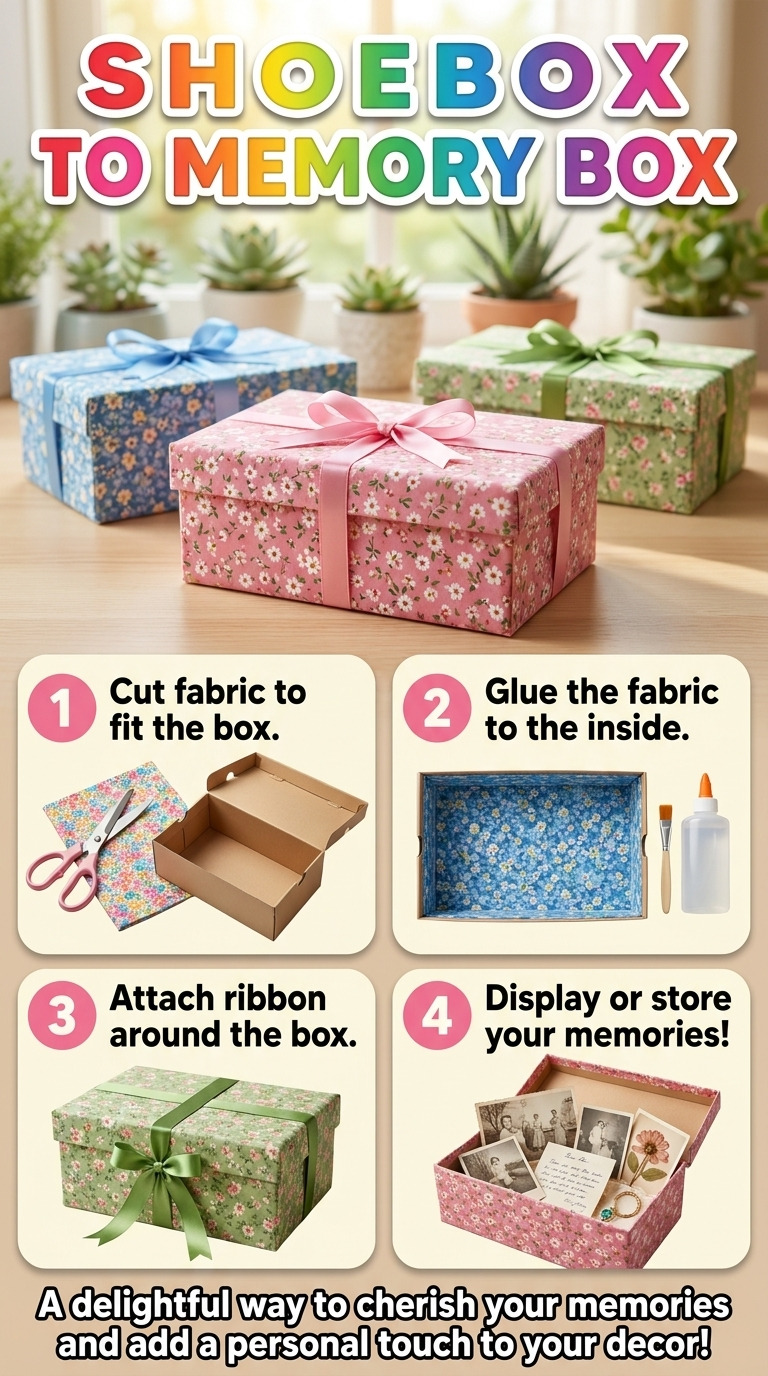
- Step 1: Prepare Your Workspace – Clear a flat area and cover it with a cutting mat or an old cloth to protect the surface. The workspace should be clean and dry for best results.
- Step 2: Clean the Shoe Box – Ensure the shoe box is completely clean and dry to allow for proper adhesion of fabric.
- Step 3: Cut Cardstock for Bottom Lining – Cut a piece of cardstock or cardboard to 12 inches (L) x 6 inches (W) using sharp scissors. This will serve as the foundation inside the box.
- Step 4: Measure and Cut Fabric – Using a ruler, measure out a piece of fabric that is 36 inches (L) x 18 inches (W) to wrap around the edges of the box. Cut the fabric with sharp scissors.
- Step 5: Apply Spray Adhesive (if used) – Lightly spray the inside of the shoe box with spray adhesive for added hold if desired. Allow the adhesive to set for 5 minutes.
- Step 6: Glue Fabric to Box Bottom – Place the 12 x 6 inch piece of cardstock/cardboard into the bottom of the shoe box. Using fabric glue, attach one end of the fabric to the inside bottom of the shoe box, ensuring it lies flat against the cardstock. Press down gently and hold for about 30 seconds to secure it.
- Step 7: Wrap the Sides of the Box – Fold the fabric up to cover all four sides of the box, ensuring it overlaps at the edges. Apply fabric glue along the edges of the box and on the fabric to help it adhere. Smooth out wrinkles as you glue to ensure the fabric lies flat. Let dry for 10 minutes.
- Step 8: Trim Excess Fabric – After the fabric is dry, trim the excess fabric at each corner to create a clean fold that fits inside the box. Aim for approximately 1 inch of fabric fold at each corner.
- Step 9: Finish Edges – Fold the excess fabric inwards and apply fabric glue to the inside edges of the box to secure them. If desired, sew along the edges for a finished look using a sewing machine or by hand.
- Step 10: Add Decorative Touch – If desired, attach a button or other embellishment to the top center of the box using fabric glue. Let everything dry completely, which may take about 30 minutes.
Assembly & Finishing
- Ensure all fabric is well secured and that all glued areas are completely dry.
- If desired, you may apply a coat of fabric sealer over the inside lining for added durability and protection against wear.
- The memory box is now ready for use. Place your cherished items inside.
Measurements & Dimensions
- Final dimensions of the finished memory box: 12 inches (L) x 6 inches (W) x 4 inches (H)
- Cut sizes:
- Fabric: 36 inches x 18 inches
- Cardstock/Cardboard: 12 inches x 6 inches
Timing Information
- Estimated active working time: 1 hour
- Drying time: 40 minutes
- Total time: 1 hour and 40 minutes
Variations & Notes
- Use different fabric colors and patterns to match personal styles or themes.
- Consider adding photographs or decorative paper inside the box for personalization.
- Allow hot glue to cool (2-3 minutes) before handling to avoid burns.
- To clean the box, gently spot wipe with a damp cloth; avoid soaking. Store the box in a dry area away from direct sunlight to prevent fabric fading.
Troubleshooting and FAQ
Troubleshooting
- The fabric is not adhering to the box. The glue may not have been applied evenly, or the surface could be dirty. Try reapplying glue evenly and ensuring the surface is clean.
- Wrinkles appear in the fabric. This occurs from not smoothing out the fabric while adhering. Carefully peel back the fabric, reapply glue, and smooth the fabric as you adhere it.
- The corners of the fabric do not fold neatly. Excess fabric may not have been trimmed effectively. Carefully remove some fabric from the corners and ensure to leave about 1 inch to fold inside.
- The fabric has a rough edge. Fraying can occur if the fabric was not cut cleanly. Consider using pinking shears to cut fabric to reduce fraying, or hem the edges if you have the skills.
Frequently Asked Questions
- Can I use different types of fabric? Yes, different fabric types such as felt or fleece can be used, though the method of adhesion may slightly vary, and the finish may look different.
- What should I do if I don't have a sewing machine? Sewing is optional; you can simply use fabric glue to secure any raw edges, ensuring the fabric is secured for a clean finish.
- How do I make the memory box more sturdy? You could reinforce the box by using thicker cardboard or a sturdier box base. Alternatively, lining the entire inside with a thicker foam layer before adding fabric will add sturdiness.
- Can I use other adhesives besides fabric glue? Yes, hot glue or spray adhesive can be used instead, though each may have different drying times and adhesion qualities. Ensure good ventilation when using spray adhesive.
Save This Guide
Save or pin this guide to Pinterest so you have the cut list, exact measurements, cure times, and troubleshooting entries on hand while you build. Share any corrections, measured results, or substitutions that worked to keep the guide accurate.
Leave a Reply