
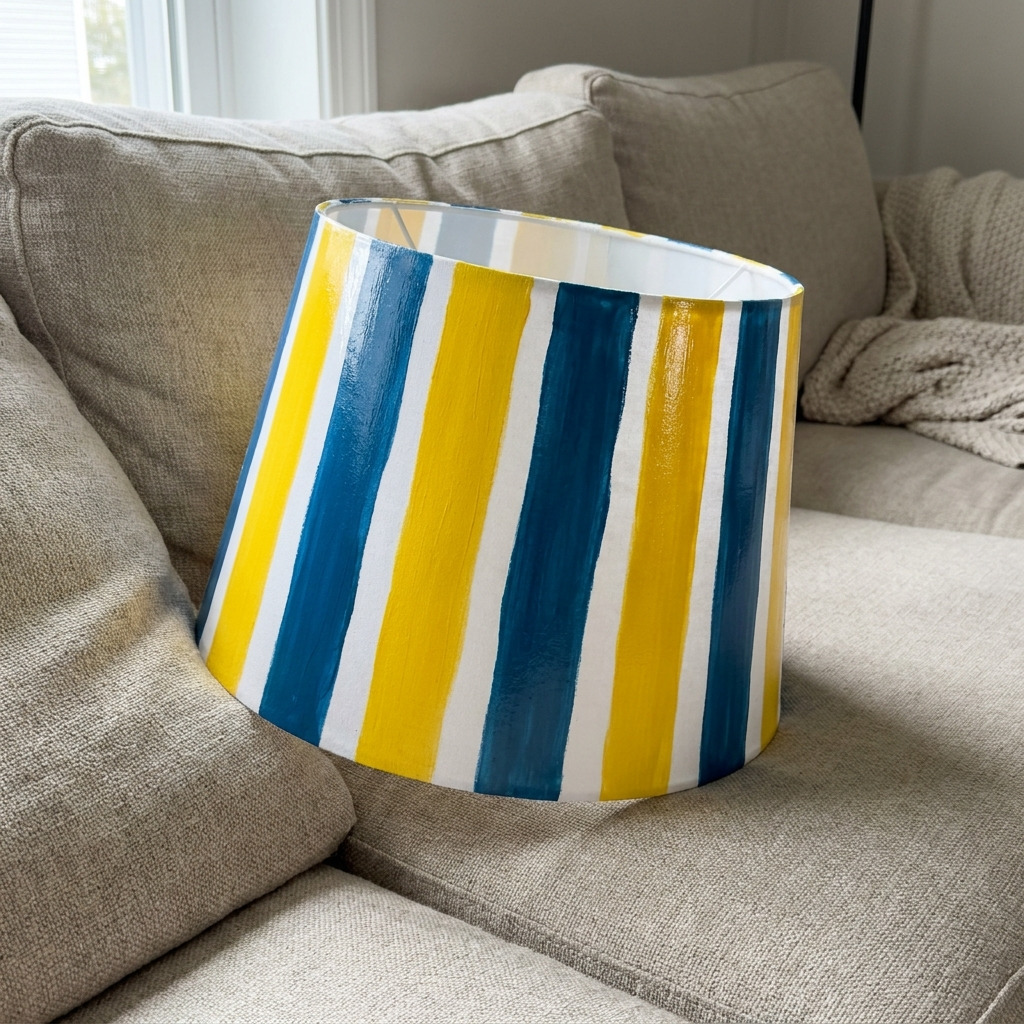
Project Overview
This project involves transforming a plain lampshade into a stylish, striped masterpiece using paint and painter's tape. The finished item will have a modern, sophisticated look that can elevate any room decor.
Project at a Glance
- Time required:
- Active working time: 1 hour
- Total elapsed time: Approximately 26 hours (including drying time)
- Difficulty level: Beginner, focusing on painting and masking techniques
- Estimated cost: $15 to $30, depending on paint and lampshade choices
- Finished dimensions: Approximately 14 inches (top diameter) x 17 inches (bottom diameter) x 10 inches (height)
- Yield: 1 lampshade
HERO IMAGE PLACEHOLDER
[Descriptive image caption of the finished project]
Materials and Tools
Materials
- Lampshade: 1 standard round lampshade, approx. 14” (top diameter) x 17” (bottom diameter) x 10” (height)
- Acrylic Paint: 2 colors, choose between:
- Color A: Bright Yellow (1 small bottle, 8 oz)
- Color B: Ocean Blue (1 small bottle, 8 oz)
- Painter's Tape: 1 roll (width: 0.94 inch or 1 inch; length: 60 yards)
- Sponge Brush: 1 piece (2 inches wide)
- Paint Palette or Plate: 1 piece for mixing colors
Optional Materials
- Clear Acrylic Sealer: 1 small bottle (for added protection)
Tools
- Scissors: for cutting painter's tape
- Ruler: for measuring tape placements
- Pencil: for marking the lampshade
- Drop Cloth: for protecting your work surface
- Safety Equipment: Gloves (for protecting hands from paint), eye protection (if sensitive to paint fumes)
Instructions
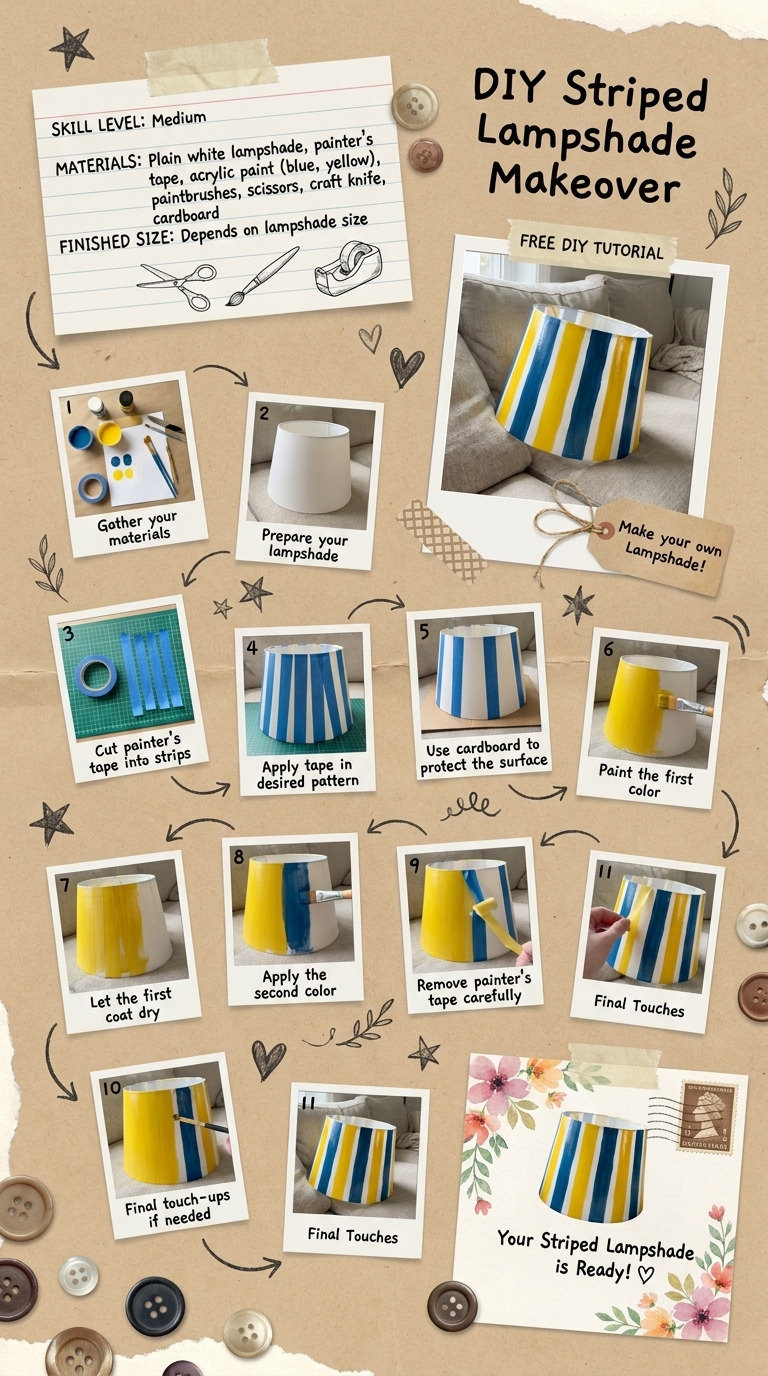
Step 1: Workspace Setup
- Find a well-ventilated area and lay down a drop cloth to protect the work surface from paint spills.
- Ensure the lampshade is clean. If previously used, wipe it with a damp cloth and let it dry completely.
Step 2: Planning the Stripes
- Use the ruler to measure and mark lines around the lampshade where you want the stripes to go. Plan for 4-5 evenly spaced stripes.
- Each stripe should be approximately 2 inches in width, leaving a 2-inch unpainted space between stripes.
Step 3: Taping the Lampshade
- Take the painter's tape and carefully apply it to the lampshade, following your marks to create stripe outlines. Ensure the tape is firmly attached, with no bubbles or gaps.
- Press down the edges of the tape with your fingers to ensure paint will not seep underneath.
Step 4: Painting the Stripes
- Pour a small amount of one of the chosen paint colors onto the palette or plate for mixing.
- Use the sponge brush to apply the first coat of paint to the exposed areas of the lampshade evenly.
- Allow the first coat to dry for approximately 30 minutes.
Step 5: Second Coat
- After the first coat has dried, check for any areas that may need additional coverage.
- Apply a second coat of paint if necessary and allow it to dry for another 30 minutes.
Step 6: Removing the Tape
- Once the final coat is dry to the touch, wait about 1 hour for the overall paint to cure.
- Carefully peel the painter's tape off at a 45-degree angle, taking your time to avoid pulling any paint from the stripes.
Step 7: Applying Sealer (Optional)
- If you chose to use a clear acrylic sealer, apply it evenly using the sponge brush for additional protection.
- Follow the manufacturer’s directions for drying times.
Step 8: Curing
- Allow the lampshade to cure completely for at least 24 hours before reattaching it to the lamp.
Troubleshooting and FAQ
Troubleshooting
The paint has drips or runs. Cause: Too much paint applied at once. Correction: Lighten up on the amount of paint applied. Use thin coats to prevent drips.
The painter's tape pulls off some of the paint. Cause: Tape removed too late or paint applied too thickly. Correction: Ensure you remove tape while paint is slightly tacky. If paint is too dry, use a craft knife to carefully score along the tape edge before removal.
The stripes are uneven or misaligned. Cause: Lack of precision in applying tape. Correction: Re-measure and tape again if necessary; take your time to ensure straight lines.
Frequently Asked Questions
What other colors can I use for the stripes? You can use any acrylic paint colors, but ensure they contrast well with each other for the best visual impact.
Can I use spray paint instead of brush-on paint? Yes, spray paint can provide a smoother finish, but be sure to tape and cover surrounding areas adequately due to overspray.
How do I clean the sponges and mixing plate after use? Clean the sponge brush and paint palette with warm soapy water immediately after use. Acrylic paint will become permanent once dry.
What if my lampshade is fabric instead of plastic? The process remains the same, but fabric paint may be required for better adhesion and flexibility.
Save This Guide
Save or pin this guide to Pinterest to keep the cut list, exact measurements, and drying times at hand while you build your DIY striped lampshade. If you have corrections, measured results, or substitutions that worked, please share them to keep this guide accurate.
Leave a Reply