
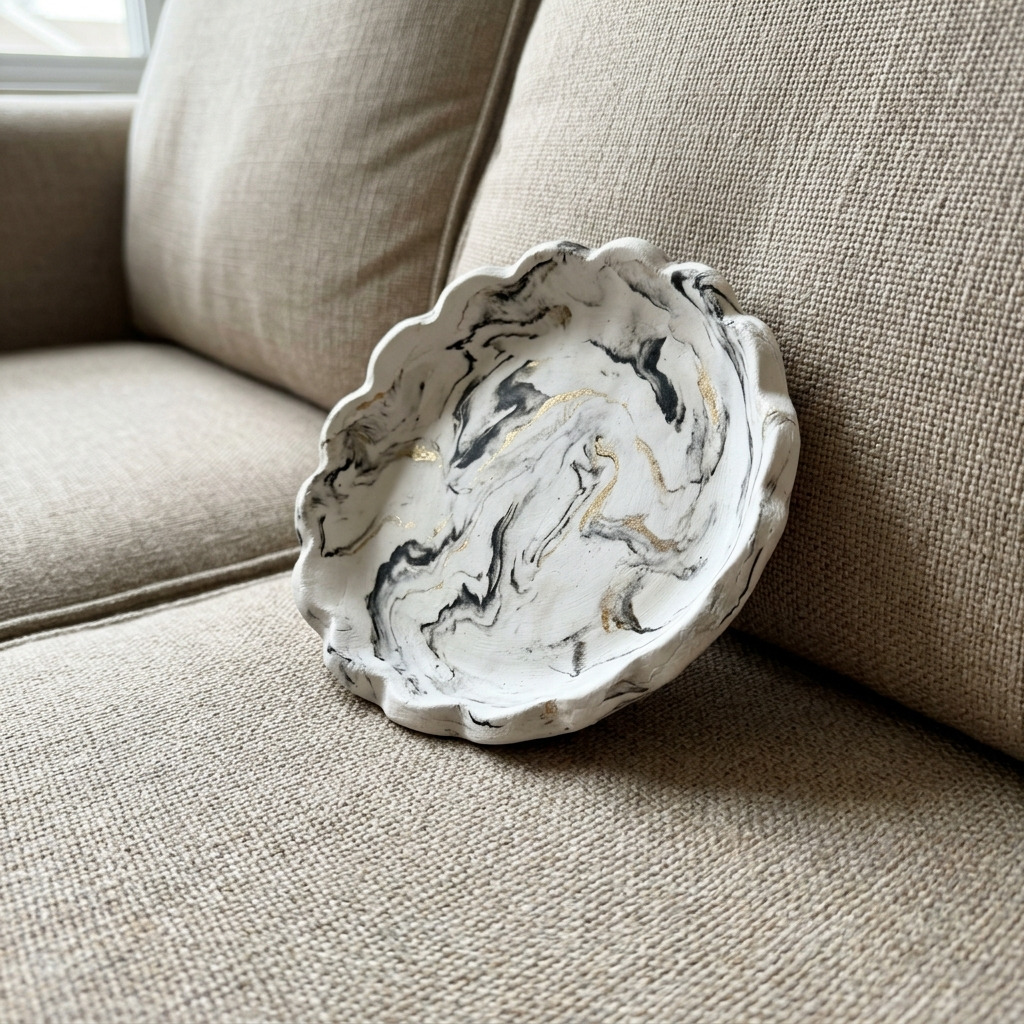
Project Overview
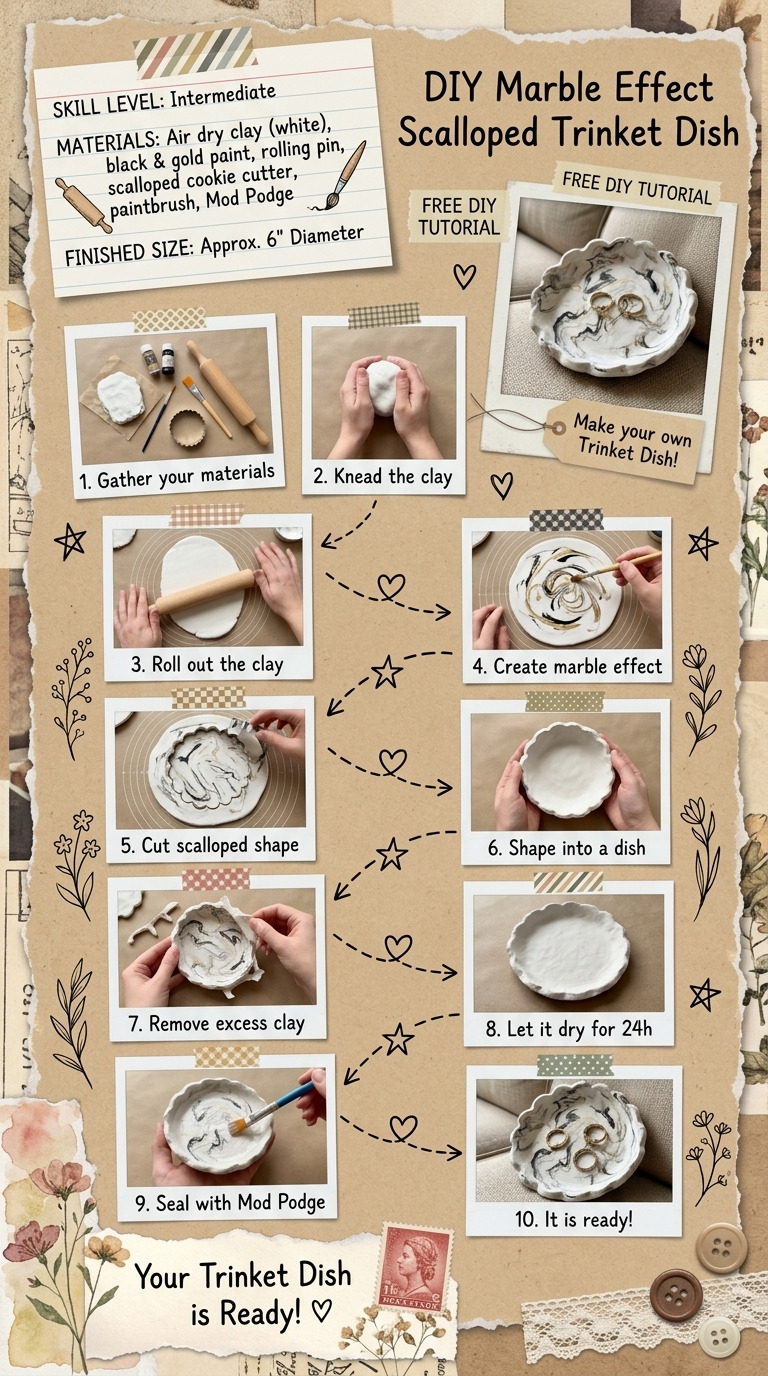
This project will guide you in creating a beautiful scalloped trinket dish from air dry clay, adorned with a stunning marble effect. The finished dish is great for holding small items like jewelry or keys.
Project at a Glance
- Time required: 1.5 hours active working time; 5-6 hours total elapsed time including drying
- Difficulty level: Easy; requires basic handcrafting
- Estimated cost: $10 to $20, depending on material choices and tool availability
- Finished dimensions: Approximately 6 inches in diameter and 1 inch deep
- Yield: One trinket dish
HERO IMAGE PLACEHOLDER
[Descriptive image caption of the finished project]
Materials and Tools
Materials
- Air dry clay: 1 lb (white is preferred for the best marble effect)
- Acrylic paint: 2 oz each of black and metallic gold
- Water: For smoothing the clay
- A small plastic dish or bowl: 6 inches in diameter (used as a mold)
- Clear acrylic sealer spray: 1 can (optional but recommended for durability)
- Wax paper: 1 sheet
Tools
- Rolling pin: 12-inch size
- Clay shaping tools: Plastic knife, circle cutter, or cookie cutter (around 6 inches diameter)
- Sponge: For smoothing (natural or synthetic)
- Paintbrush: 1-inch wide
- Craft knife
- Ruler
- Safety equipment: Gloves (for handling paint and sealer), mask (when spraying sealer)
Preparation & Setup
- Set up your workspace on a flat, clean surface and cover it with wax paper for easy cleanup.
- Gather all tools and materials to have them ready for use.
- No pre-treatment is necessary for air dry clay, but ensure your hands are clean.
Step-by-Step Instructions
Stage 1: Prepare the Clay
- Knead the Clay: Take the air dry clay and knead it for about 5-10 minutes until it’s soft and pliable. The clay should feel flexible without cracks.
- Roll the Clay: Use a rolling pin to roll the clay into a flat disc about 1/4 inch thick. Ensure the diameter is larger than the mold; roll it to approximately 7 inches to accommodate the scallops.
Stage 2: Create the Scalloped Shape
- Shape the Dish: Place the rolled-out clay over the plastic dish (mold). Using your fingers, gently press the clay into the shape of the dish. The edges of the clay should conform to the curve of the mold.
- Create the Scallops: Use a circle cutter or the edge of a craft knife to cut scallops around the edge of the clay while it’s still in the mold. Aim for a scallop height of about 1 inch and a spacing of 1-1.5 inches between scallops.
Stage 3: Marble Effect
- Mix the Colors: In a small bowl, mix a tiny amount of black paint with a bit of water to create a wash. Use only enough paint to tint the water lightly; it should not be a thick mixture.
- Apply the Marble Effect: With your sponge, dab the black wash onto random areas of the dish to create a marbled look, allowing some areas of white clay to show through. Optionally, add hints of metallic gold in the same manner for added depth.
- Blend: Use a clean wet sponge to gently blend the edges of the black wash into the white clay for a seamless marble look. Let it dry for about 1 hour.
Stage 4: Finalize the Dish
- Remove from Mold: Once dry, carefully turn the dish upside down and gently flex the plastic mold to release the dish. The dish should come out without breaking.
- Smooth Edges: Use a damp sponge to lightly smooth any rough edges on the scallops if needed. Ensure all sharp edges are rounded.
Stage 5: Finishing Touches
- Seal the Dish: If desired, spray the dish with clear acrylic sealer for added durability. Allow it to dry completely according to the sealer instructions, which usually suggest a drying time of around 1-2 hours.
Measurements & Dimensions
- Final dimensions of the finished item: 6 inches in diameter and 1 inch deep.
- Clay thickness: 1/4 inch.
- Scallops should be evenly spaced, roughly 1 inch high with 1-1.5 inches between them.
Timing Information
- Estimated active working time: 1.5 hours.
- Drying/curing time (for paint and sealant): 3-4 hours.
- Total time: Approximately 5-6 hours to fully complete.
Variations & Notes
- Tips for Clean Results: Use a damp sponge lightly to smooth the clay as it prevents tearing. Work quickly when applying the marble effect as the clay can dry fast.
- Common Mistakes: Avoid overworking the clay, which can lead to tearing; also, don’t apply too much wash paint at once to prevent it from clumping.
- Simple Variations: Try using different color combinations for the marble effect (e.g., blue and silver).
- Care Instructions: Clean the dish with a damp cloth; do not soak. Store in a dry place to maintain its shape.
Troubleshooting and FAQ
Troubleshooting
- The clay cracks during kneading. This may occur if the clay is too dry. Add a small amount of water to the clay and knead again until it becomes pliable.
- The scallops do not have a clear shape. This can happen if the clay isn’t pressed firmly into the mold. Ensure you are applying enough pressure while shaping.
- The paint clumps or does not apply evenly. This may be due to using too much paint at once. Thin the paint with more water to achieve a wash consistency.
- The dish is warped after drying. This can happen if the dish wasn’t evenly shaped in the mold. Ensure uniform thickness and smooth edges before drying.
Frequently Asked Questions
- Can I use colored air dry clay? Yes, colored air dry clay can be used, but it may affect the final appearance of the marble effect.
- What if I want to make a larger dish? Increase the amount of air dry clay and the size of the plastic mold. Adjust the rolling and shaping steps accordingly.
- Is the sealer necessary? While optional, the sealer enhances durability and moisture resistance; it is recommended for items used frequently.
- Can I bake the clay to speed up the drying process? No, air dry clay should not be baked. It is designed to dry naturally at room temperature.
Save This Guide
Save or pin this guide to Pinterest for easy access while you build, as it contains all the essential measurements, materials, and troubleshooting tips. Share any corrections, measured results, or substitutions that worked for you, so the guide can remain accurate.
Leave a Reply