
Project Overview
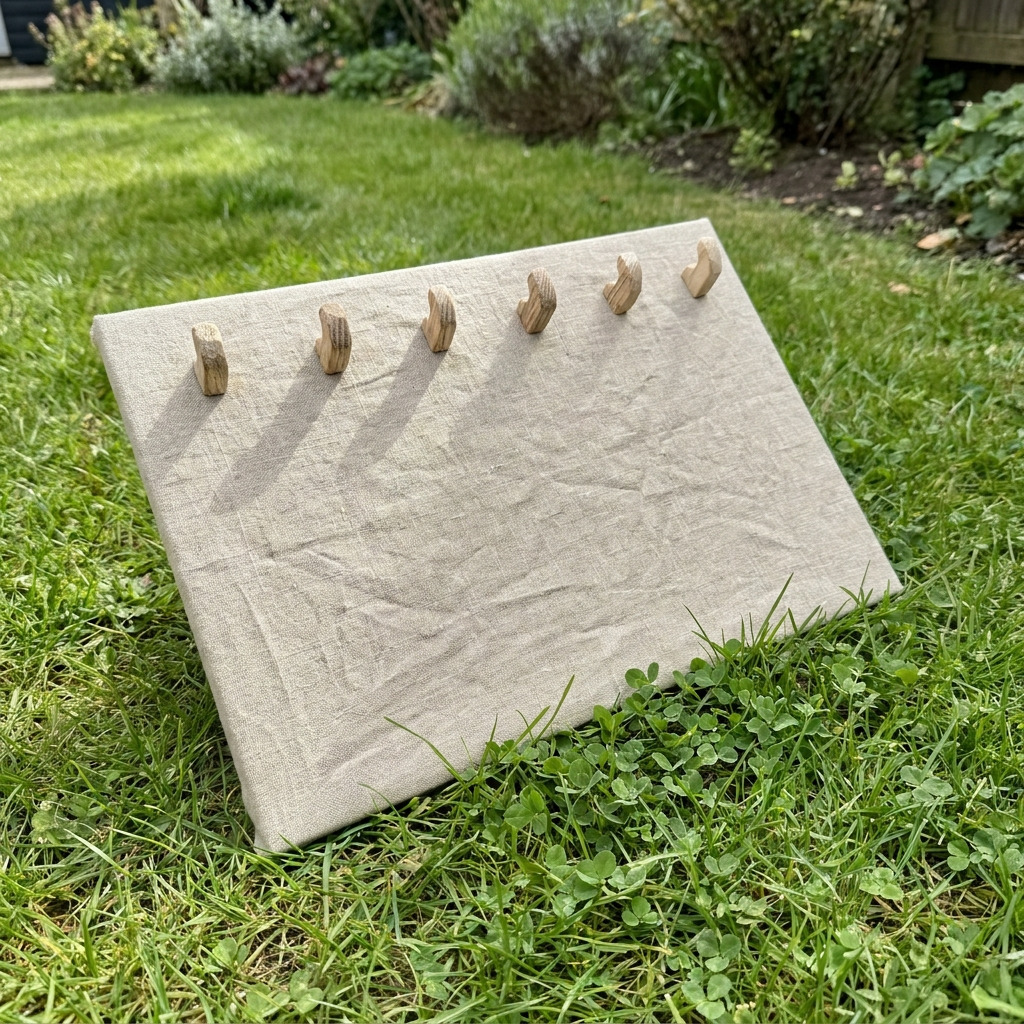
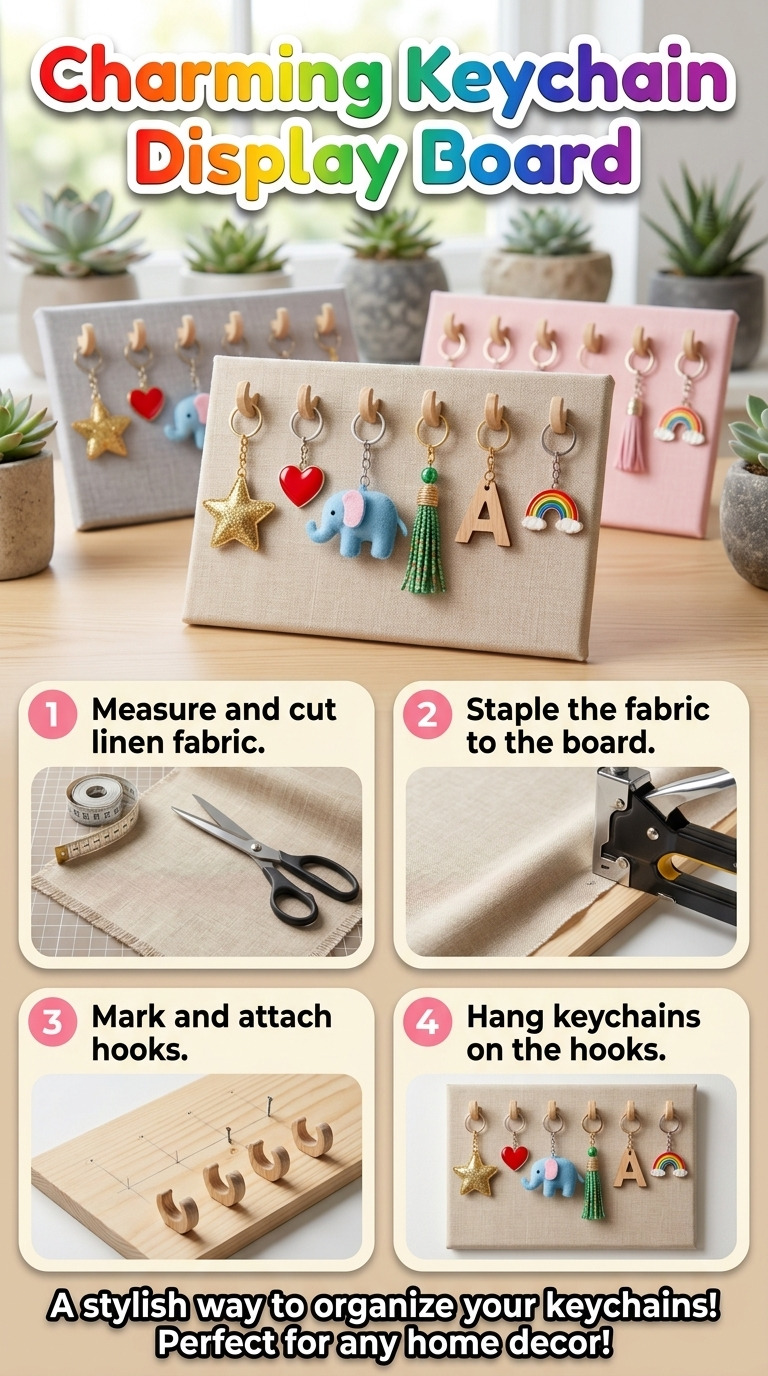
This project creates a stylish display board for showcasing a collection of keychains, using hooks and a beautiful linen fabric background. The finished display board is both functional and decorative for any space.
Project at a Glance
- Time required: Active working time: 1.5 hours; Total elapsed time: approximately 2.5 hours including drying
- Difficulty level: Beginner; requires basic cutting, gluing, and stapling skills
- Estimated cost: $30 to $50; cost varies based on material choice and availability
- Finished dimensions: 24 inches (L) x 18 inches (W)
- Yield: 1 display board
HERO IMAGE PLACEHOLDER
[Descriptive image caption of the finished project]
Materials and Tools
Materials
- Wood Board: 1 piece of 24” x 18” plywood (3/4” thickness, finished)
- Linen Fabric: 1 yard of natural beige-colored linen fabric (approximately 36” x 44”)
- Wooden Hooks: 6 small wooden hooks (2” long in a natural wood finish)
- Adhesive Spray: 1 can of fabric adhesive spray (e.g., Aleene's)
- Staples: 1 package of 3/8” staples (for securing fabric)
- Foam Board: 1 piece of 22” x 16” foam board (for added padding)
- Sturdy Wall Hanging Hardware: 1 set (includes D-rings and screws)
- Decorative Trim (optional): 1 yard of coordinating trim or ribbon
- Craft Paint (optional): 1 small container (any color for painting hooks, if desired)
Tools
- Utility Knife: For cutting fabric and foam board
- Hot Glue Gun: For attaching the hooks
- Ruler: For measuring
- Scissors: For cutting fabric
- Staple Gun: For attaching fabric securely to the board
- Paintbrush: For painting hooks (if applicable)
- Safety Equipment: Safety glasses and mask (as needed when cutting wood or using spray adhesive)
Instructions
Step 1: Cut the Foam Board
Using a utility knife, cut the foam board to the size of 22” x 16”. Ensure the cuts are straight and clean.
Step 2: Adhere Foam Board to Plywood
Lay the foam board on the plywood board and center it. Use fabric adhesive spray according to the manufacturer's instructions to adhere it. Press down firmly and allow it to set for 15 minutes.
Step 3: Prepare the Fabric
Cut the linen fabric to 28” x 22”. This size allows for wrapping it around the edges of the foam board and plywood.
Step 4: Wrap the Fabric
Center the foam board (with the plywood underneath) on the back of the fabric. Pull the fabric tightly over the foam board edges and staple it to the back. Start from the center of each side and work towards the corners. Fold the corners neatly and staple down to create a smooth finish on the back. Ensure it's secure and taut without wrinkles.
Step 5: Mark Hook Placement
Decide on the placement for the hooks. Space them uniformly, approximately 3 inches apart along the top edge of the board for easy reach and access.
Step 6: Attach Hooks
Pre-drill holes for the hooks using a small drill bit, or screw them directly into the wood. Apply a small amount of hot glue to each hook for additional strength and adherence.
Step 7: Decorate (optional)
If you wish to paint the hooks, use a paintbrush to apply a coat of craft paint. Let the paint dry for 30 minutes before securing hooks onto the display board.
Step 8: Attach Wall Hanging Hardware
On the back of the board, attach D-rings using screws on either side. Position them approximately 3 inches from the top and centered along the width for balance.
Assembly & Finishing
Ensure all screws and hooks are tightly secured. If using decorative trim, apply hot glue along the edges of the foam board and press the trim into place for a finishing touch. Allow any glue to dry fully according to the manufacturer's recommendations, ideally for 30 minutes to an hour.
Measurements & Dimensions
- Finished Dimensions: 24” (L) x 18” (W)
- Foam Board Size: 22” x 16”
- Hook Placement: Approximately 3” apart from each other.
Timing Information
- Estimated Active Working Time: 1.5 hours
- Drying/Curing Time: 1 hour (including setup)
- Total Time: Approximately 2.5 hours including drying.
Troubleshooting and FAQ
Troubleshooting
The fabric is wrinkled. Cause: The fabric was not pulled tightly enough. Correction: Remove staples and rewrap the fabric, ensuring it is taut as you staple.
The hooks are not securing keychains properly. Cause: The hooks are not tightened enough or were improperly installed. Correction: Check that hooks are firmly screwed in and re-tighten if necessary.
The foam board does not adhere well to the plywood. Cause: Spraying too much adhesive can lead to insufficient grip. Correction: Reapply adhesive carefully, pressing firmly to secure, ensuring even coverage.
The trim is peeling off. Cause: Insufficient glue application. Correction: Reapply hot glue under the trim and press down firmly until it sets.
Frequently Asked Questions
Can I use a different type of fabric? Yes, using a different fabric can enhance the aesthetics of the display board. Make sure the new fabric is durable enough to withstand staples and pulls.
What if I want a larger display board? You can increase the size of the plywood and foam board; just adjust the amount of fabric proportionally, ensuring it covers the added dimensions adequately.
How can I clean the fabric? Use a damp cloth to gently wipe the fabric. Avoid using harsh chemicals that may damage the fabric or adhesive.
What type of wood should I use for the board? Plywood is recommended for durability and ease of cutting. You may use other woods, but ensure they are not heavier than your chosen hardware can support.
Save This Guide
Save or pin this guide to Pinterest to refer back to the cut list, exact measurements, and drying times while you build. If you have corrections, measured results, or substitutions that worked, let us know to keep the guide accurate.
Leave a Reply