
Project Overview
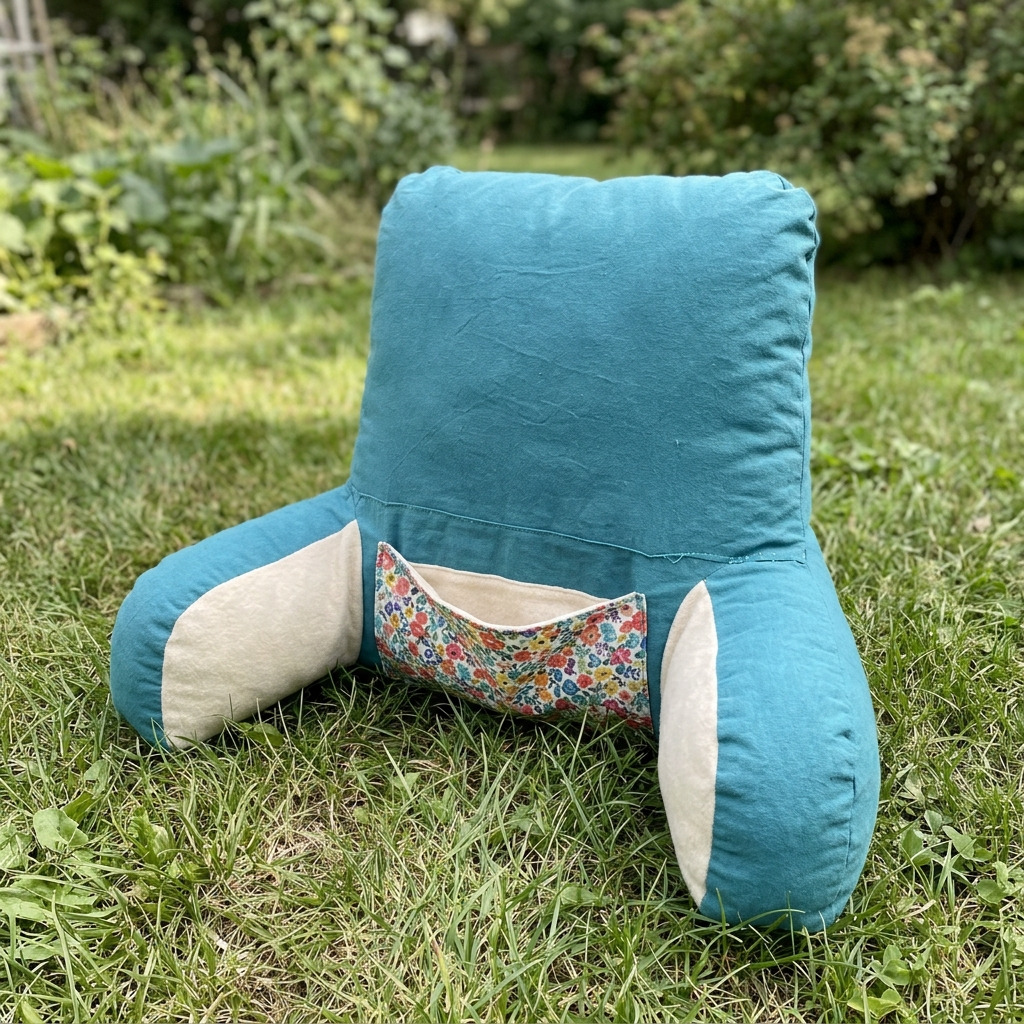
This project will guide you in creating a cozy reading pillow with arms and a built-in pocket for storing books or other reading materials. This pillow provides support for your back while allowing you to relax comfortably during reading sessions.
Project at a Glance
- Time required: Active working time: 2-3 hours; Total elapsed time: approximately 3 hours including setup and cleaning
- Difficulty level: Beginner (basic sewing skills required)
- Estimated cost: $25 to $50, depending on fabric choice and whether tools are already owned
- Finished dimensions: Approximately 18 inches wide, 27 inches tall, and 6 inches deep
- Yield: One reading pillow
!Finished reading pillow with arms and a book pocket.
Materials and Tools
Materials
- Main fabric: 1.5 yards of cotton fabric (color: teal)
- Accent fabric for pocket: 0.5 yard of cotton fabric (color: floral print)
- Lining fabric for pillow: 1 yard of flannel (color: cream)
- Polyester fiberfill: 2 bags (each bag approximately 10 ounces)
- Thread: 1 spool of polyester thread (color: matching teal)
- Zipper (optional): 1 standard 18-inch zipper (color: teal)
- Fabric marking tool: Fabric chalk or disappearing ink pen
- Safety pins: 10 to 15 standard safety pins
Tools
- Sewing machine: Standard sewing machine
- Iron: For pressing fabric
- Ironing board: For fabric pressing
- Scissors: Fabric scissors
- Measuring tape: For accurate measurements
- Ruler: For straight cuts
- Pins: Straight pins for fabric alignment
- Cutting mat (optional): For cutting fabric accurately
- Safety equipment: None required, but use caution when operating the sewing machine
Step-by-Step Instructions
Preparing the Pillow Parts
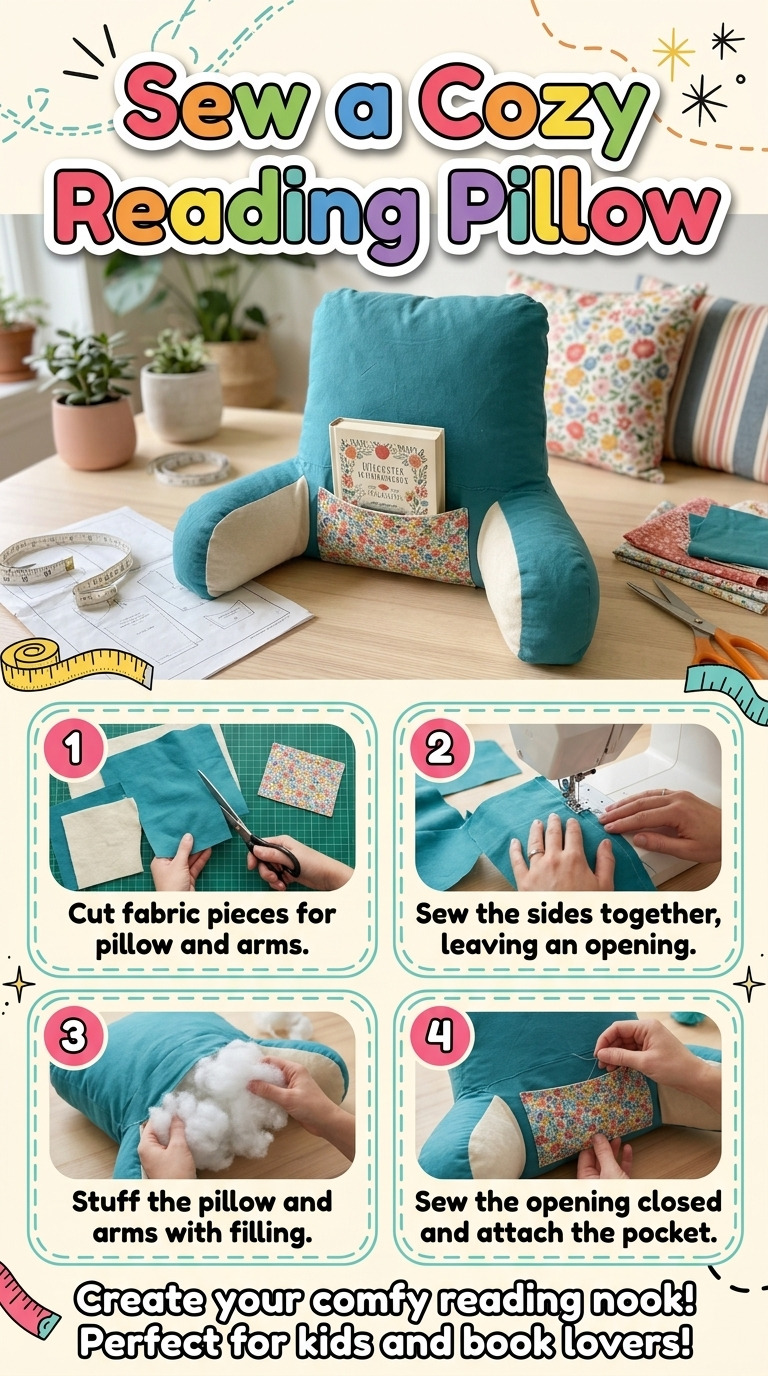
Step 1: Cut Fabric Using a ruler and fabric scissors, cut the pieces according to the preparation step measurements:
- 2 pieces of main fabric measuring 18” x 27” (back and front)
- 2 pieces of main fabric measuring 18” x 6” (arms)
- 1 piece of pocket fabric measuring 16” x 12”
- 2 pieces of lining fabric measuring 18” x 27” (back and front)
- 2 pieces of lining fabric measuring 18” x 6” (arms)
Step 2: Mark Pocket Location On the front side of the main body fabric, measure down 6 inches from the top edge and 1 inch in from the side seams. Mark these points lightly with fabric chalk.
Sewing the Pocket
Step 3: Sew Pocket Fold the pocket piece (16” x 12”) in half, right sides together, aligning the long edges. Sew down the side and bottom with a ½-inch seam allowance, leaving the top open. Turn the pocket right-side out and press it flat.
Step 4: Attach Pocket Place the pocket on the front of one main body piece, centering it between the marked lines. Pin in place and sew along the top edge of the pocket within ¼-inch seam allowance to secure it.
Sewing the Pillow
Step 5: Assemble Main Pieces Place the second main body piece right-side down on top of the first piece with the pocket. Align the edges and pin around all sides, leaving a small opening (about 6 inches) on one side for turning.
Step 6: Sew Edges Sew around the pinned edges using a ½-inch seam allowance, starting and stopping at the opening.
Step 7: Add Arms Fold each arm piece in half lengthwise (18” x 6”) and sew along the long edges, turning right-side out and pressing. Pin the arms to the sides of the pillow body, aligning raw edges with the side seams (be sure to secure the arms snugly into the corners). Sew them into place as you finish the pillow assembly.
Adding the Lining
Step 8: Prepare Lining Repeat steps 5 and 6 with the cream flannel pieces as you did for the main body fabric.
Step 9: Join Lining and Main Pillow Insert the main pillow inside the lining (right sides together), aligning all edges and seams. Sew around the top edge, securing both layers together and sealing the opening.
Final Steps
Step 10: Turn and Fill Turn the pillow right-side out through the opening in the lining. Use the opening to fill the pillow with polyester fiberfill until it reaches your desired firmness.
Step 11: Close Opening Once filled, hand-stitch or sew the opening closed using a slip stitch.
Step 12: Press the Pillow Lightly iron the pillow around the edges to give it a crisp, finished look.
Assembly and Finishing
Ensure all pieces are securely attached, with no raw edges visible. For finishing touches, you can add decorative buttons on the pocket or use embroidery on the arms if desired. Optionally, sew in a zipper on the side if you prefer a removable cover for easy washing.
Measurements and Dimensions
- Finished pillow: Approximately 18 inches wide, 27 inches tall, and 6 inches deep
- Each main body piece: 18” x 27”
- Each arm piece: 18” x 6”
- Pocket piece: 16” x 12”
- Lining pieces: 18” x 27” & 18” x 6”
Timing Information
- Estimated active working time: 2-3 hours
- Drying/curing time: None required
- Total time: Approximately 3 hours including setup and cleaning
Variations and Notes
For a different look, consider using different colored fabrics or patterned materials for the main body and pocket. If larger pillows are preferred, increase the main body cut dimensions proportionally, ensuring the pocket is centered. Use a washable fabric or cover if the pillow will be used regularly. Always ensure that any embellishments are securely attached to avoid any hazards. Store in a cool, dry place when not in use.
Troubleshooting and FAQ
Troubleshooting
The pocket fabric shifts while sewing. Cause: The fabric may not be pinned securely. Correction: Use extra pins to secure the pocket to the main body fabric.
The pillow is not filling evenly. Cause: The fiberfill may have been packed too tightly in some areas. Correction: Distribute the fiberfill more evenly and adjust as necessary.
The seams appear puckered. Cause: The fabric may not have been fed evenly through the sewing machine. Correction: Ensure to guide the fabric smoothly without pulling or pushing it.
The finished pillow is too firm. Cause: Excessive fiberfill may have been added. Correction: Remove some fiberfill through the opening and redistribute as desired.
Frequently Asked Questions
Can I use different types of fabric? Yes, but note that heavier fabrics may result in a firmer pillow and will require different sewing techniques.
How can I wash the pillow? If you added a zipper, simply unzip to remove the cover; otherwise, spot clean with mild soap and water.
What if I want a larger pillow? Increase the cut dimensions proportionally while keeping the overall shape and design consistent.
Is it necessary to use lining fabric? Lining fabric is not strictly necessary but provides a more polished look and extra durability.
Save This Guide
Save or pin this guide to Pinterest for easy reference while building your reading pillow, as it contains the cut list, exact measurements, and troubleshooting entries. Your feedback about corrections, measured results, or successful substitutions will help keep this guide accurate.
Leave a Reply