
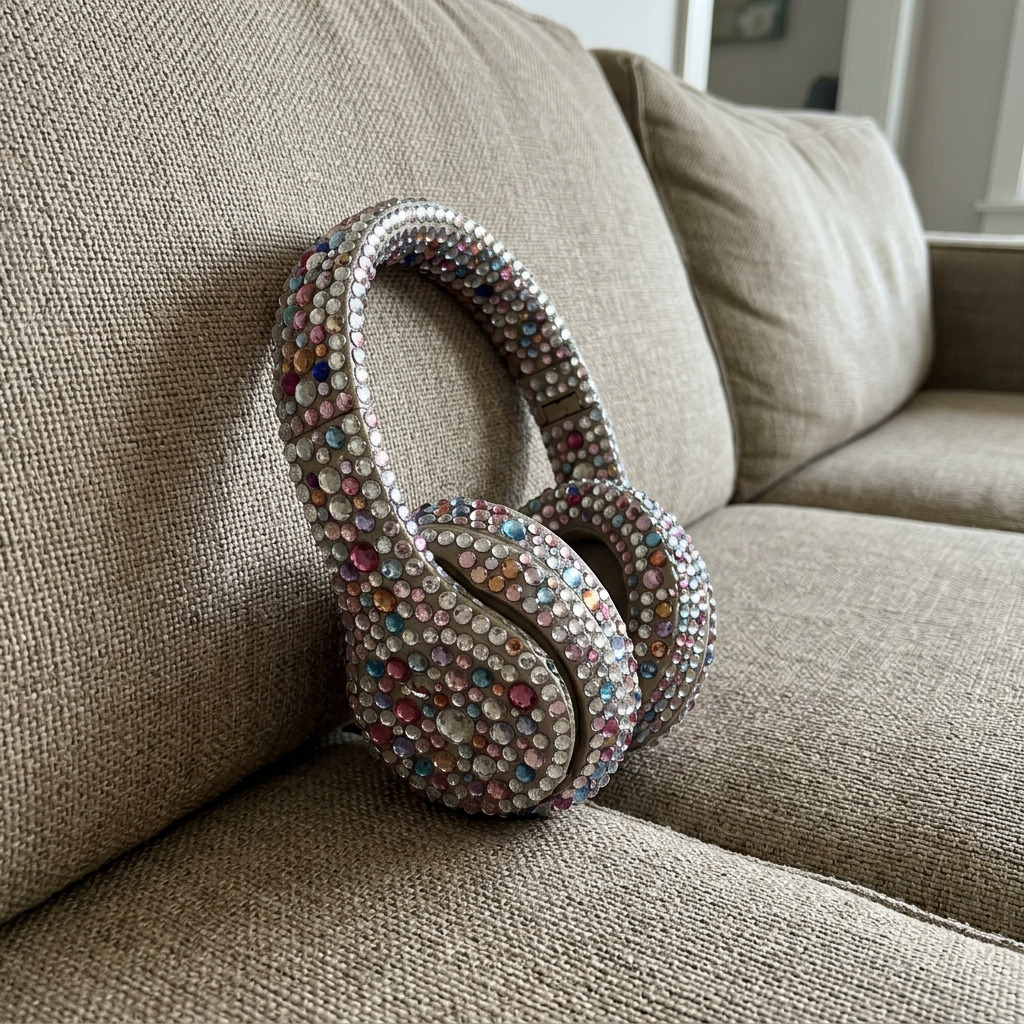
This project transforms a pair of ordinary headphones into a sparkling accessory adorned with rhinestones, adding a glamorous and personalized touch. The result is a visually striking set of headphones that reflect your unique style.
Project at a Glance
- Time required: 2 to 3 hours active working time; total time approximately 5 to 9 hours including drying
- Difficulty level: Beginner, requiring precise placement and patience
- Estimated cost: $20 to $50, depending on rhinestone selection and whether tools are already owned
- Finished dimensions: Typically about 6 inches wide, depending on the headphones used
- Yield: 1 pair of bedazzled headphones
HERO IMAGE PLACEHOLDER
[Descriptive image caption of the finished bedazzled headphones]
Materials and Tools
Materials
- Headphones: 1 pair (over-ear or on-ear)
- Rhinestones: 300 clear or colored rhinestones (various sizes, primarily 3 mm and 6 mm)
- Rhinestone glue: 1 bottle (approximately 30 ml, suitable options include E6000 or Gem-Tac)
- Sealer: 1 small bottle (optional, for added durability)
- Pencil: 1 (for marking placement)
- Tweezers: 1 pair (for precise placement)
- Small container: 1 (to hold rhinestones while working)
Optional Materials
- Colored rhinestones: For more customization.
- Foam brush: For applying sealer.
Tools
- Hot glue gun: (optional) For additional adhesive strength
- Scissors: 1 pair (for trimming if needed)
- Craft knife: (optional) For precise cuts
- Eye protection: Recommended when working with adhesives
- Clear workspace: Flat, clean table or desk
- Cutting mat: For protection if using a knife
Instructions
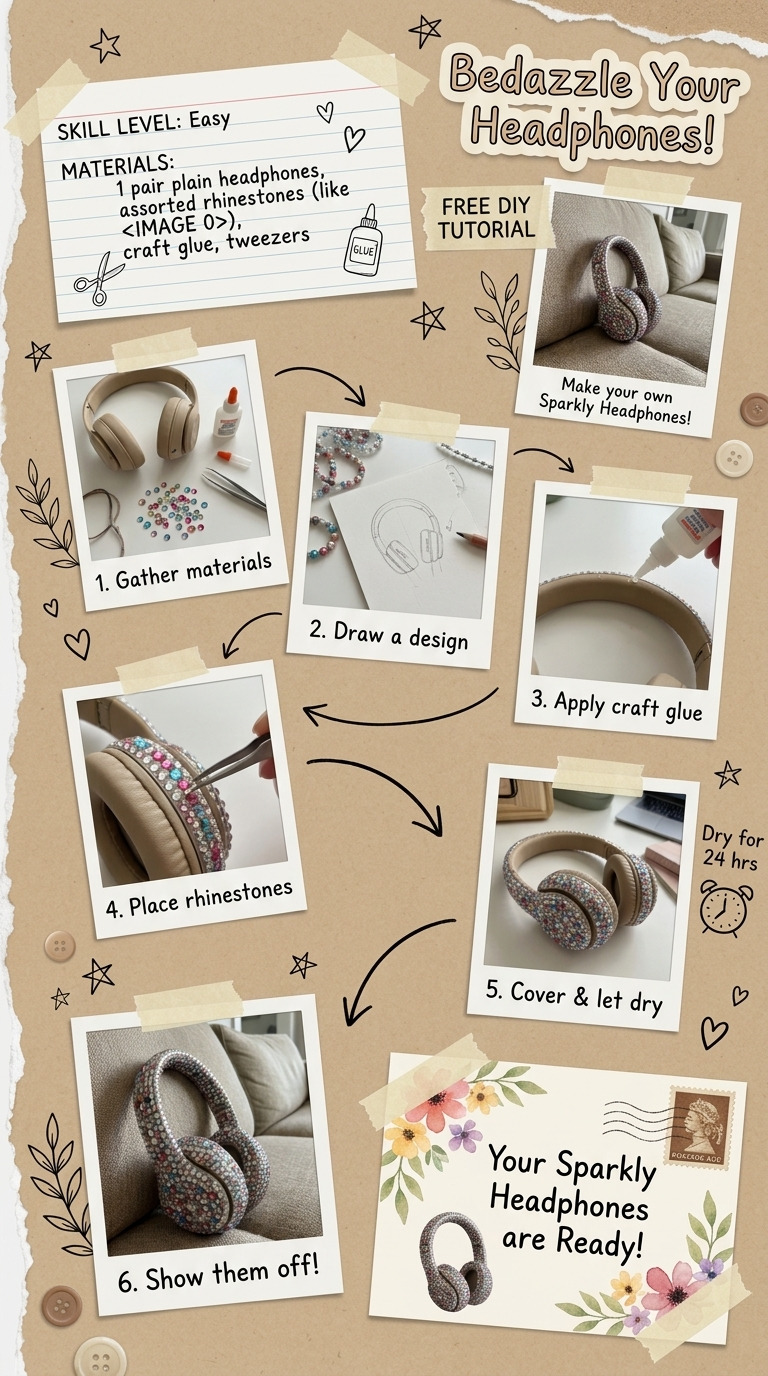
Step 1: Plan your design
Use a pencil to lightly sketch a design on your headphones where you want the rhinestones to go. Consider using patterns like gradients, stripes, or random placements. The placement can cover approximately 2-3 inches of surface area on each side of the headphones.
Step 2: Prepare the rhinestones
Sort the rhinestones by size in the small container to make them easy to grab while working. This organization prevents searching for the right sizes during the application process.
Step 3: Apply the adhesive
Using the rhinestone glue, apply a small dot to the first area you will cover on the headphones. The adhesive dot should be about the size of a pea (approximately 10 mm in diameter).
Step 4: Place the rhinestones
Using tweezers, pick up a rhinestone and place it on the glue dot. Press gently to secure it. Leave small gaps (about 1 mm) between rhinestones for a stylish look. Continue this process, working in sections, until you reach your desired coverage or pattern.
Step 5: Drying time
Allow the rhinestones to dry for at least 2 to 4 hours, or until they seem completely secure. Follow the manufacturer's recommendations for drying time, as this can affect the hold of the rhinestones.
Step 6: Check for gaps
After the initial drying period, inspect your work for any gaps or missing spots. Add additional rhinestones as needed. Ensure even distribution and aesthetic appeal.
Step 7: Optional sealing
For added durability, apply a sealant to the rhinestones. Use a foam brush to apply a thin layer of sealer over the entire rhinestone surface. Allow this to dry for an additional 1 to 2 hours. The sealer helps keep the rhinestones in place and adds an extra layer of protection.
Assembly & Finishing
There is no assembly needed since the rhinestones are glued directly onto the headphones. Confirm that the edges of the rhinestones are fully sealed with glue and inspect for any excess adhesive. Carefully trim or wipe away any remaining glue strings for a clean finish.
Troubleshooting and FAQ
Troubleshooting
The rhinestones are falling off. This may be caused by insufficient glue application or drying time. Reapply rhinestone glue to secure any loose stones and ensure you allow adequate drying time according to the glue manufacturer's instructions.
The glue leaves visible marks. If too much glue is used, or if it is not allowed to dry completely, it can leave marks. Clean excessive glue using a craft knife or by applying a small amount of rubbing alcohol to a cloth.
Rhinestones are unevenly spaced. If the placement is irregular, gently remove the affected rhinestones before the glue cures completely and reposition them properly.
Some rhinestones appear cloudy. Cloudy rhinestones can be caused by an excess of glue. Remove the affected stones and clean the surface with a damp cloth. Reapply with an appropriate amount of rhinestone glue.
Frequently Asked Questions
Can I use fabric glue instead of rhinestone glue? Fabric glue can be used, but it may not provide the same strength or durability as specific rhinestone adhesives. Focus on using quality rhinestone glue for best results.
How can I clean my bedazzled headphones? Avoid submerging the headphones in water. Instead, use a damp cloth to gently wipe the surface, avoiding the rhinestones directly to maintain their shine.
What type of rhinestones work best for this project? Flatback rhinestones with a shiny finish are ideal because they adhere well and offer the best visual appeal. Use sizes like 3 mm and 6 mm for varied texture and coverage.
Can I use a different color of glue? Using colored glue can give a unique look, but it may be more visible and affect the overall aesthetic. If you prefer a cleaner look, stick with clear glue.
Save This Guide
Save this guide to Pinterest so you have the cut list, exact measurements, and drying times readily available while you work on your headphones. Please share any corrections, measured results, or substitutions that worked for you to help keep this guide accurate.
Leave a Reply