
Project Overview
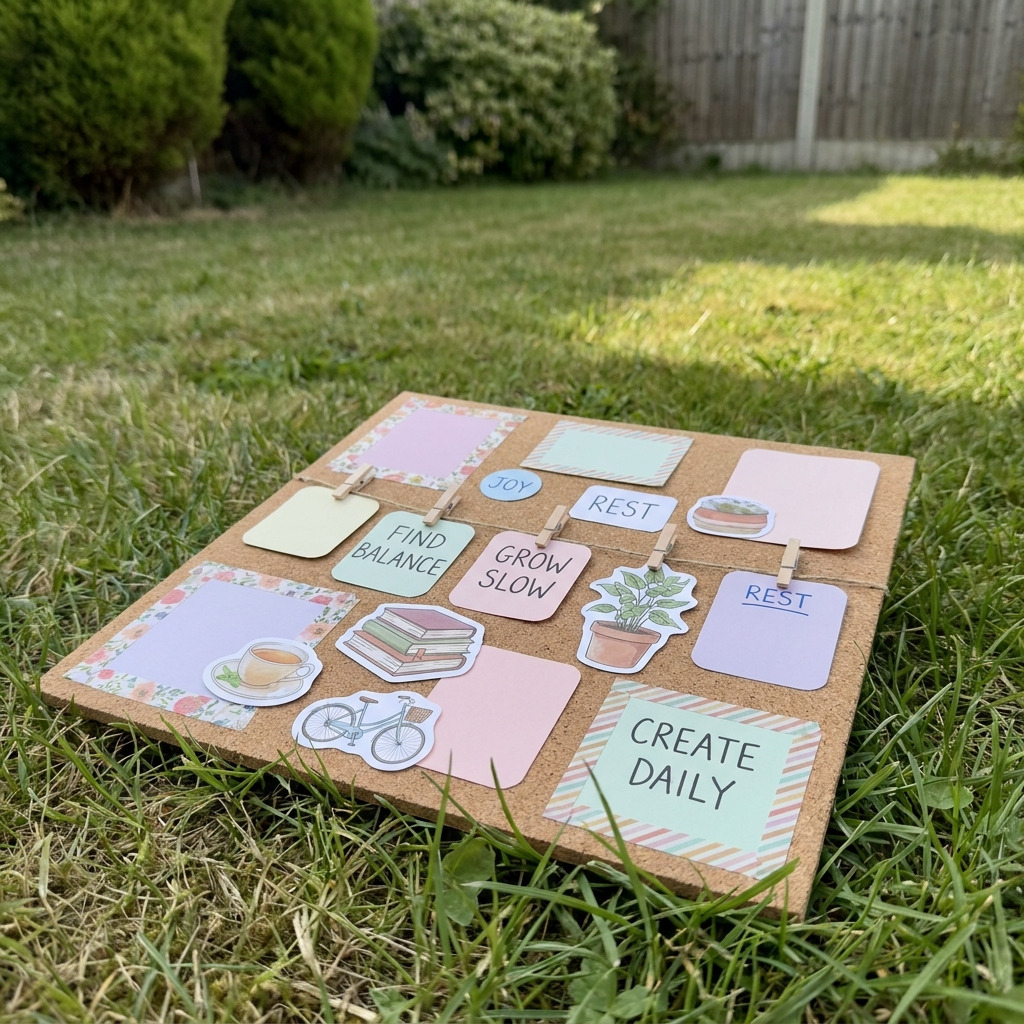
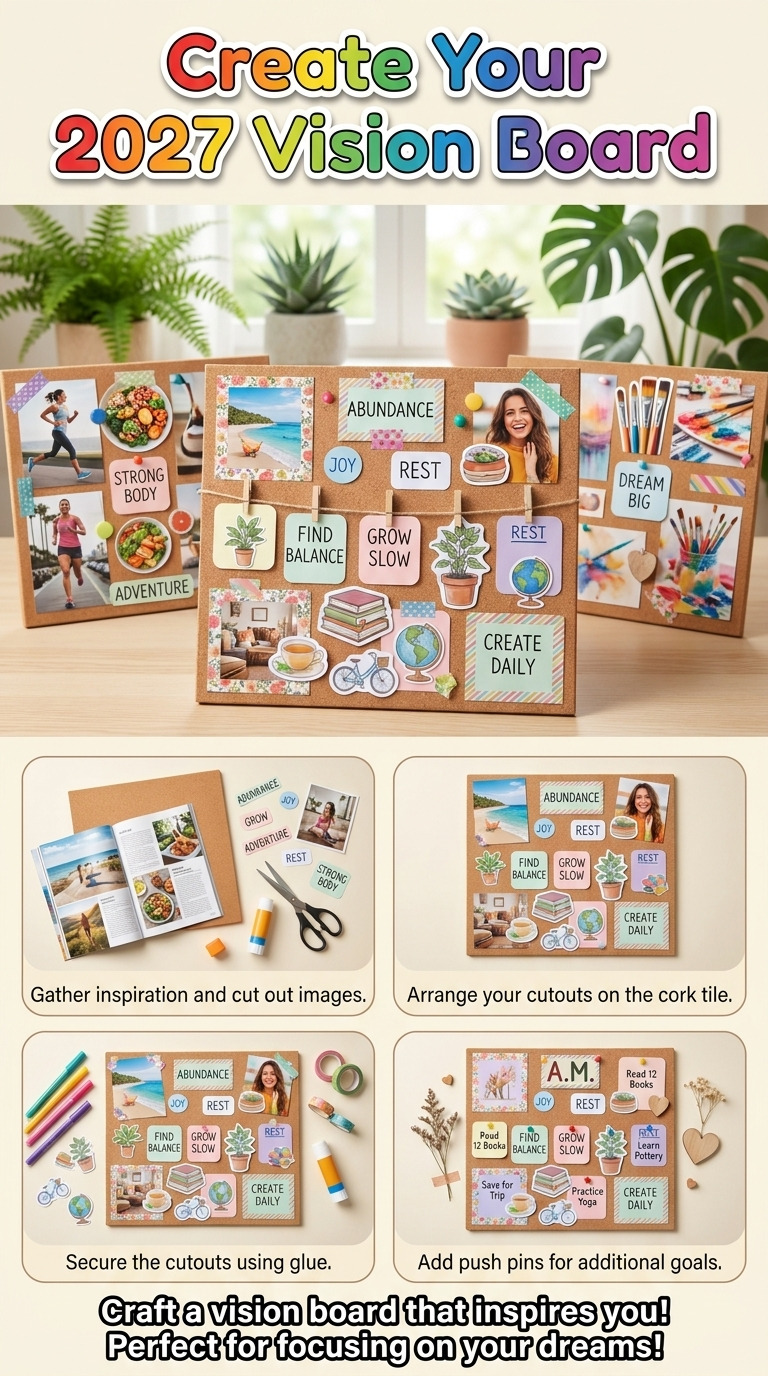
This project involves creating an inspirational vision board on a cork tile that represents your goals and aspirations for the year 2027. The cork tile serves as a versatile and natural base for attaching images and phrases that motivate you.
Project at a Glance
- Time required:
- Active working time: 2 hours
- Total elapsed time: 2 hours 30 minutes
- Difficulty level: Easy, specifically requiring basic cutting and gluing skills
- Estimated cost: $10 to $30, depending on material choices and whether tools are already owned
- Finished dimensions: 12 inches x 12 inches
- Yield: 1 vision board
HERO IMAGE PLACEHOLDER
[Descriptive image caption of the finished project]
Materials and Tools
Materials
- Cork tile: 1 piece, 12 inches x 12 inches
- Cardstock or poster board: 2 sheets, assorted colors (preferably pastel shades for a soft look)
- Magazines or printed images: Various (for clipping), approximately 10–15 images/phrases
- Adhesive:
- Glue stick or double-sided tape, approximately 20 ml
- Decorative washi tape: 1 roll, any color/design
- Marker pens: 2, fine tip (black and one optional color for writing)
- Mini clothespins (optional): 5-10 pieces for attaching photos
- Pushpins (optional): 5-10 pieces to attach lightweight items
Tools
- Craft knife or scissors, blade length minimum 2 inches
- Ruler: 12-inch standard ruler
- Cutting mat: at least 12 inches x 12 inches
- Pencil: for marking
- Paper trimmer (optional): for straight cuts, blade minimum length 12 inches
- Safety equipment: None required for this project, but ensure a well-ventilated workspace.
Step-by-Step Instructions
Step 1: Setup Your Workspace
Clear a flat, clean work surface and cover it with newspaper or a cutting mat to protect against adhesive and cuts. Gather all materials listed.
Step 2: Prepare Cork Tile
Ensure the cork tile is free from dust or residue. Wipe it down with a damp cloth if necessary, and allow it to dry.
Step 3: Select Images and Phrases
Go through magazines or printouts and choose approximately 10–15 inspiring images and phrases that align with your goals for 2027.
Step 4: Trim Images and Phrases
Use the craft knife or scissors to cut selected images and phrases, ensuring they do not exceed a size of 4 inches x 4 inches.
Step 5: Arrange the Layout
Before gluing, lay out all images and phrases on the cork tile to determine their placement. Mix larger images with smaller ones to achieve visual balance.
Step 6: Adhere Items to Cork Tile
One at a time, apply glue or double-sided tape to the back of each image/phrase and press it firmly onto the cork tile. Ensure to leave space between them for visual interest.
Step 7: Add Decorative Elements
Use washi tape to frame some images or phrases. Stick the tape at the corners or edges for added decoration.
Step 8: Add Text (Optional)
Utilizing fine-tip markers, write additional goals or affirmations directly onto the cork tile or on separate pieces of cardstock that can be adhered to the tile.
Step 9: Use Clothespins (Optional)
If using mini clothespins, attach them to the cork tile and clip additional images that you may want to change periodically.
Step 10: Pin Items (Optional)
Attach temporary items or notes to the cork tile using pushpins.
Step 11: Final Inspection
Ensure all items are securely adhered to the cork tile. No additional sealing is necessary since cork holds items well; however, if desired, apply a light coat of clear sealant for added durability. Allow to dry completely, following the manufacturer's instructions.
Troubleshooting and FAQ
Troubleshooting
The images or phrases keep falling off. This is likely due to insufficient adhesive. Consider using a stronger adhesive, such as liquid glue, or ensure that the adhesive is applied completely to the back of each item.
The cork tile is warping. The cork tile may have absorbed moisture. Store it in a dry area and avoid exposure to liquids.
Items are obscuring each other. Rearrange the layout, ensuring larger items are placed first and smaller items are used as fillers. Maintain visual space between each item.
Washi tape is not adhering properly. Ensure the cork surface is clean and dry. If not sticking, consider using a stronger form of adhesive under the washi tape.
Frequently Asked Questions
Can I use a larger cork tile? Yes, using a larger cork tile will allow for more images and phrases, but ensure that larger images maintain visual balance.
What should I do if I want to change images frequently? You can use mini clothespins or pushpins to easily swap out images without having to reapply adhesive.
Are there alternatives to cork tiles? Yes, other materials such as foam boards or bulletin boards can be used; however, cork provides a natural aesthetic and better gripping for items.
How should I clean the cork tile? Use a dry cloth to remove dust; do not use liquids or cleaners on the cork surface as this may damage it.
Save This Guide
Save or pin this guide to Pinterest so it is on hand while you build your vision board, featuring the cut list and exact measurements. If you have any corrections, measured results, or substitutions that worked well, please contribute them to keep this guide accurate.
Leave a Reply