
Project Overview
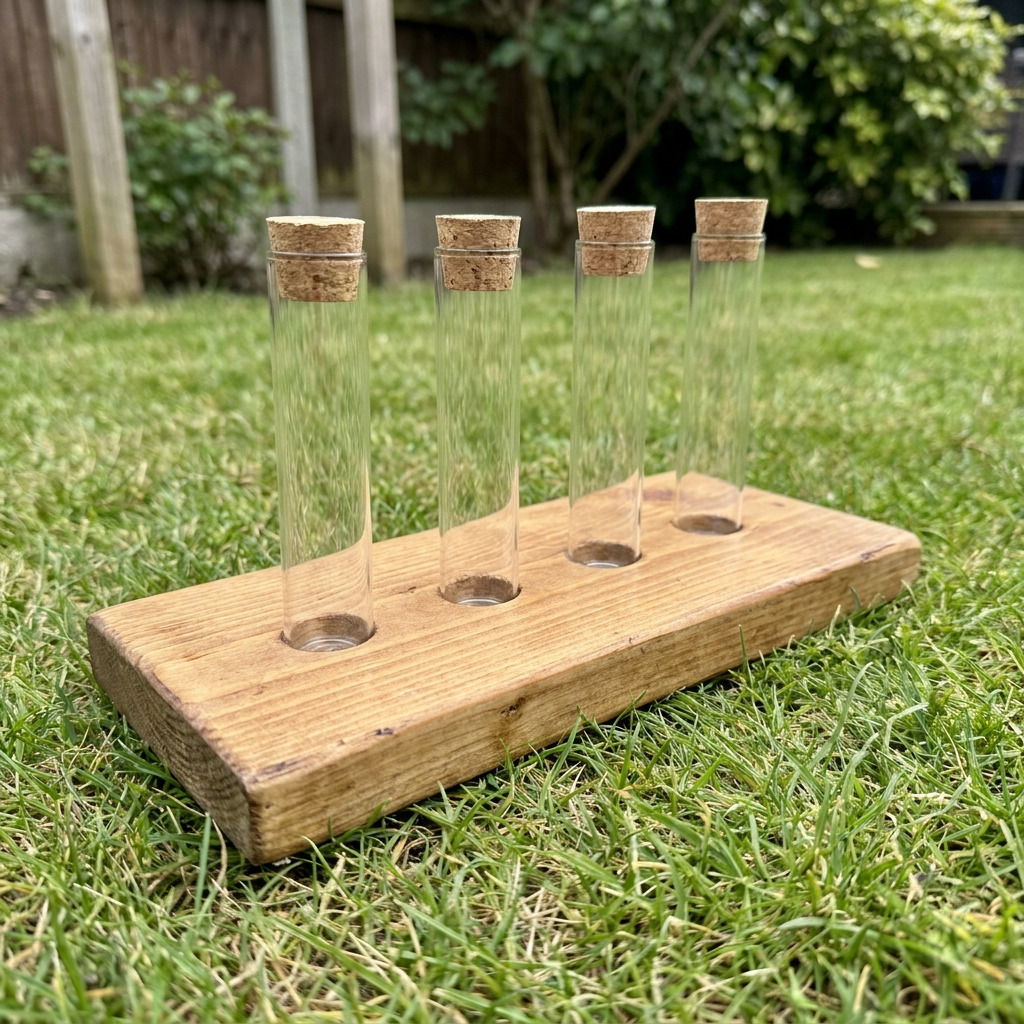
This project involves creating a stylish test tube plant propagation station mounted on a wooden base, perfect for displaying cuttings and propagating plants in a unique and decorative way. The finished item serves as an attractive way to nurture plant cuttings until roots develop.
Project at a Glance
- Time required: 1.5 hours active working time; approximately 5 hours total elapsed time including drying
- Difficulty level: Beginner; basic woodworking and drilling skills
- Estimated cost: $20 to $40, depending on material choices and whether tools are already owned
- Finished dimensions: Approximately 12 inches wide, 5 inches tall, and 4 inches deep
- Yield: One propagation station
HERO IMAGE PLACEHOLDER
[Descriptive image caption of the finished project]
Materials and Tools
Materials
- Wood Base: 1 piece of untreated pine or plywood, 12" x 4" x 1"
- Test Tubes: 4 clear glass test tubes, 1" diameter, 6" long
- Cork Stoppers: 4 natural corks, 1" diameter
- Wood Glue: 1 small bottle of waterproof wood glue, approximately 30 ml
- Wood Stain or Paint: 1 can of your choice in a color (optional)
- Wood Sealer: 1 can, clear, water-based sealer, approximately 250 ml
- Sandpaper: 1 sheet of 120-grit and 1 sheet of 220-grit
- Decorative Rocks or Pebbles: 1 bag, approximately 1 pound (optional)
- Plants Cuttings: Choose any stem cuttings from plants like pothos, philodendron, or similar.
Tools
- Drill: with a 1" drill bit (or Forstner bit) for clean holes
- Screwdriver: for assembling any additional items
- Clamps: 2 small wood clamps (optional) to hold pieces during drying
- Paintbrush: 1-inch brush (if staining or painting)
- Eye Protection: goggles or safety glasses while drilling
- Dust Mask: while sanding to prevent inhalation of wood dust
Instructions
Preparation & Setup
- Workspace Setup: – Clear and clean a flat work surface. Protect it with a plastic sheet or layers of newspaper to mitigate any mess while working.
- Cutting the Wood Base: – If the wood base is not pre-cut, use a saw to cut the wood to dimensions of 12" x 4" x 1".
- Sanding the Wood: – Sand the surface of the wood base using 120-grit sandpaper first. Follow up with 220-grit sandpaper until it is smooth and free of splinters.
- Marking Drill Points: – On the top side of the wood base, measure and mark 1" in from each edge. Mark four equidistant points for drilling: the center points should be located at 1", 3", 5", and 7" along the width of the base. Each center point should be about 2" apart from each other.
- Cleaning the Surface: – Wipe the surface of the wood with a clean, dry cloth to remove any dust and debris from sanding.
Step-by-Step Instructions
- Drilling Holes: – Using the drill and the 1" drill bit, drill vertically downwards at each marked point on the wood base. Drill each hole to a depth of approximately 2". Each hole should be snug enough to hold a test tube securely.
- Finishing the Wood Base: – (Optional) If you choose to add stain or paint, use the 1-inch paintbrush to apply an even coat. Follow the manufacturer's instructions on drying time, typically allowing 1-2 hours. – After applying the stain/paint, seal the wood using a clear water-based sealer. Apply two coats, allowing at least 1 hour between each application for optimal durability.
- Preparing Test Tubes: – Before the wood base is fully dry, prepare your test tubes. Insert a cork into each test tube, ensuring each cork is slotted correctly to hold the tube in place.
- Placing Test Tubes in Base: – After ensuring that the wood base is completely dry, insert each test tube into the drilled holes. Press down gently but firmly until each test tube is stable and fits snugly.
- Adding Decorative Rocks: – (Optional) Add decorative rocks or pebbles to the bottom of each test tube for added décor. Ensure that there is enough space left for water when adding the plant cuttings.
- Inserting Plant Cuttings: – Fill each test tube with fresh water, leaving about an inch of space at the top. Insert your chosen plant cuttings into the test tubes, ensuring the bottoms of the cuttings are submerged in water.
Assembly & Finishing
- Once all components are fitted together, give the entire propagation station a thorough inspection to ensure everything is securely in place and looks neat.
- If desired, use clamps to hold the test tubes while any adhesive is setting, although the corks should provide sufficient grip.
- Allow the assembly to rest undisturbed for a few minutes to ensure stability.
Troubleshooting and FAQ
Troubleshooting
- The test tubes wobble or do not fit snugly.
- The holes may be undersized or oversized. Drill holes again using a slightly larger or smaller bit if necessary to ensure a proper fit.
- The corks do not stay in the test tubes.
- Corks may be worn or damaged. Replace them with new corks that fit securely and are long enough to prevent the test tube from moving.
- The wood base has drips or blemishes from paint/stain.
- If noticed while drying, use sandpaper to lightly sand off the blemish, then reapply paint or stain as needed, allowing adequate drying time.
- Plants are wilting in water.
- Ensure you are using healthy cuttings and change the water weekly to prevent stagnation and promote root development.
Frequently Asked Questions
- Can I use a different type of wood?
- Yes, you may use other types of untreated wood, but ensure they are free from harmful chemicals. Different woods may require unique finishing techniques to enhance appearance.
- What if I want more than four test tubes?
- Simply adjust the marked distances along the wood base to accommodate more test tubes. Each hole should remain approximately 2" apart.
- How do I maintain the propagation station?
- Change the water every 1-2 weeks, trim any decaying material from the cuttings, and ensure the station is cleaned from dust to maintain hygiene.
- Can I use colored water in the test tubes?
- Yes, using colored water can enhance the visual appeal of the propagation station. Just ensure the color is safe for plants.
Save This Guide
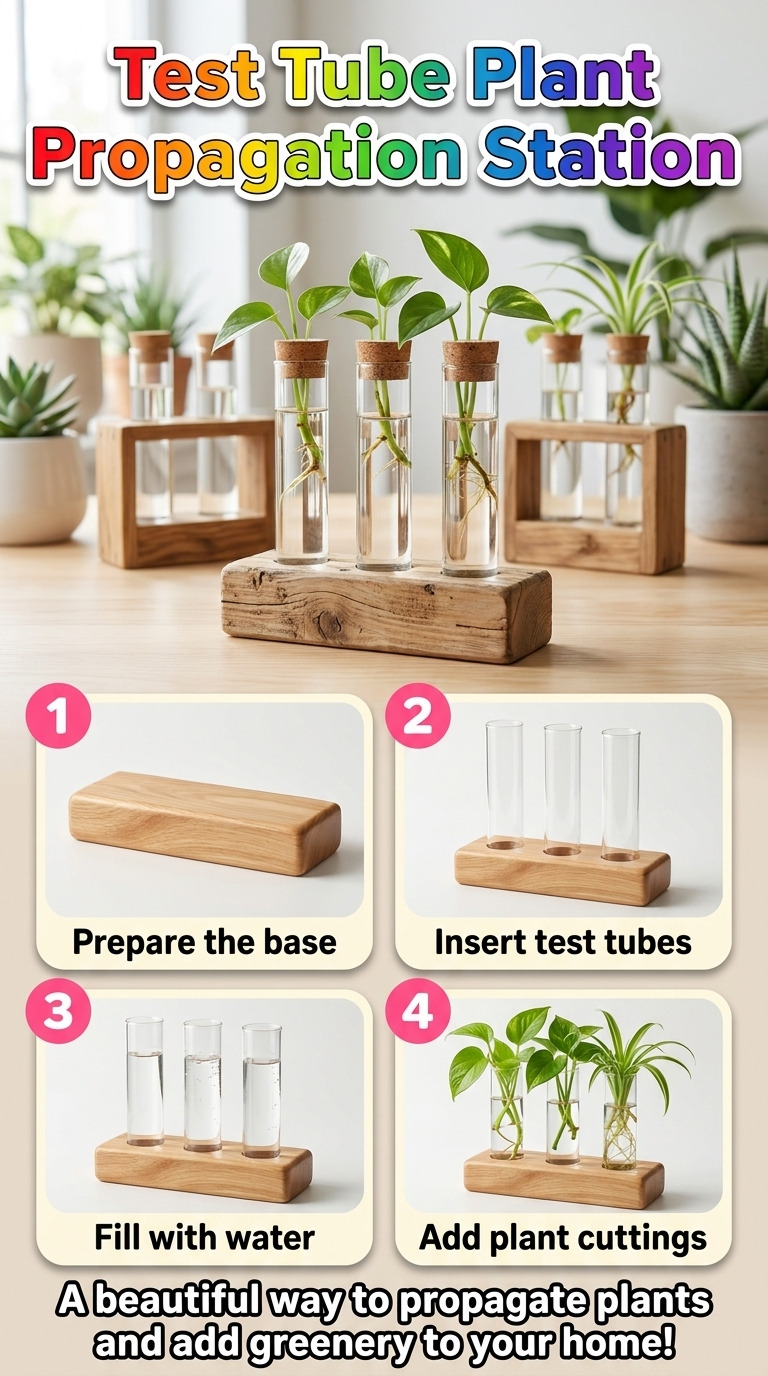
Save this guide to Pinterest for easy reference while building your stylish test tube propagation station, complete with measurements and detailed steps. Your feedback on the guide’s accuracy, including corrections or successful substitutions, can help improve its quality.
Leave a Reply