
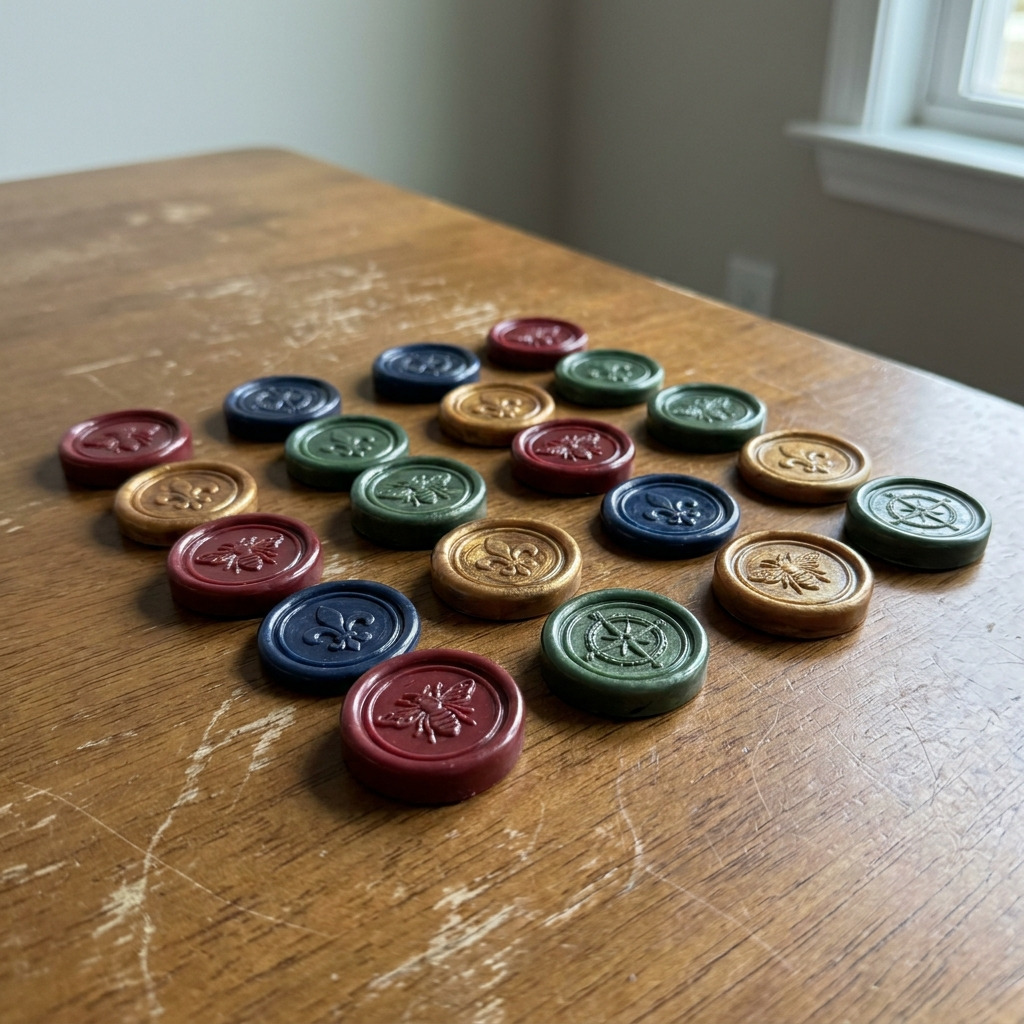
Project Overview
This project involves creating customized wax seal stickers made from colored glue gun sticks that can be used to seal envelopes for pen pal letters, adding a personal and decorative touch.
Project at a Glance
- Time required:
- Active working time: 30 minutes
- Total elapsed time: 40 minutes
- Difficulty level: Easy; basic skills in handling a hot glue gun.
- Estimated cost: $5 to $15 (dependent on the cost of materials such as colored glue sticks and the optional use of gloss sealer).
- Finished dimensions: Approximately 1 inch in diameter per sticker.
- Yield: 5 to 10 wax seal stickers.
HERO IMAGE PLACEHOLDER
[Descriptive image caption of the finished project]
Materials and Tools
Materials
- Colored Glue Sticks: 1 pack, 10-12 sticks of assorted colors (such as red, blue, green, and gold)
- Wax Seal Stamp: 1 stamp, design of your choice, approximately 1 inch in diameter
- Silicone Mat or Parchment Paper: 1 sheet, to protect your workspace during the sealing process
- Double-sided Adhesive Sheets: 1 pack (optional, makes sticker application easier)
- Nail Polish or Clear Gloss Sealer: 1 small bottle (optional; provides a shiny finish)
Tools
- Hot Glue Gun: Standard size, 60-80 watt
- Scissors: Regular size
- Ruler: At least 12 inches long for measurements
- Pencil or Pen: For marking if necessary
- Tweezers: For carefully handling the hot glued stickers
- Heat Resistant Gloves: Necessary for safety when working with hot glue
- Craft Knife: (optional) for additional cutting if required
- Protective Surface: Like an old tablecloth or a cutting mat to cover the workspace
Instructions
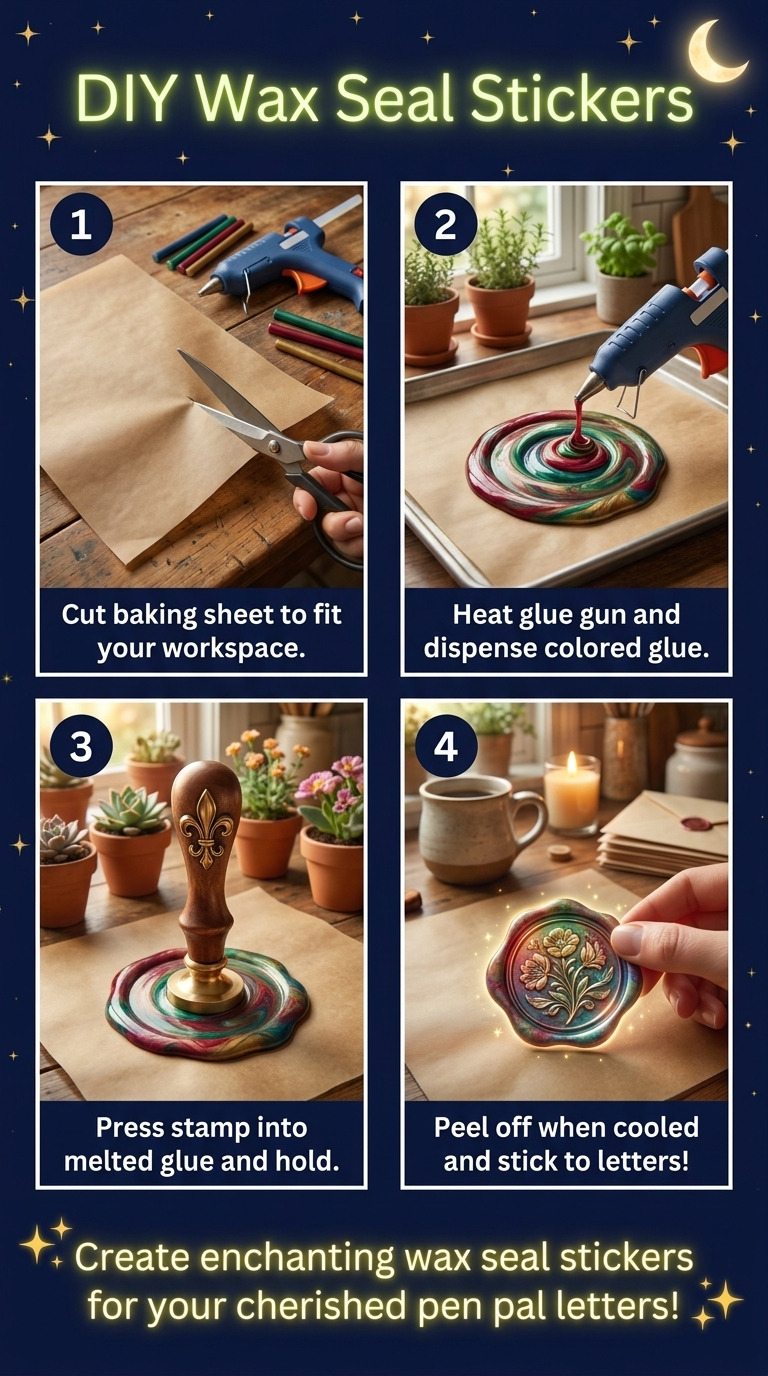
Step 1: Prepare the Glue Gun
Plug in the hot glue gun and allow it to heat up for about 5-10 minutes until the glue starts to flow smoothly.
Step 2: Create Glue Seal Disks
- Squeeze the glue gun until a small pool of glue forms on your silicone mat or parchment paper.
- Use the colored glue sticks to create a circle approximately 1 inch in diameter. Start with a base circle and then build up the glue layer to create a rounded shape.
- Repeat this process to create 5-10 glue disks, ensuring to leave space between each for easy removal.
Step 3: Stamp the Seals
- Before the glue cools, take your wax seal stamp and press it firmly into the center of each glue disk.
- Hold the stamp in place for about 10-15 seconds to ensure a deep impression.
- Carefully lift the stamp straight up after the time has passed.
- Allow the seals to cool and harden for about 5-10 minutes until they are firm to the touch.
Step 4: Finishing Seals
- Once completely cooled, gently lift each wax seal sticker off the silicone mat or parchment paper using tweezers.
- (Optional) For a glossy finish, apply a thin layer of clear gloss sealer or nail polish on top and let it dry according to the instructions on the product used.
Step 5: Apply Double-Sided Adhesive
- If using double-sided adhesive sheets, cut them into small circles slightly smaller than the glue seal stickers (approximately ¾ inch in diameter).
- Stick the adhesive on the back of each wax seal to make them easy to apply later.
Assembly & Finishing
The wax seal stickers created are ready to be used directly on envelopes or letters. If using double-sided adhesive, peel the backing off and stick it directly where desired.
Ensure any gloss sealer dries completely before handling to prevent smudging.
Measurements & Dimensions
- Each wax seal sticker should be approximately 1 inch in diameter.
- Glue disks should be about 3/8 inch thick after cooling.
- Double-sided adhesive should be cut into circles around ¾ inch in diameter.
Timing Information
- Estimated active working time: 30 minutes
- Drying/setting time for glue: 10 minutes
- Total time: 40 minutes
Variations & Notes
- Tips for Clean Results: Work quickly when stamping to avoid excess glue overflow; it is advisable to clean the stamp immediately after use.
- Common Mistakes: Avoid using too much glue; excess will create larger disks than desired. Ensure your workspace is clear to avoid debris getting into your seals.
- Simple Variations: Experiment with different colors of glue sticks or use glitter glue for a sparkly effect.
- Care and Storage: Store wax seals in a cool, dry place, away from heat sources to prevent melting. Use them within a few months for best results.
Troubleshooting and FAQ
Troubleshooting
- The glue seal is too thin or has cracks.: This can occur if too little glue was used. Ensure to apply a thicker layer of glue to achieve the desired thickness and avoid cracks.
- The stamp does not leave a clear impression.: Ensure to press the stamp firmly and hold it for the recommended time. If needed, apply more glue and attempt the stamping again.
- The wax seal sticker sticks to the mat.: Use a release agent like cooking spray around the area to make removal easier, or let the glue cool slightly before lifting.
- The color is not what I expected.: Different colored glue sticks can vary in opacity and effect. Test a small amount before committing to a full project.
Frequently Asked Questions
- Can I use any glue stick?: No, only colored glue sticks designed for use with a hot glue gun should be used, as they provide the right melting properties and texture.
- How do I make larger stickers?: To create larger stickers, increase the diameter of the glue pool accordingly while ensuring the glue is still manageable to stamp.
- Is it possible to add glitter to the glue?: Yes, you can blend fine glitter into the glue when it is still warm, but be careful not to release excessive heat to avoid burning the glitter.
- How long do these stickers last?: If stored properly in a cool, dry place, the wax seal stickers can maintain their quality for several months.
Save This Guide
Save this guide to Pinterest for detailed information on measurements, materials, and troubleshooting as you make your wax seal stickers. Please share any corrections or results from your own builds to help keep this guide accurate.
Leave a Reply