
Project Overview
This project guides you to create a stylish, chunky ribbed beanie using basic crochet techniques. The finished beanie is ideal for keeping warm during chilly weather and can be completed in one evening.
Project at a Glance
- Time required: Active working time: 2 to 3 hours; Total elapsed time: approximately 3 hours
- Difficulty level: Beginner; Requires basic knowledge of crochet stitches.
- Estimated cost: $10 to $15, depending on yarn choice and whether tools are already owned.
- Finished dimensions: Approximately 9 inches tall and 10 inches wide (with some stretch).
- Yield: 1 beanie.
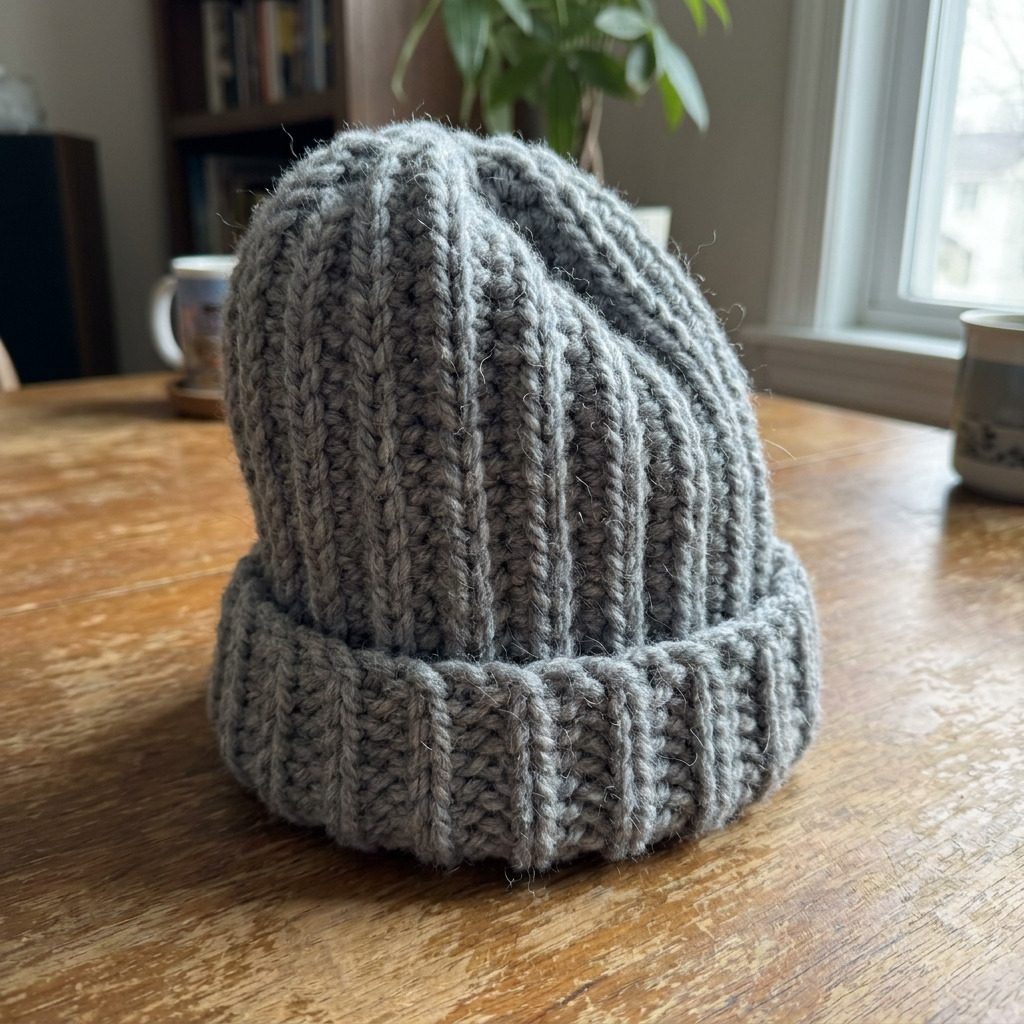
HERO IMAGE PLACEHOLDER
[Descriptive image caption of the finished chunky ribbed beanie]
Materials and Tools
Materials
- Chunky yarn: 1 ball, approximately 100 yards in medium grey (e.g., Red Heart Super Saver Chunky, color 0634 Grey).
- Crochet hook: Size L (8 mm).
- Scissors: 1 pair.
- Tapestry needle: 1 (for weaving in ends).
- Measuring tape: 1.
- Stitch marker: 1 (optional but helpful).
Tools
- Crochet hook, size L (8 mm).
- Scissors.
- Tapestry needle.
- Measuring tape.
- Stitch marker (optional).
Instructions
Step 1: Setting Up Your Workspace
- Choose a clean, flat workspace. This ensures comfort while crocheting.
Step 2: Prepare Your Materials
- Untangle your yarn and keep it organized to prevent snags.
Step 3: Making the Foundation Chain
- Create a slipknot with the chunky yarn and place it on your crochet hook.
- Chain (ch) 40. This is your foundation chain. Adjust the count in increments of 2 for a larger or smaller size if needed, but 40 should fit most heads.
Step 4: Creating the Ribbed Texture
- Insert your hook into the second chain from the hook. Begin single crocheting (sc).
- Work 1 sc in each of the next 39 chains. Your row should now have 39 sc in total. If using a stitch marker, place it to mark the end of this row.
- Turn your work, and chain 1 (the chain does not count as a stitch).
- For Row 2, work in the back loops only (blo). Place 1 sc in the first stitch, and continue this pattern across the row until complete.
- Repeat Row 2 until you have completed 18 rows or until your piece measures approximately 9 inches tall from the foundation chain.
Step 5: Joining the Beanie
- When the desired height is reached, fold your piece in half with the right sides together to form a cylinder.
- Use a slip stitch (sl st) to join the beginning edge with the ending edge. Insert your hook into both the first and last stitches and pull through to create a seamless join.
Step 6: Finishing the Top
- Cut the yarn, leaving a 12-inch tail, and pull it through the last loop to secure it.
- Using the tapestry needle, thread the yarn tail through the remaining stitches along the beanie's top. Pull tightly to cinch it closed.
- Weave in any remaining yarn tails into the beanie using the tapestry needle, ensuring they are secure and not visible.
Assembly & Finishing
- There is no additional assembly required; the beanie is complete.
- Optional: Turn the beanie right side out and gently stretch it to shape it as desired.
Measurements & Dimensions
- Final dimensions: Approximately 9 inches tall and 10 inches wide.
- Foundation chain: 40 chains, adjustable as needed.
- Ribbed rows: 18 rows of single crochet in the back loops only.
Timing Information
- Estimated active working time: 2 to 3 hours.
- Total time: Approximately 3 hours, including time for any added embellishments.
Variations & Notes
- Tips for optimal results: Ensure even tension in your stitches for a uniform appearance throughout.
- Common mistakes: It is essential to crochet in the back loops during ribbing to achieve the classic ribbed texture.
- Size adjustments: To create a larger or smaller beanie, modify the foundation chain in increments of 2, using 42 for larger sizes and 38 for smaller sizes.
- Care instructions: Hand wash or machine wash on a gentle cycle in cold water. Lay flat to dry to maintain shape; avoid ironing.
Troubleshooting and FAQ
Troubleshooting
- The ribbing pattern is uneven. This may be caused by inconsistent tension. Review your technique and focus on maintaining an even pull on the yarn.
- The beanie is too tight. If the circumference of the beanie is insufficient, increase the foundation chain by 2 stitches and try again. Adjust to 42 or more for additional room.
- The top is not cinching closed. Ensure you are pulling tightly when threading the yarn tail through the remaining stitches at the top to create a proper closure.
- Crochet stitches appear loose. Check your yarn tension; you may need to adjust it to achieve more uniform stitches.
Frequently Asked Questions
- Can I use a different yarn? Yes, any similar weight yarn will work; however, it may alter the final dimensions and stretch of the beanie.
- How do I add embellishments? Attach any additional elements securely after finishing the beanie and prior to weaving in ends.
- What if I want a longer beanie? Simply add extra rows beyond the 18 mentioned, keeping in mind your starting foundation chain size.
- How can I make this beanie smaller? Reduce your foundation chain in increments of 2 to adjust size according to head measurement.
Save This Guide
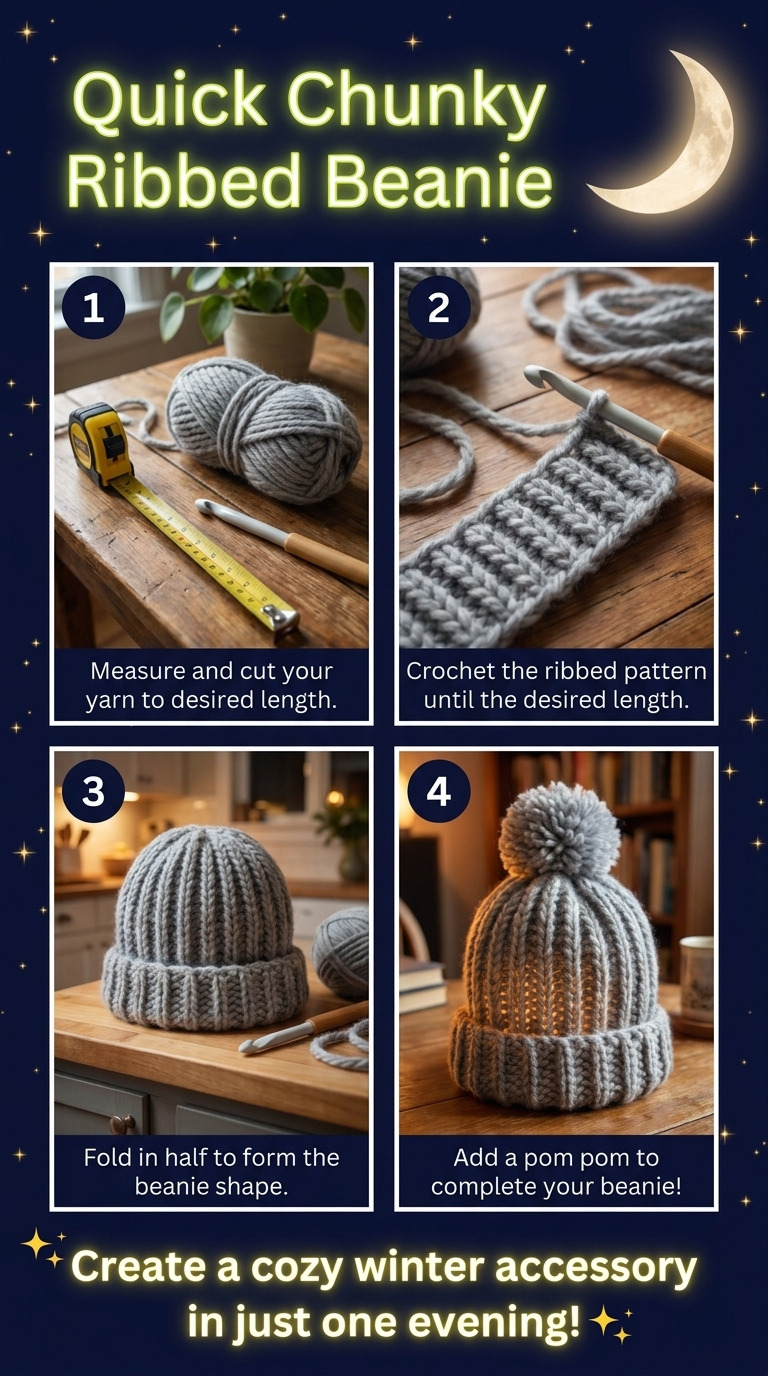
Save this guide to Pinterest to have the measurements and complete instructions handy while you crochet. Contribute any corrections, measured results, or substitutions that worked for you so this guide can remain accurate and useful.
Leave a Reply