
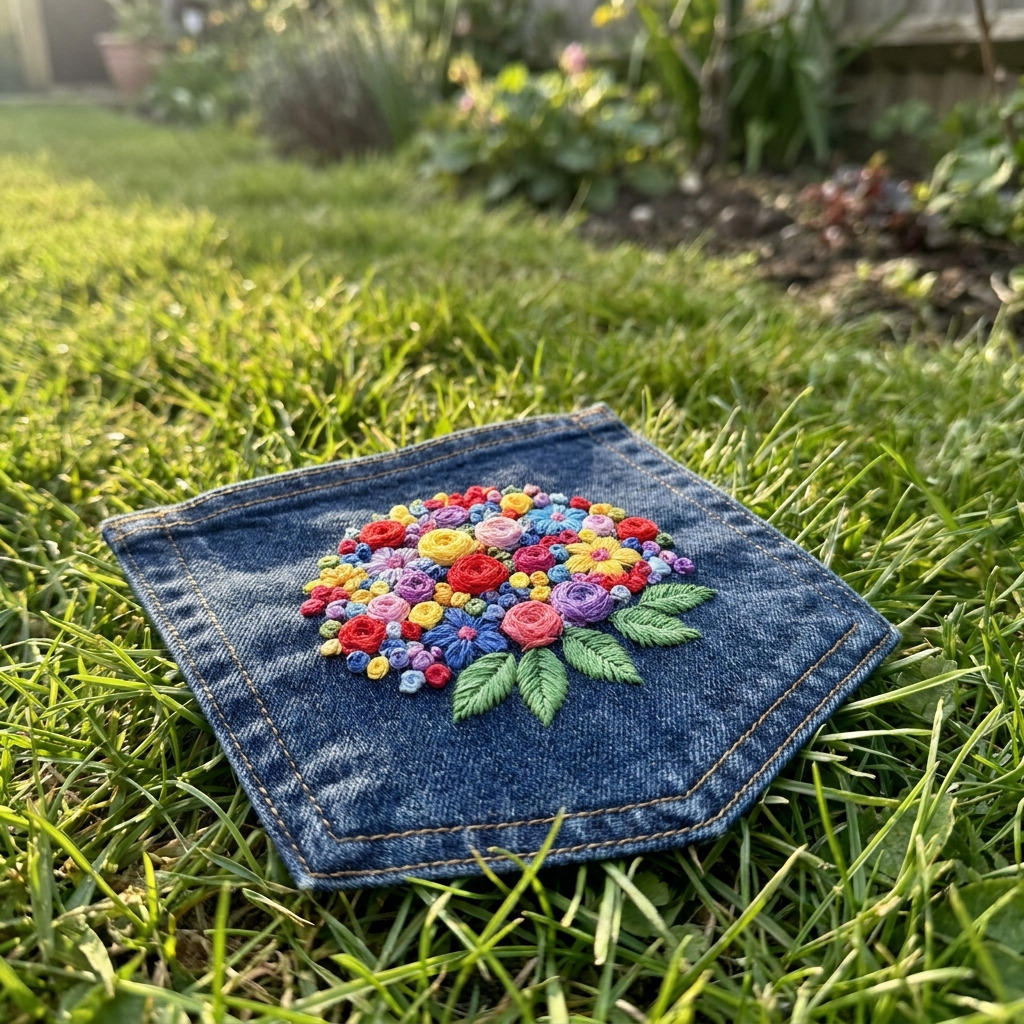
This project involves creating colorful French knot flowers on a pocket of a denim jacket, adding a personalized and playful touch to your wardrobe. The finished result will transform the standard pocket area into a vibrant design, making a unique fashion statement.
Project at a Glance
- Time required: Active working time: 1.5 hours; Total elapsed time: 1.75 hours
- Difficulty level: Intermediate – requires experience with embroidery techniques such as the French knot
- Estimated cost: $15 to $30 depending on the choice of materials, particularly the embroidery thread and fabric stabilizer
- Finished dimensions: Embroidered pocket area approximately 5 inches wide x 6 inches tall
- Yield: One embroidered denim jacket pocket
HERO IMAGE PLACEHOLDER
[Descriptive image caption of the finished project]
Materials and Tools
Materials
- Denim Jacket: 1 jacket, preferably with a front pocket
- Embroidery Thread:
- Six strands of colorful threads (red, yellow, pink, green, blue, and purple), 1 skein of each color
- Embroidery Needle: 1 tapestry needle, size 5-7
- Fabric Stabilizer: 1 piece, 12 inches x 12 inches, for backing if needed
- Water-Soluble Marking Pen: 1 marker for transferring designs onto the fabric
- Scissors: 1 pair of fabric scissors
- Embroidery Hoop: 1 adjustable hoop, at least 5 inches in diameter
- Iron: 1 for setting the design (optional)
- Thimble: 1 (optional for comfort)
Tools
- Embroidery Needle: Tapestry needle size 5-7
- Scissors: Standard fabric scissors
- Iron and Ironing Board: For smoothing fabric
- Embroidery Hoop: Adjustable, at least 5 inches in diameter
- Water-Soluble Marking Pen: For drawing designs
- Thimble: For comfort, if desired
- Safety Equipment: None specifically required, caution with scissors and iron is advised
Instructions
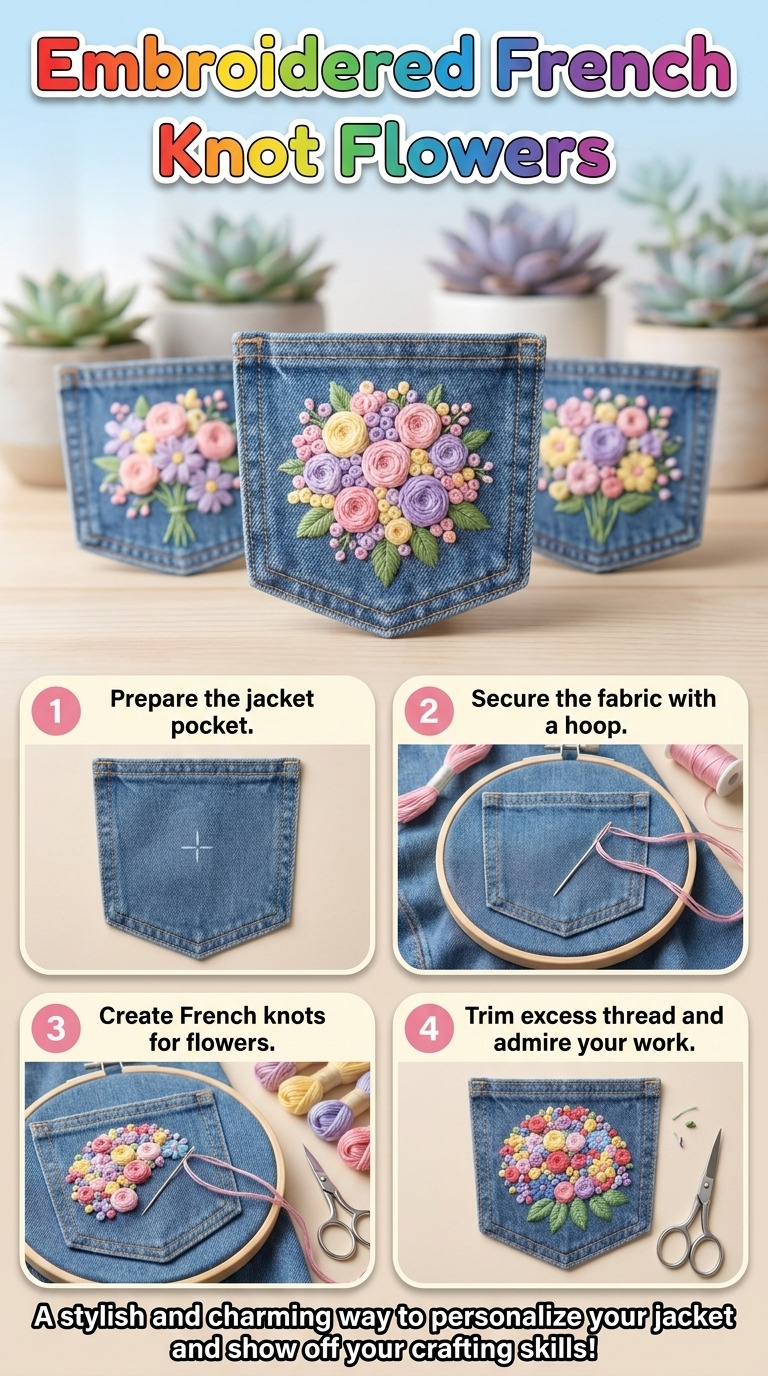
- Step 1: Assemble the Materials Gather the denim jacket, embroidery hoop, thread, needle, scissors, and marking pen. Ensure all materials are clean and in good working condition.
- Step 2: Set the Fabric Prepare your workspace on a flat surface. – Wash and dry the denim jacket to pre-shrink it. – If using fabric stabilizer, cut a piece 5 inches x 6 inches. – Position the stabilizer behind the pocket to avoid puckering and provide support. – Insert the pocket into the embroidery hoop, ensuring the design outline is taut and visible.
- Step 3: Thread the Needle Cut a length of embroidery thread approximately 24 inches. – Thread it through the embroidery needle and tie a knot at the end of the thread.
- Step 4: Start the Flowers For each flower: – Insert the needle from the back of the fabric at the marked center point. – Pull through and bring it back down at the same point for a French knot (a simple embroidery knot). – Wind the thread around the needle 3-4 times before pulling it back through the fabric. – Pull the thread tight to create the knot.
- Step 5: Create Petals – For each petal, repeat the French knot process: – Position the knots around the center knot, spacing them evenly (approximately 0.5 inches apart). – Use a different color for each petal to create a colorful flower.
- Step 6: Embroider Leaves Using green thread, create leaves: – Use a satin stitch (a filling stitch that creates a smooth surface) or another knot technique to form leaf shapes under each flower.
- Step 7: Finish the Embroidery – Carefully remove the embroidery hoop and stabilizer from the fabric. – Check for loose threads and secure them by knotting and trimming any excess.
- Step 8: Set the Design (Optional) If desired, lightly press the pocket with an iron on a low heat setting, avoiding direct contact with the embroidered parts.
Troubleshooting and FAQ
Troubleshooting
The flower knots are too tight. This may cause puckering. Make sure to wrap the thread around the needle only 3-4 times for a well-defined French knot without excess tension.
Flowers are unevenly spaced. Refer back to the initial sketch to adjust spacing. Maintain uniform distances of approximately 0.5 inches for a cohesive look.
Leaves are not clear or defined. Ensure to use adequate thread tension while performing satin stitches and avoid rushing the stitching process to achieve a smooth finish.
Fabric stabilizer is protruding. Cut the stabilizer to align exactly with the embroidery area. After embroidery, trim any excess stabilizer away for a cleaner look.
Embroidery starts to unravel. This can happen if knots are not secure. Double-check that all threads are knot properly before trimming. Reinforce stitches if necessary.
Frequently Asked Questions
Can I use cotton fabric instead of a denim jacket? Yes, cotton fabric can be used, but ensure it is thick enough to provide support for the stitches. The durability of the finished embroidery may differ with fabric type.
How do I clean the embroidered area? Hand wash gently or spot clean the embroidered section with a mild detergent. Avoid submerging the entire jacket to prevent damage to the embroidery.
What if I want to add more designs? You can easily add other motifs or designs. Just ensure to mark them accurately on the fabric and keep the spacing consistent with the existing work.
What is the best way to store the jacket? Store the jacket in a cool, dry place, avoiding direct sunlight, which prevents fading of the threads over time.
How long do the embroidered designs last? With proper care, such as gentle washing and air drying, the embroidered designs can last many years. Regular maintenance helps preserve the integrity of the stitches.
Save This Guide
Save or pin this guide to Pinterest for quick access to the cut list, exact measurements, and troubleshooting entries while you work. Please report any corrections, measured results, or successful substitutions that would improve this guide so it can remain accurate for future creators.
Leave a Reply