
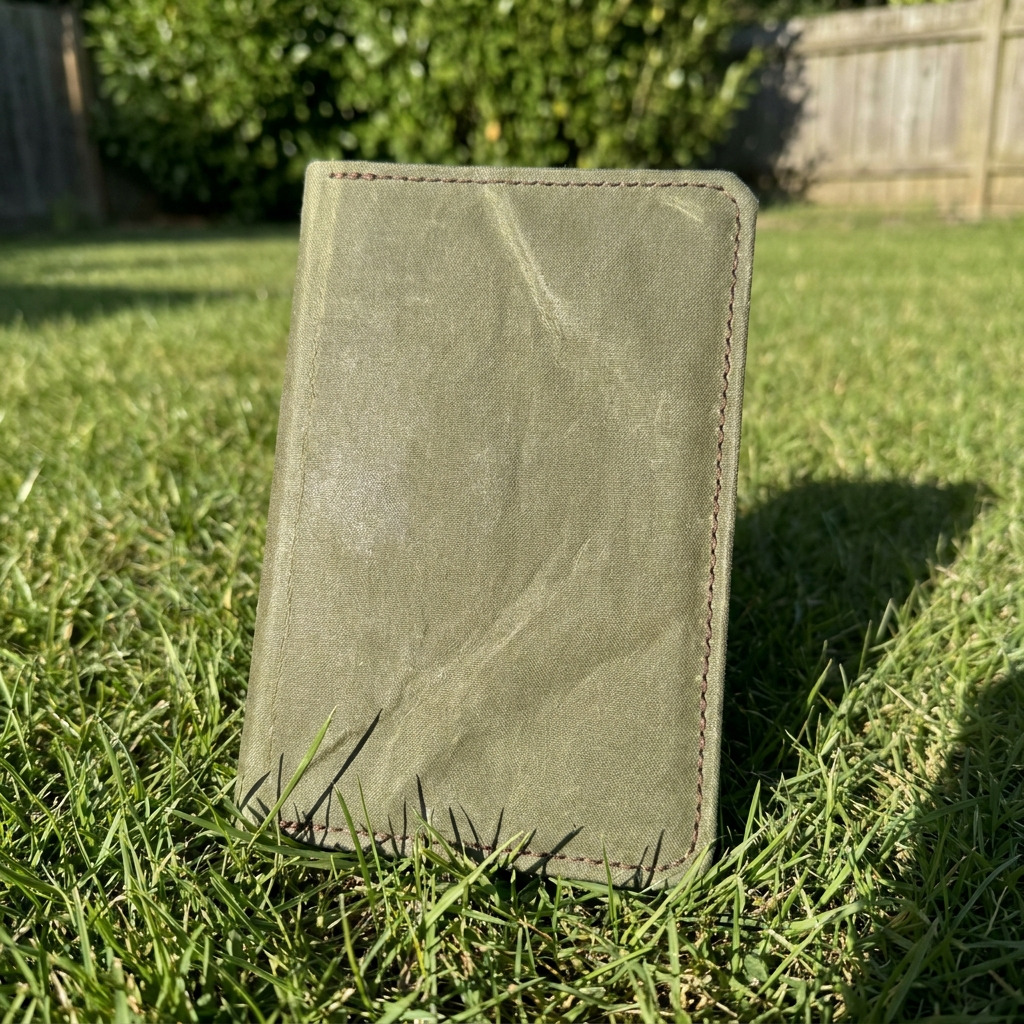
Project Overview
This project guides you through creating a practical field notebook featuring a durable, waxed canvas cover that protects your notes in varying outdoor conditions. The finished product measures approximately 5.5 inches wide by 8.5 inches tall, making it portable and user-friendly.
Project at a Glance
- Time required: 2 hours active working time, 2.5 hours total elapsed time
- Difficulty level: Beginner; basic sewing and cutting skills needed
- Estimated cost: $30 to $70 (depending on material choice and whether tools are owned)
- Finished dimensions: 5.5 inches wide by 8.5 inches tall
- Yield: One field notebook
HERO IMAGE PLACEHOLDER
[Descriptive image caption of the finished field notebook]
Materials and Tools
Materials
- Waxed canvas fabric: 1 yard, color such as olive green or navy blue
- Paper for notebook: 40 sheets of 8.5" x 11" lightweight printer paper, white or cream
- Cotton thread: 1 spool, matching color to the canvas (e.g., dark brown)
- Leather or fabric for binding (optional): 1 piece measuring 1" x 12", matching or contrasting color
- PVA glue or fabric glue: 4 oz
- Double-sided tape: 1 roll (optional for reinforcement)
Tools
- Sewing machine: Standard size
- Rotary cutter or craft knife: For cutting fabric and paper
- Ruler: At least 12 inches long
- Cutting mat: For safe cutting
- Scissors: For general cutting
- Clips or pins: For holding fabric in place while sewing
- Iron: For smoothing wrinkles in the fabric
- Awl or large needle: For making holes if binding with leather
- Safety glasses: Wear while cutting fabric
Instructions
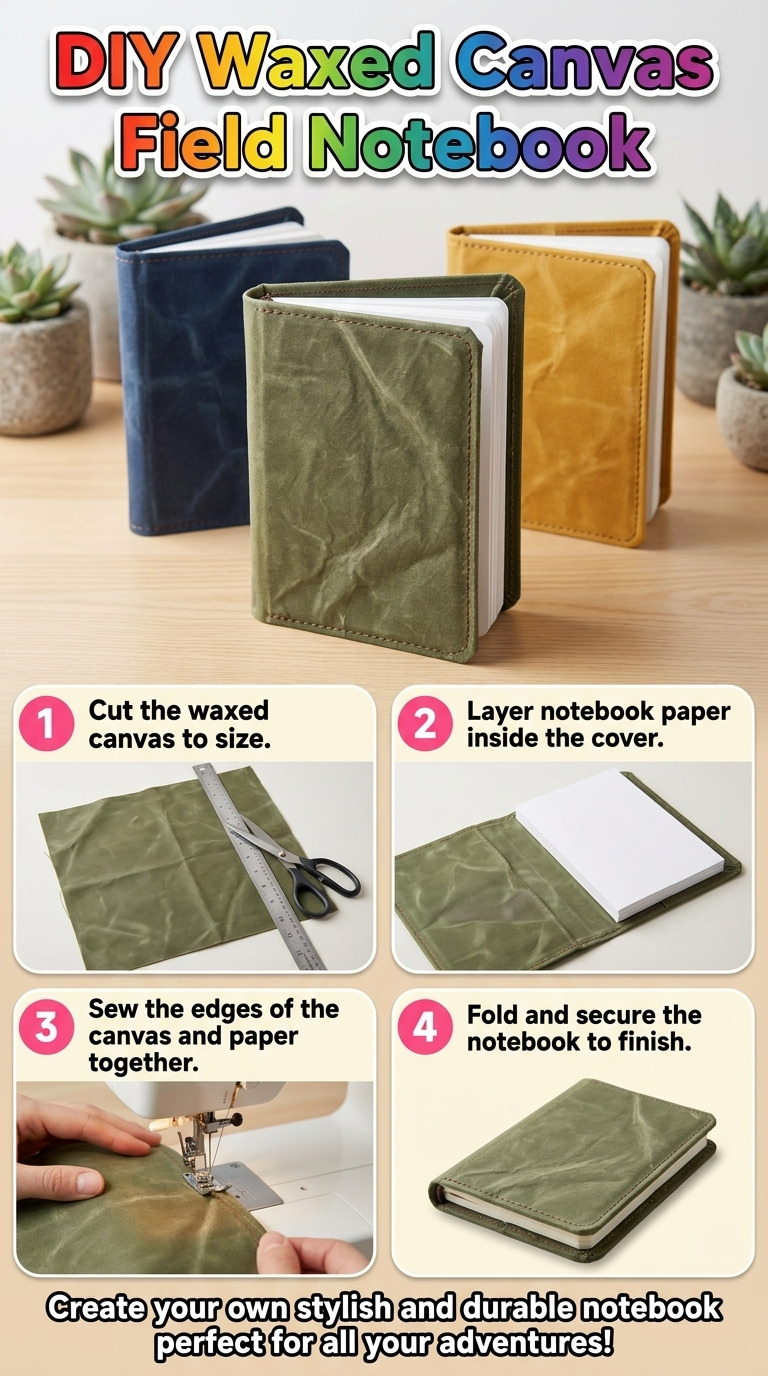
Step 1: Prepare the fabric cover
- Lay the 12" x 9" front cover piece of waxed canvas right side up. Center the 1" x 9" spine piece on the cover, leaving a 1/4" gap between the spine and the edge of the cover.
- Place the 12" x 9" back cover piece on top of the spine piece, right side down. Ensure the spine remains centered.
- Pin or clip the three layers together along the outer edges to secure them in place.
Step 2: Sew the cover
- Set your sewing machine to a straight stitch. Sew along the outer edges of the layers, maintaining a 1/4" seam allowance.
- Backstitch (sew backwards for a few stitches) at the beginning and end of the seam to secure it.
- Trim any excess fabric at the corners to create a cleaner finish.
Step 3: Attach the paper
- Take your 40 sheets of notebook paper, stack them, and fold the entire stack in half to create 40 pages measuring 5.5" x 8".
- Insert the folded paper stack into the fabric cover, confirming that it fits within the margins of the cover.
Step 4: Bind the notebook (optional)
- If using leather for binding, take an awl to make evenly spaced holes along the crease of the folded pages.
- Use the thread and needle to stitch through the holes, securing the pages together with the leather piece.
- As an alternative, apply double-sided tape along the spine to hold the pages firmly in place.
Step 5: Finish the cover
- Apply PVA or fabric glue along the edges of the notebook paper. Press the edges against the waxed canvas cover, ensuring a tight bond.
- Allow the glue to dry completely for at least 30 minutes.
Step 6: Final touches
- After the glue has dried, rub the cover lightly with a soft cloth to enhance the waxed finish.
- Optionally, you may add a leather strap or button closure for additional functionality.
Assembly & Finishing
- The notebook pages should be securely held in the cover through sewing or gluing at the spine.
- If you utilized the leather binding, ensure that it is stitched tightly along with the notebook pages.
- Confirm all edges are aligned, and that the cover can fold easily around the pages without obstruction.
Measurements & Dimensions
- Finished notebook size: 5.5 inches wide by 8.5 inches tall
- Cover dimensions: Each cover piece is 12 inches wide by 9 inches tall, with a 1-inch wide spine
- Notebook page size: Each page measures 5.5 inches wide by 8 inches tall
Timing Information
- Estimated active working time: 2 hours
- Drying time for glue: 30 minutes
- Total time: Approximately 2.5 hours
Variations & Notes
- You may choose to use decorative fabric or patterned waxed canvas for a more unique look.
- If you prefer not to sew, you can simply adhere the edges of the paper to the spine with glue.
- Common mistakes include miscalculating seam allowances or failing to secure the pages adequately.
- To maintain your field notebook, gently wipe any dirt with a damp cloth and store it in a dry location. Avoid exposing the waxed finish to high heat, which may cause warping.
Troubleshooting and FAQ
Troubleshooting
- The covers do not align properly.: Ensure all measurements were followed accurately and fabric was cut straight. Trim edges if necessary for a better fit.
- The paper does not fit within the cover margins.: Double-check the paper has been cut to 5.5" x 8" and folded evenly. Recut if necessary.
- Glue does not hold the paper securely.: Ensure sufficient glue has been applied and allow enough drying time. If necessary, reapply glue and let it dry longer.
- Stitching creates gathering or puckering.: Adjust sewing machine tension or ensure fabric layers are smooth and properly pinned before sewing.
Frequently Asked Questions
- Can I use different types of paper?: Yes, you can substitute with heavier paper (e.g., cardstock) if you prefer a sturdier notebook. Just ensure it fits within the cover dimensions.
- What if I want to use different binding materials?: Any durable material can be used for binding, but fabric or leather provides the best strength. Ensuring tight stitches will hold the pages securely.
- How should I care for the waxed canvas?: Wipe dirt off with a damp cloth and avoid high heat, which can affect the wax coating.
- Can I customize the size of the notebook?: Yes, adjust the measurements of the fabric and paper accordingly but maintain consistent proportions for the cover and pages.
Save This Guide
Save this guide to Pinterest for easy access while you build your field notebook, including the cut list, exact measurements, drying times, and troubleshooting entries. Share any corrections, measured results, or substitutions that worked for you, so the guide remains accurate.
Leave a Reply