
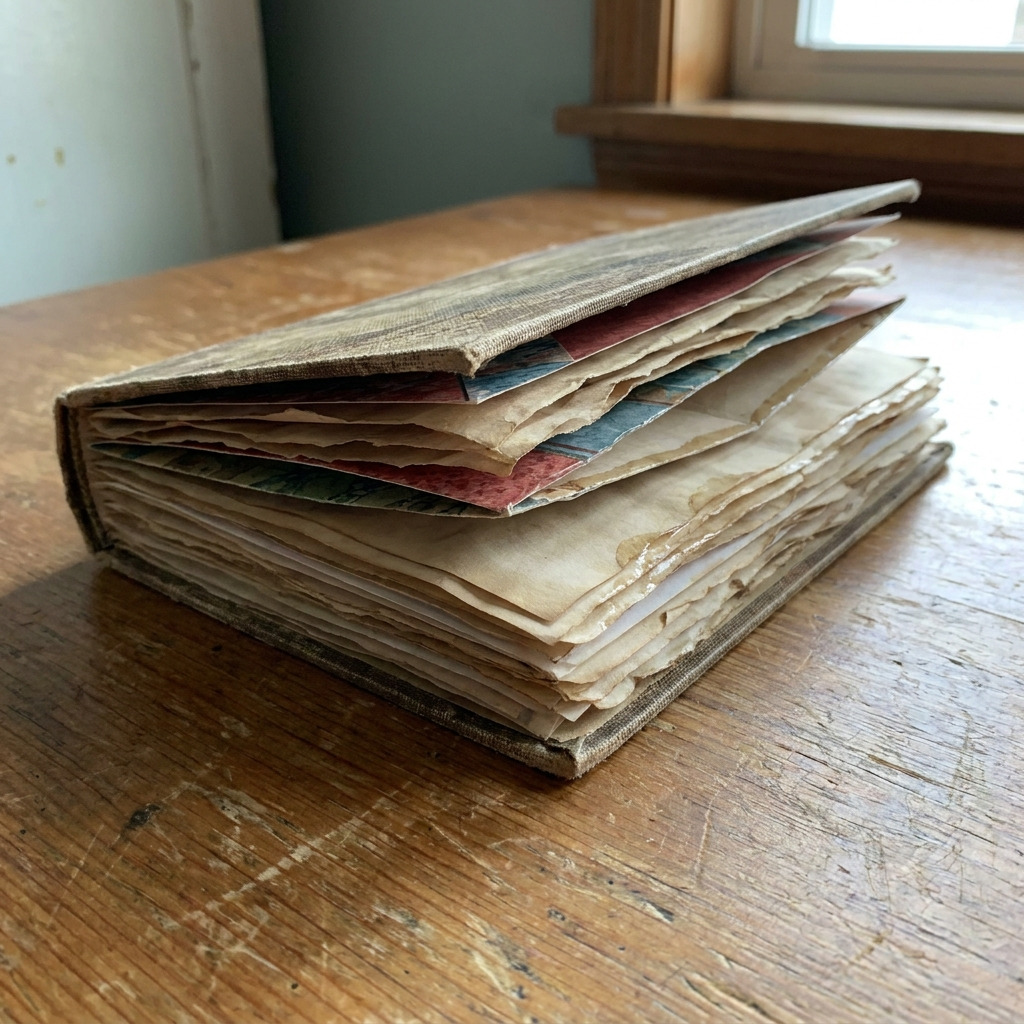
Project Overview
This project creates a unique junk journal using an old hardcover book as a base, incorporating various types of paper, embellishments, and pockets. The finished product is an engaging space for creativity and journaling.
Project at a Glance
- Time required: 2 hours active working time, 30 minutes total elapsed time for drying
- Difficulty level: Intermediate; requires precision in cutting and binding
- Estimated cost: $10 to $30, depending on the choice of embellishments and the cost of materials
- Finished dimensions: Approximately 7.5 x 10 inches
- Yield: 1 junk journal
HERO IMAGE PLACEHOLDER
[Descriptive image caption of the finished project]
Materials and Tools
Materials
- Old hardcover book: 1, any size (approx. 7.5 x 10 inches)
- Scrapbook paper or patterned paper: 6 sheets, assorted sizes and patterns
- Plain printer paper: 10 sheets (8.5 x 11 inches)
- Coffee or tea (for aging effect): 1 cup
- Mod Podge or glue stick: 1 (8 oz.)
- Scissors: 1 pair
- Craft knife or utility knife: 1
- Ruler: 1
- Bone folder (optional): 1
- Embellishments (stickers, washi tape, etc.): As desired
- String or ribbon: 1 yard
- Envelopes or small bags: 3-5, assorted sizes
Tools
- Cutting mat: 1
- Hole punch: 1
- Paintbrush (for applying Mod Podge): 1 (1-inch wide)
- Clamps (optional but helpful): 2
- Safety equipment: Eye protection when using craft knife
Instructions
Preparing the Book
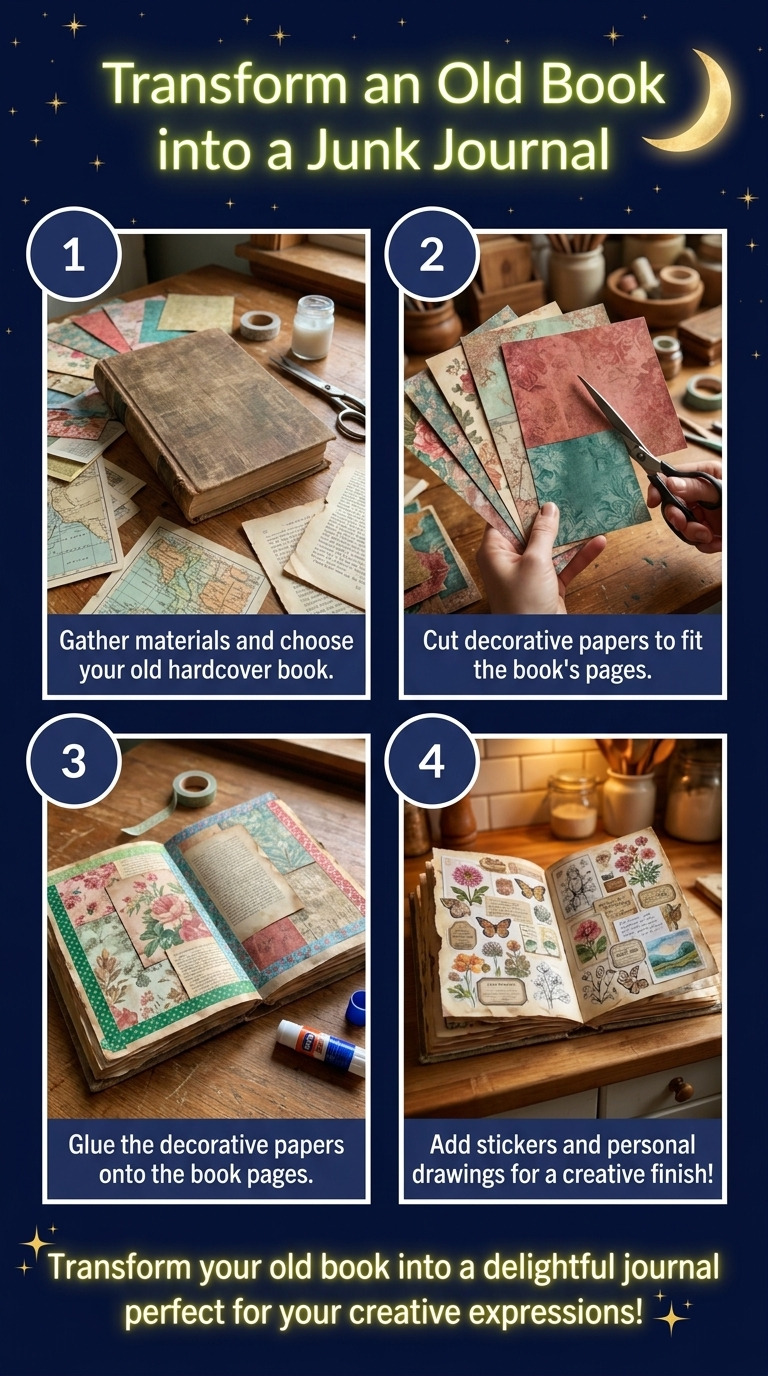
- Remove the Pages: Open the old book and carefully cut along the spine with a craft knife, ensuring to only cut through the pages without damaging the cover. The result should be an empty hardcover book.
- Prepare the Spine: Use a bone folder to crease and flatten the spine, making it easier to open and fold later.
Creating the Junk Journal Inserts
- Aging the Paper: Brew 1 cup of coffee or tea. Dip the plain printer paper sheets into the cooled liquid for 5 minutes. Remove the pages, allowing excess liquid to drip, and lay them flat on paper towels. Allow the pages to dry completely for at least 30 minutes.
- Cutting Scrapbook Paper: Use scissors to cut 3 sheets of scrapbook paper to 8.25 x 10.25 inches. Each piece should be consistent in size for a uniform look throughout the journal.
- Creating Flaps/Pockets: Take two of the scrapbook pieces and fold one edge down by 1 inch along the 10.25-inch side to create a pocket. Use a bone folder to crease the fold firmly.
Assembling the Journal
- Binding the Pages: Stack the aged printer paper along with the scrapbook paper pieces and the prepared pockets in the desired order. Use clamps to hold the stack tightly together without shifting.
- Punching Holes: Using a ruler, mark 3 holes on the spine, evenly spaced 1 inch apart (top, middle, bottom). Use a hole punch to create holes through all layers of paper:
- The first hole should be 1 inch from the top
- The second hole should be 1 inch from the middle point
- The third hole should be 1 inch from the bottom
- Attaching the Pages: Trim a piece of string or ribbon to a length of 1 yard. Start from the inside of the journal, stitch the string through the top hole and out, down through the middle hole, and out again through the bottom hole. Tie a secure knot on the inside to fasten the pages together.
Finishing Touches
- Glue Edges: Apply Mod Podge along the edges of the pages and pockets to secure everything in place. Ensure an even application using a paintbrush. Allow it to dry for about 30 minutes, checking for tackiness.
- Embellishing: Add stickers, washi tape, and other embellishments to the pages as desired. Secure them using Mod Podge or double-sided tape, ensuring all items are firmly affixed.
- Final Assembly: Check that all elements are secured and aligned correctly. Ensure that the journal opens and closes smoothly without any resistance from decorative items.
Assembly & Finishing
- Position the pockets so that they allow for easy access; the closed edge of each pocket should be at the bottom.
- Verify that the assembled journal retains its shape and opens freely.
Measurements & Dimensions
- Final dimensions of the journal: Approximately 7.5 x 10 inches
- Each scrapbook piece: 8.25 x 10.25 inches
- Standard printer paper cut size: 5.5 x 8.5 inches
- Pockets: Made from scrapbook sheets, folded down 1 inch at the top
Timing Information
- Estimated active working time: 2 hours
- Drying/curing time: 30 minutes for Mod Podge
- Total elapsed time: Around 2.5 hours
Variations & Notes
- For varied sizes, use different book dimensions or adjust the sizes of the papers accordingly.
- Incorporate alternative types of paper, such as old maps or music sheets, for an eclectic look.
- Common mistakes include not securing the pages properly before embellishing. Ensure a firm structure before adding decorative items.
- Cleaning: Wipe any excess Mod Podge immediately. Store the completed journal in a cool, dry location to maintain its integrity.
Troubleshooting and FAQ
Troubleshooting
- The pages won't stay in place. This could be due to insufficient glue or not allowing adequate drying time. Reapply Mod Podge along the edges and clamp the pages tighter until dry.
- Pockets are too loose. Ensure that the paper used is thick enough. If using thinner scrapbook paper, consider adding a second layer or using heavier-weight paper.
- The spine isn't aligned. Check that the pages are properly stacked before punching holes. Adjust alignment as needed before binding.
- Excess glue is wrinkling pages. Avoid over-applying Mod Podge. Use a paintbrush to spread an even layer, wiping any excess with a damp cloth before it dries.
Frequently Asked Questions
- Can I use different sizes of books? Yes, any old hardcover book can work. Just ensure that the inserts are proportionate to the book's dimensions.
- What types of embellishments work best? Stickers, washi tape, and cut-out images from magazines are common choices. Ensure they are lightweight to avoid bulkiness.
- Will the journal hold up over time? With proper care, such as storing it in a cool, dry place, it should last. Consider using protective spray for the cover for additional durability.
- Can I scale the project for a smaller journal? Yes, simply adjust the dimensions of the scrapbook paper and printer paper according to your desired size.
Save This Guide
Save or pin this guide to Pinterest for easy access while building your junk journal, including the cut list, exact measurements, and timing information. Share any corrections or variations that worked well, so this guide can be kept accurate.
Leave a Reply