
Project Overview
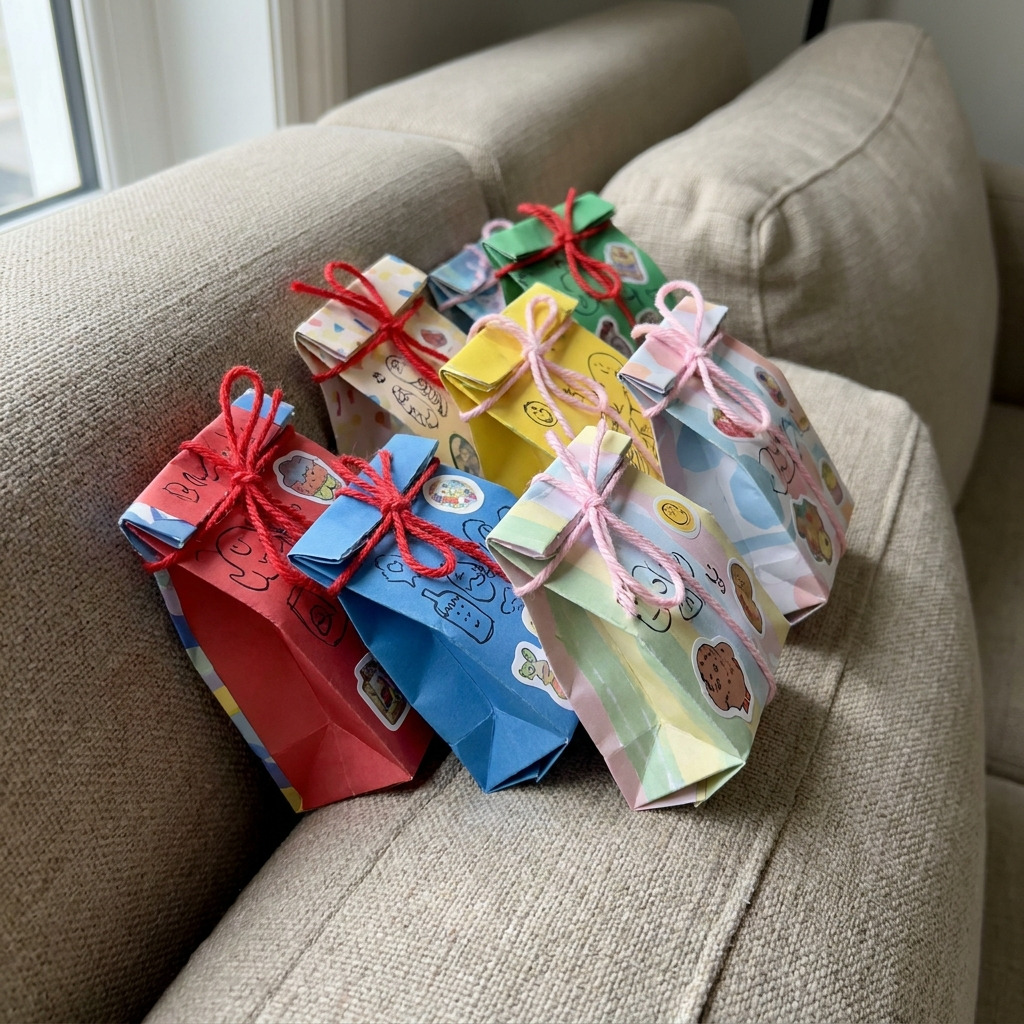
This project creates a set of DIY blind bag surprise packs designed for children, utilizing printable templates for vibrant and engaging packaging. Each surprise pack can hold small toys, candies, or craft items, offering a delightful unboxing experience.
Project at a Glance
- Time required: 1 hour active working time; total elapsed time is 1 hour
- Difficulty level: Beginner – basic cutting, folding, and taping skills
- Estimated cost: $10 to $20, depending on material choice and availability of tools
- Finished dimensions: Approximately 4 inches wide x 6 inches tall (when folded and sealed)
- Yield: Each set creates multiple surprise packs, depending on the number of templates printed
HERO IMAGE PLACEHOLDER
[Descriptive image caption of the finished DIY Blind Bag Surprise Packs]
Materials and Tools
Materials
- Printable Template Paper: 5 sheets of white cardstock (8.5" x 11") for printing the templates
- Colored Cardstock: 5 sheets, various colors (e.g., red, blue, yellow, green, and pastel shades) for creating packaging
- Twine or Ribbon: 2 yards of bright red or pastel pink for securing the closure
- Double-Sided Tape: 1 roll, standard size
- Small Toys or Treats: Approximately 30 to 50 assorted small items (mini figurines, stickers, candies) to fill the bags
- Markers or Crayons: Assorted colors for decoration
- Decorative Stickers: Optional, pack of 100 assorted stickers for embellishment
Tools
- Printer: Standard printer capable of printing on cardstock
- Scissors: Standard craft scissors for cutting templates
- Paper Cutter: Optional, for precise straight cuts
- Ruler: 12-inch length for measuring and folding
- Bone Folder or Scoring Tool: For creating crisp folds (optional)
- Safety Equipment: None required; standard craft safety applies
Preparation & Setup
- Workspace Setup: Select a clean table space and protect it with a craft mat or newspaper.
- Printing Templates: Download and print the provided template designs onto white cardstock. Choose colorful and playful themes appealing to children.
- Cutting List: Each printed template will form one bag, cut along the outer edge. Finished bags will measure 4 inches wide x 6 inches tall when sealed.
- Pre-treatment of Materials: Ensure all printed surfaces are clean and dry before initiating the cutting process.
Step-by-Step Instructions
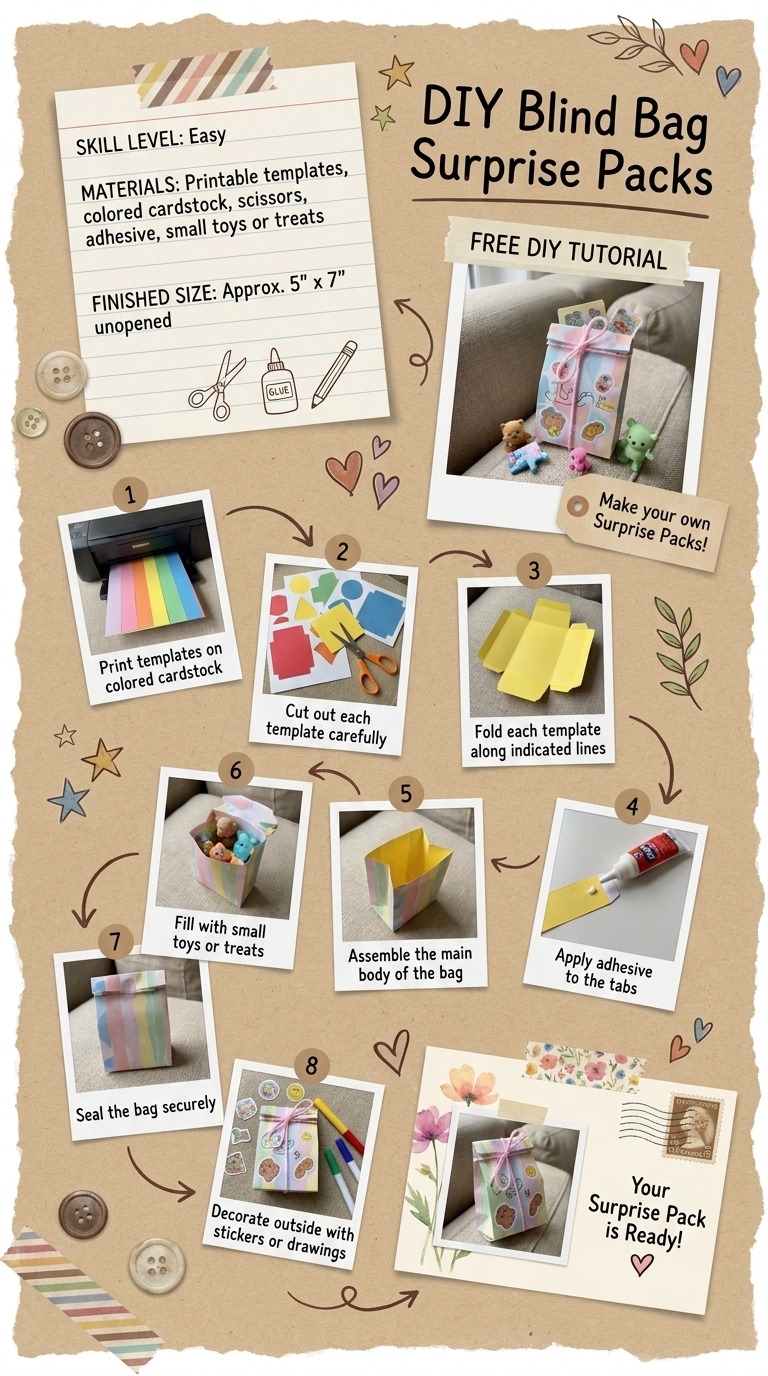
- Print the Templates: Use your printer to print the selected blind bag templates on white cardstock. Ensure adherence to print settings for accurate sizing.
- Cut Out Templates: With scissors or a paper cutter, carefully cut out each template along the outer edges, ensuring all cuts are straight.
- Fold Templates: Flip each template over and score along the designated lines to begin forming the bag shape. Optionally, enhance the folds using a bone folder for a crisp result.
- Seal the Sides: – Apply double-sided tape to both vertical edges of each bag. – Press the edges together firmly to create a secure seal, ensuring no gaps remain.
- Decorate the Bags: – Provide markers or crayons to allow children to personalize their bags. Encourage the use of decorative stickers for additional embellishments.
- Fill the Bags: – Place approximately 3 to 5 small toys or candy pieces into each bag, making sure not to overfill.
- Close the Bags: – Gather the top of the bag together and secure it with twine or ribbon, tying a neat bow or knot to close.
- Final Check: – Visually inspect each bag to ensure they are securely sealed and decorated to children's satisfaction. Confirm that no items can fall out.
Assembly & Finishing
- The surprise packs can stand upright after being folded and sealed, allowing easy filling.
- Kids can personalize the bags using markers and stickers, fostering creativity while preparing the surprise packs.
Measurements & Dimensions
- Finished Bag Size: 4 inches wide x 6 inches tall (after folding and sealing)
- Template Size: 8 inches wide x 6 inches tall (prior to folding)
Timing Information
- Estimated active working time: 1 hour
- Total elapsed time: 1 hour
Variations & Notes
- Clean Results: Maintain a tidy area free of debris during crafting. Manage cutting steadily for the best results.
- Common Mistakes: Avoid cutting along the score lines; only cut the outer edges. Ensure tape is applied thoroughly for a proper seal.
- Color Variations: Customize with seasonal cardstock colors, e.g., red and green for Christmas surprise packs.
- Care and Storage Instructions: Store completed surprise packs in a cool, dry location. Keep individual bags grouped in a larger box or container until distribution.
Troubleshooting and FAQ
Troubleshooting
- The tape is not holding.: This may be due to not firming the edges after pressing. Reapply tape and press down again firmly along the entire seam.
- The template won't fold correctly.: Ensure you are scoring the correct line. If the line is missed, make a gentle fold without scoring to align properly.
- The packs are not closing securely.: Check the amount of contents: excessive filling can prevent closure. Reduce the number of items inside if necessary.
- Cutting isn't straight.: Slow down and utilize a ruler for reference when cutting. A paper cutter often aids in straight cuts.
Frequently Asked Questions
- Can I use regular paper instead of cardstock?: While regular paper can be used, cardstock provides a sturdier structure making it better for holding contents.
- How can I print the templates at a different size?: Use your printer settings to adjust the scale; maintain the original aspect ratio to ensure bag dimensions stay correct.
- What types of items work well for filling?: Small toys such as mini cars or animal figurines, candies like gummies or chocolates, and stickers are excellent choices for filling the bags.
- Do I need to use the colors specified in the guide?: No, feel free to select any colors that suit the occasion or preferences. Customization is encouraged to enhance creativity.
Save This Guide
Save or pin this guide to Pinterest for easy reference while you create your DIY Blind Bag Surprise Packs. This guide provides the complete cut list, exact measurements, assembly timings, and troubleshooting tips for a successful project. Share any corrections, measured results, or preferred substitutions that worked for you to keep this guide accurate.
Leave a Reply