
Project Overview
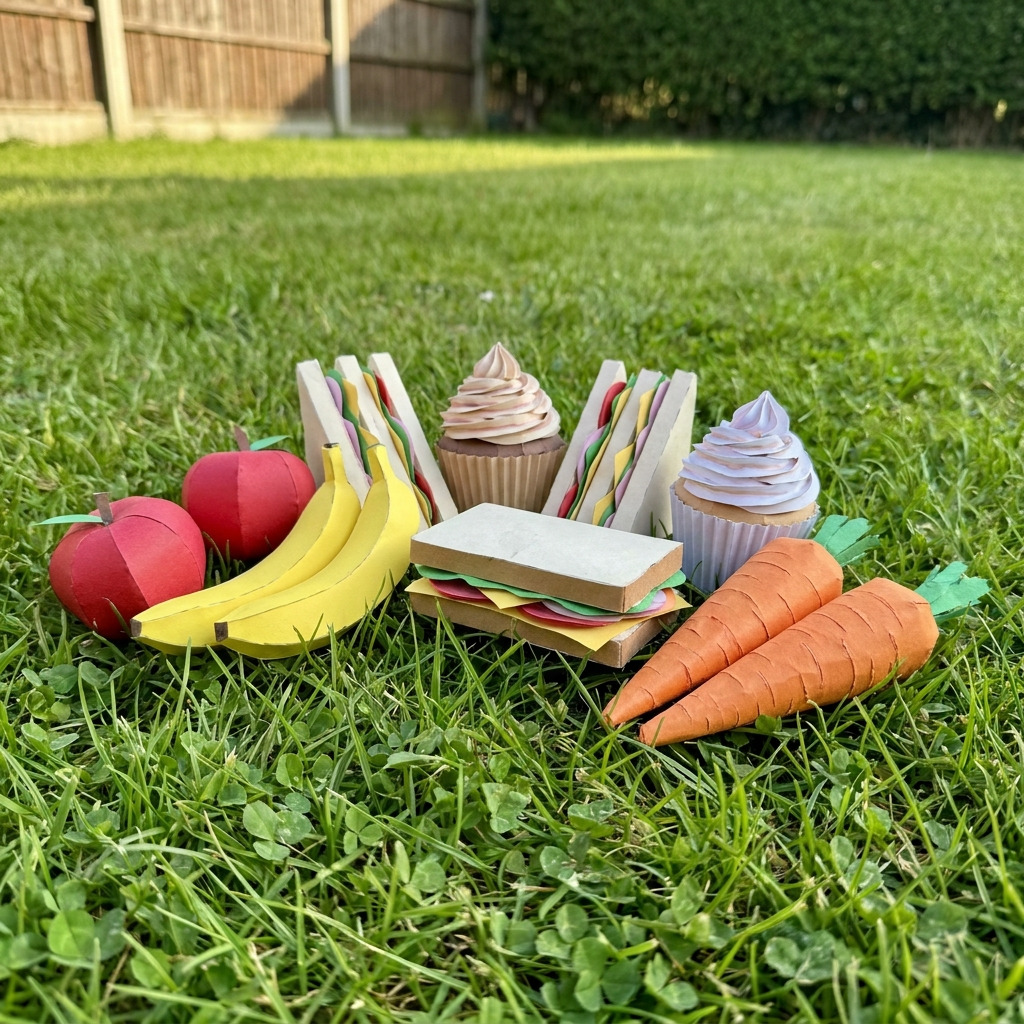
This project involves creating a delightful mini food set made entirely from paper for kids to play with. The finished item includes various types of food items like fruits, vegetables, and baked goods that can be used in pretend play.
Project at a Glance
- Time required: 1 hour active working time; total elapsed time 1 hour 20 minutes (including drying time)
- Difficulty level: Beginner, requiring only basic cutting and gluing skills
- Estimated cost: Approximately $10 to $15, depending on the costs of paper and adhesives used
- Finished dimensions: Each food item will be approximately 2 to 3 inches in size, depending on the type of food
- Yield: 10 paper food items
HERO IMAGE PLACEHOLDER
[Descriptive image caption of the finished project]
Materials and Tools
Materials
- White cardstock: 8.5" x 11", 5 sheets
- Colored paper or scrapbooking paper: Assorted colors, 5 sheets
- Glue stick: 1 unit, for permanent adherence of parts
- Double-sided tape: 1 roll (optional for a quicker assembly)
- Markers or craft pens: Assorted colors (optional for decoration)
Tools
- Scissors: Standard size for cutting out the food items
- Cutting mat: 12" x 18" or larger, to protect the table surface
- Safety equipment: None required for this project
Preparation & Setup
- Workspace Setup: Clear a flat surface for crafting. Use a cutting mat to protect the table beneath.
- Template Preparation: Download and print the free printable template onto white cardstock. Ensure the print settings apply no scaling to maintain size accuracy.
- Cutting List: You will cut out a total of 10 different food items from the printed template, ensuring a variety for effective play.
Step-by-Step Instructions
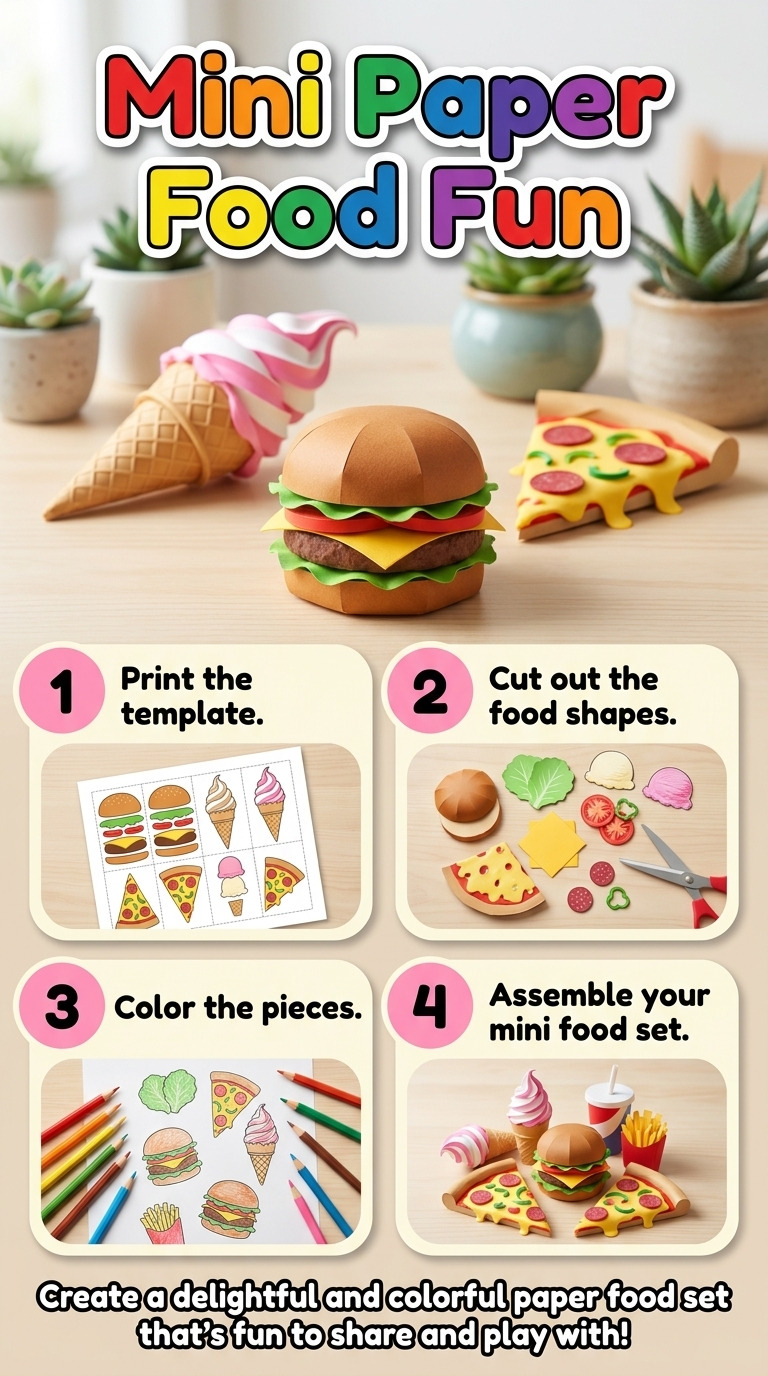
- Print the Template: – Print the downloaded template file onto white cardstock. Ensure the printer scaling is set to 100% so that sizes remain accurate. – The final output should have outlines for various food items, suitable for cutting.
- Cut out the Food Items: – Using standard scissors, carefully cut along the outline of each food item on the template to achieve clean edges. – You will be cutting out: – 2 apples (2" diameter) – 2 bananas (3" long) – 2 sandwiches (3" x 2") – 2 cupcakes (2" tall) – 2 carrots (4" long)
- Decorate (Optional): – Use markers or craft pens to add details to each food item as desired. For example, add apple seeds, frosting textures on the cupcakes, or texture lines on the sandwiches and carrots.
- Assemble the Food Items: – For the items that require folding (like sandwiches), gently fold along the indicated lines to create a 3D effect. – Use the glue stick or double-sided tape to secure any parts together, ensuring they hold their shape without excess adhesive.
- Final Touches: – Allow any adhesive to dry for at least 20 minutes before allowing play. – Once all items are fully assembled and dry, organize them into a mini picnic basket or play kitchen setup for use.
Assembly & Finishing
- Join any parts that need to be glued together, particularly sandwich sections or cupcake liners.
- Ensure all pieces are securely assembled before allowing kids to use them.
- Review each item for any markers or additions and touch them up as necessary to enhance appearance.
Measurements & Dimensions
- Each food item will vary slightly but will generally fall within the 2 to 3 inches size range.
- Specific dimensions include:
- Apples: 2" diameter
- Bananas: 3" long
- Sandwiches: 3" x 2"
- Cupcakes: 2" tall
- Carrots: 4" long
Timing Information
- Estimated Active Working Time: 1 hour
- Drying/Curing Time: 20 minutes
- Total Time: 1 hour 20 minutes
Variations & Notes
- For clearer cuts, ensure that scissors are sharp to avoid jagged edges.
- Avoid common mistakes such as cutting too quickly, which can compromise the quality of the edges.
- Alternatively, you may print the food template on colored cardstock to forego decoration.
- Proper storage can be achieved by laying the completed food items flat in an envelope or box to prevent bending.
- The paper food set can serve as a toy for imaginative play; handle gently to avoid tearing.
Troubleshooting and FAQ
Troubleshooting
- The food items do not hold together. This is likely due to insufficient adhesive. Ensure you apply enough glue or tape to secure the pieces firmly.
- Cut edges are jagged. This can result from using dull scissors. Sharpen scissors or replace them if necessary for cleaner cuts.
- Items are bending or folding incorrectly. Check that folds are made along the indicated lines. Crease them gently and accurately prior to assembling.
- Colors from markers smudge. Allow adequate drying time between coloring and assembly. Consider using dye-based markers that are less prone to smudging.
Frequently Asked Questions
- Can I use any type of paper? While regular paper can work, cardstock provides more sturdiness and durability for playtime.
- Can I scale the template for larger food items? Yes, ensure printer settings allow scaling if you desire larger dimensions; just be mindful of maintaining proportions.
- What if I don’t have a printer? You can draw the food items freehand, following the dimensions and shapes provided in this guide.
- How should I store the food items? Store them laid flat in an envelope or a small box to prevent them from bending or tearing.
Save This Guide
Save this guide to Pinterest so you can refer back to the cut list, exact measurements, and troubleshooting tips while you build. Share your results or corrections for any variations that worked for you to maintain accuracy in this guide.
Leave a Reply