
Project Overview
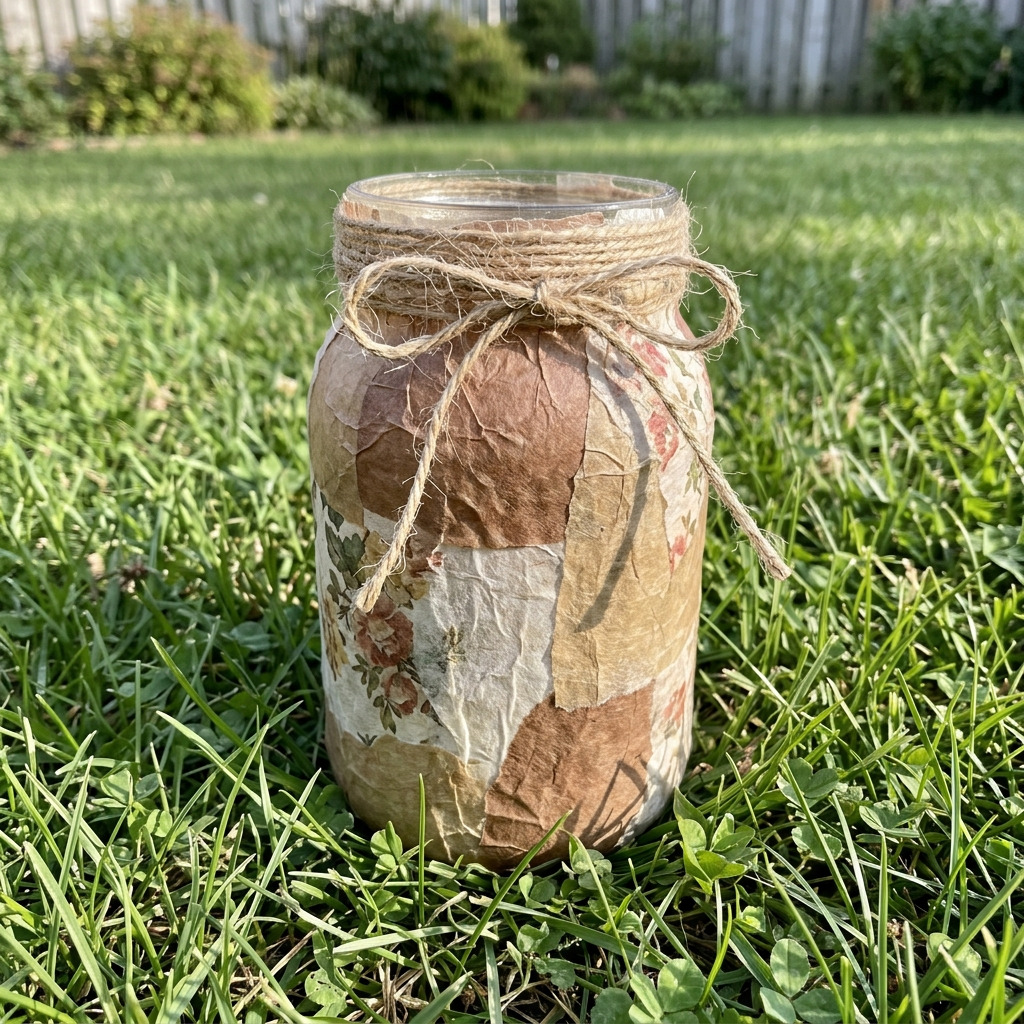
This project involves transforming an old glass jar into a rustic flower vase using the decoupage technique, creating a chic, handcrafted home decor piece.
Project at a Glance
- Time required: 1 hour active working time; total elapsed time is 2 to 3 hours
- Difficulty level: Beginner; requires basic cutting and gluing skills
- Estimated cost: $10 to $20, depending on the materials used
- Finished dimensions: Approximately 7 inches tall and 5 inches wide
- Yield: 1 rustic flower vase
HERO IMAGE PLACEHOLDER
[Descriptive image caption of the finished project]
Materials and Tools
Materials
- Old Glass Jar: 1 jar, ideally 16 oz or larger
- Decoupage Glue: 1 small bottle (8 oz)
- Tissue Paper: 2 sheets in rustic or floral prints (browns, earth tones, pale florals)
- Sandpaper: 1 piece, 120 grit
- Paint (optional): Acrylic paint in rustic colors (like cream, light brown, or pale green, 2 oz)
- Paintbrush: 1 wide brush, 1 inch
- Raffia or Twine: 1 roll, to attach at the neck of the jar
- Scissors: 1 pair
- Sponge: 1, for a smoother decoupage finish
Tools
- Craft Knife: Standard size for shaping tissue paper
- Ruler: For measuring tissue paper dimensions
- Cutting Mat: For protecting your work surface while cutting
- Hot Glue Gun and Glue Sticks: (optional) for additional securing
- Safety Equipment: Safety glasses (when using a craft knife)
Instructions
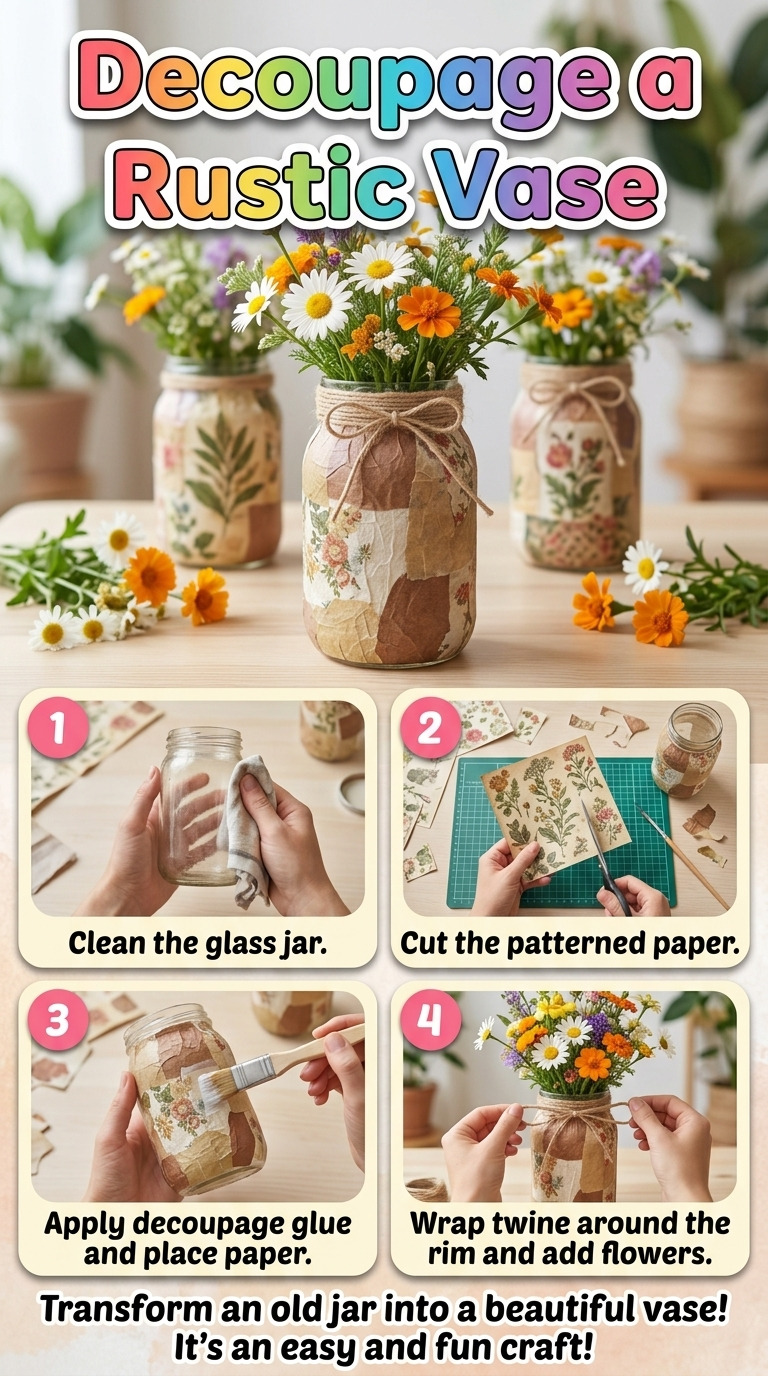
- Prepare the Glass Jar Take the cleaned and dried glass jar. Ensure there are no dust particles on the surface.
- Cut Tissue Paper Using scissors, cut the tissue paper into small patches or strips, approximately 2-3 inches square. Cut about 10 pieces or more if you wish to create a layered look.
- Apply Decoupage Glue Using a wide paintbrush, apply a thin layer of decoupage glue onto a small section (about 3 to 4 inches high) of the glass jar, working in sections to prevent drying too quickly.
- Add Tissue Paper Place a piece of cut tissue paper onto the glued area of the jar, gently pressing it down. Smooth out any wrinkles with a sponge or your fingers. Apply more glue on top of the paper, ensuring it is well-coated. Repeat this process around the jar, overlapping pieces of tissue paper until about 2/3 of the jar is covered.
- Drying Time Allow the glue to dry for at least 1 hour.
- Additional Layers (Optional) If a thicker decoupage finish is desired, apply additional layers of tissue paper in the same manner, allowing each layer to dry for 20-30 minutes before applying the next.
- Finish with Topcoat Once all tissue is applied, paint a final coat of decoupage glue over the entire dried surface. Let it dry again for 30 minutes.
- Adding Paint (Optional) If using paint, lightly paint the rim or edges of the jar to match the rustic aesthetic. Brush a thin layer of acrylic paint carefully to avoid disturbing the decoupage.
- Decorating the Neck Cut a length of raffia or twine (about 24 inches). Wrap it around the neck of the jar several times and tie a bow or knot for embellishment.
Assembly & Finishing
Ensure all parts are fully dry and secure. Place fresh or dried flowers inside the jar to display. You can also add decorative stones or marbles in the bottom as filler if desired.
Measurements & Dimensions
- Finished Product: Approximately 7 inches tall and 5 inches wide
- Tissue Paper Squares: Roughly 2-3 inches square
- Length of Raffia or Twine: 24 inches
Timing Information
- Estimated Active Working Time: 1 hour
- Drying/Curing Time: 1 hour (initial) + 30 minutes (topcoat) + optional additional layers of 20-30 minutes each
- Total Time: Approximately 2 to 3 hours (allowing for full drying time)
Variations & Notes
- Tips for a Clean Result: Use smaller pieces to avoid large bubbles; always smooth out as you go.
- Common Mistakes to Avoid: Do not rush drying times, and avoid applying too thick a layer of glue to prevent peeling.
- Size, Color, or Material Variations: Experiment with different styles of tissue paper or add embellishments such as rhinestones or painted designs.
- Care, Cleaning, and Storage Instructions: Hand wash gently if needed. Avoid scrubbing the surface to prolong the decoupage finish. Store in a cool, dry place.
Troubleshooting and FAQ
Troubleshooting
- The tissue paper is bubbling. This may occur if there are too many layers applied too quickly. Let it dry completely, then smooth out bubbles before applying additional layers.
- The decoupage is peeling off. This could be due to using too thick a layer of glue. Ensure to apply thin, even layers and avoid using too much at once.
- The jar surface feels tacky. This indicates that the decoupage glue is not fully cured. Allow more time for drying in a low-humidity environment.
- The tissue paper colors are fading. Ensure to use an appropriate decoupage glue that seals the surface properly. A topcoat of decoupage glue can protect against fading.
Frequently Asked Questions
- Can I use regular glue instead of decoupage glue? While regular glue can adhere tissue paper, it may not provide the same finish or sealing properties as decoupage glue.
- What if I don’t have tissue paper? You can substitute with other paper types such as wrapping paper or scrapbook paper, but results may vary based on thickness and adhesive compatibility.
- How do I remove the decoupage finish if I want to change the design later? Soak the jar in warm soapy water to loosen the decoupage and carefully scrape it off with a craft knife.
- Can I use this technique on plastic jars? Yes, but ensure to use a glue formulated for non-porous surfaces to achieve proper adhesion.
Save This Guide
Save or pin this guide to Pinterest so you have access to the complete cutting list, exact measurements, curing times, and troubleshooting entries while you build. Corrections, measured results, or substitutions that worked are welcome to keep this guide accurate.
Leave a Reply