
Project Overview
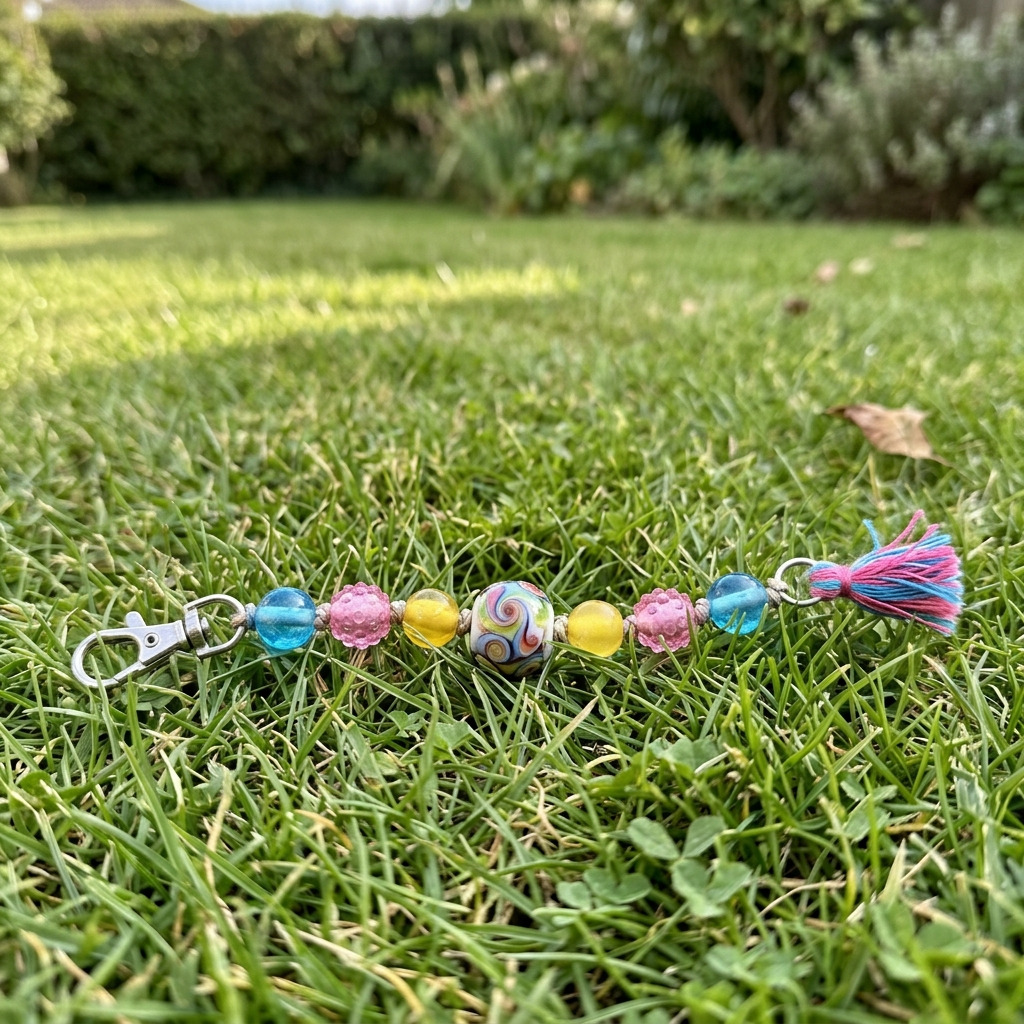
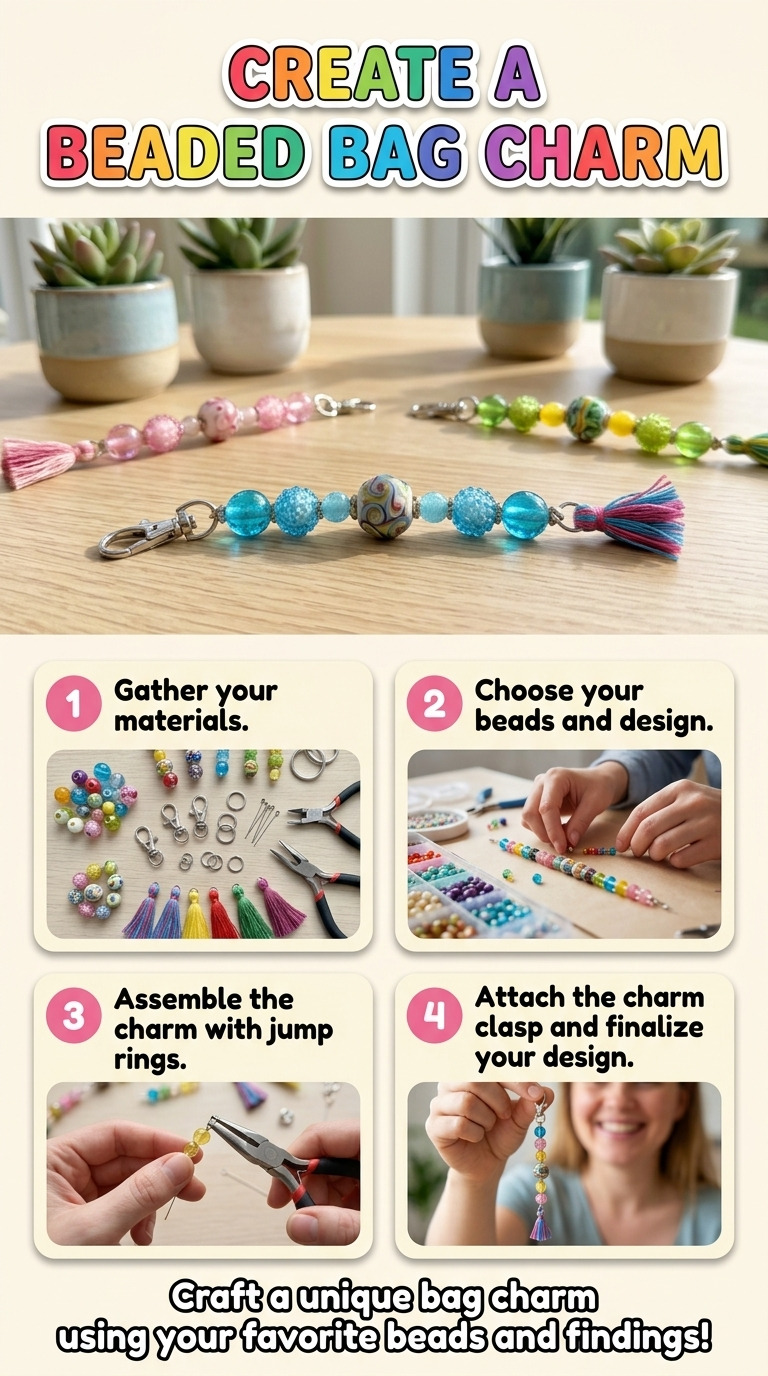
Create a stylish and personalized bag charm using leftover jewelry findings and assorted beads. This project combines creativity and resourcefulness, turning unused materials into a functional and decorative accessory for bags or purses.
Project at a Glance
- Time required: 30 minutes active working time, total elapsed time 30 minutes
- Difficulty level: Beginner, utilizing basic jewelry-making skills
- Estimated cost: $5 to $20, depending on the materials used and whether tools are already owned
- Finished dimensions: Approximately 6 inches long (including the charm) and 1-2 inches wide
- Yield: One beaded bag charm
HERO IMAGE PLACEHOLDER
[Descriptive image caption of the finished project]
Materials and Tools
Materials
- Beads:
- 10 assorted beads (e.g., acrylic, glass, or wooden beads in colors of your choice)
- 1 larger pendant bead (approximately 1 inch, for the focal point)
- Jewelry Findings:
- 1 lobster clasp (1 inch)
- 2 metal jump rings (8 mm)
- 1 length of memory wire (6 inches)
- Cord:
- 1 length of thin nylon cord (24 inches)
- Optional Materials:
- 1 small decorative tassel (adds visual appeal)
- Additional charms or small pendants for personalization (adds uniqueness)
Tools
- Jewelry pliers (round-nose and chain-nose)
- Scissors
- Tape measure or ruler
- Safety glasses (recommended for eye protection)
Instructions
Stage 1: Prepare the Cord and Findings
Step 1: Measure and Cut
- Cut the nylon cord to 24 inches in length using scissors. The cord length allows enough space for bead placement and attachment. The cut end should be clean and straight.
Step 2: Attach the Jump Ring
- Open one jump ring using chain-nose pliers.
- Attach it to the lobster clasp by sliding it through the clasp's loop. Close the jump ring securely using pliers, ensuring it is tightly closed to prevent detachment.
Stage 2: String the Beads
Step 3: Begin Beading
- Thread one end of the nylon cord through the jump ring, leaving a 6-inch tail on one end. This tail will allow for tying off the beads later.
- Start threading the assorted beads onto the cord in your desired pattern. For example, alternate colors or sizes based on your preference.
- Position the pendant bead in the center of the bead string, threading it through the cord after adding a few other beads to each side for aesthetic balance.
Step 4: Secure Beads
- Once all beads are positioned, create a tight knot at the end of the cord, just below the last bead. Ensure the knot is secure to prevent the beads from sliding off the cord.
Stage 3: Finishing Touches
Step 5: Attach a Second Jump Ring
- Open the second jump ring with pliers and attach it to the end of the cord where the knot is tied.
- If using, attach your decorative tassel or any additional charms to this jump ring before closing it securely with pliers.
Step 6: Finishing Off
- Use the memory wire to make a decorative coil if desired. To create the coil, wrap the memory wire around a small object, such as a pencil, to form a spring-like shape.
- Attach one end of the coil to the jump ring at the opposite end of the lobster clasp.
Assembly & Finishing
- Ensure the pendant bead is centered and the other beads are evenly distributed on each side for balanced aesthetics.
- Check all connections to verify they are secure. Make any necessary adjustments to the bead placements if required.
Measurements & Dimensions
- Final dimensions of the finished bag charm: Approximately 6 inches long and 1-2 inches wide depending on the size and number of beads used.
Timing Information
- Estimated active working time: 30 minutes
- Drying/curing time: None required
- Total time: 30 minutes
Troubleshooting and FAQ
Troubleshooting
- The beads are falling off. Cause: The knot is not secure. Correction: Double-check the knot at the end and retie if necessary to ensure it is tight.
- The charm is too long. Cause: Excess length on the nylon cord. Correction: Cut the cord shorter before adding beads, or remove beads if it already has been assembled.
- Beads are sliding around. Cause: The knot is too loose or absent. Correction: Tighten the knot at the end of the cord or retie the knot if needed.
- Jump rings do not close securely. Cause: Poorly closed jump rings may pop open. Correction: Use chain-nose pliers to ensure the ends of the jump rings meet perfectly without gaps.
Frequently Asked Questions
- Can I use other types of cord? Yes, you can use silk thread or leather cord instead of nylon cord, but this may alter the overall look and feel of the bag charm.
- What if I don’t have memory wire? If memory wire is unavailable, consider using additional beads or longer jump rings to add visual interest at the end of the charm.
- Can I make this with children? This project is suitable for children with supervision; just ensure that jewelry pliers are used safely and carefully.
- How should I store my finished bag charm? Store the charm in a cool, dry place and consider placing it in a small pouch to avoid scratches or tangling with other items.
Save This Guide
Save or pin this guide to Pinterest so it is handy for reference, especially for the measurements, materials list, and the step-by-step process. For any corrections, measured results, or substitutions that worked for you, please invite feedback to keep this guide accurate.
Leave a Reply